FTE Maximal MAX S402PVR Manuel utilisateur

MAX S402PVR

PAG. 2
rev 1.2
The lightning flash with
arrowhead symbol, within
an equilateral triangle, is
intended to alert the user
to “dangerous voltage”
and to prevent from a
risk of electric shock.
Warning:
To reduce the risk of electric shock,
don’t open the cabinet. Refer servicing
to qualified personnel only.
The exclamation point
within an equilateral
triangle is intended
to alert the user to
important operating and
maintenance (servicing).
Please read the manual carefully before installing the receiver.
Caution: Never open the device by yourself. Dangerously high voltages are present inside the unit. Refer
servicing to qualified staff only.
When installing the receiver, always unplug the receiver from the mains voltage.
Unplug the receiver from the mains in case of long periods without operating the receiver (for example,
during holidays!).
To prevent shock hazard, do not touch the power plug with wet hands.
Always unplug the receiver before cleaning it or working on the connections.
Do not install the receiver close to strong heat sources, and ensure a good aeration if you plan to install
the receiver in a small cabinet.
Before you start operating the receiver, make sure that the satellite antenna is properly built up, optimally
connected and aligned.
The correct place to install the receiver is, of course, near your TV set and any other A/V signal sources
(DVD, VCR, CD, game console, etc.).
Choose a stable support, in which you can easily lay the necessary connecting cables without stumbling-
danger.
The receiver should be installed near an easily accessible outlet.
Do not install the receiver in a place where it can be reached by liquid spills.
Do not put any heavy objects as, for example, a TV-device over the receiver; the receiver could be
damaged.
DO NOT INSTALL THE RECEIVER:
- On an unstable surface
- Subject to direct sunlight
- In high humidity environment
- Outside the receiver’s temperature range (+5°...+40°C)
If the receiver is subject to severe temperature changes, it can suffer from water condensation inside.
Switch off the receiver in these cases for at least 2 hours before resuming operation.
SAFETY PRECAUTION
ENGLISH

PAG. 3
rev 1.2
Example 1 – Basic System
Example 2 – DISEqC switches
Example 3 – Combined with terrestrial Example 4 – Motorized system
QUICK INSTALLATION GUIDE
FOLLOW NEXT STEPS FOR THE CORRECT INSTALLATION OF THIS RECEIVER.
STEP 1: CONNECTIONS
The coaxial cable, with satellite signal, must be connected to the “IF IN” connector. The “TV SCART”
connector must be connector to the TV set.
The receiver also includes an UHF modulator, allowing connecting a TV set or VCR. However the pictu-
re quality will be a little poorer. The modulator has an antenna input and the output range is from chan-
nel 21 to 69. This will allow you to mix the existing antenna signals with the output channel generated
by the receiver.
The modulator output is factory preset to channel 38. You can change the output channel in the TV sys-
tem menu that you can find in System Setup menu.
You will also have to tune your TV set accordingly, in order to receive the picture from the receiver.
Depending on the type of installation, the receiver should be connected and configured following next
examples.
QUICK INSTALLATION GUIDE
ENGLISH

PAG. 4
rev 1.2
STEP 2: BASIC CONFIGURATION OF THE
RECEIVER
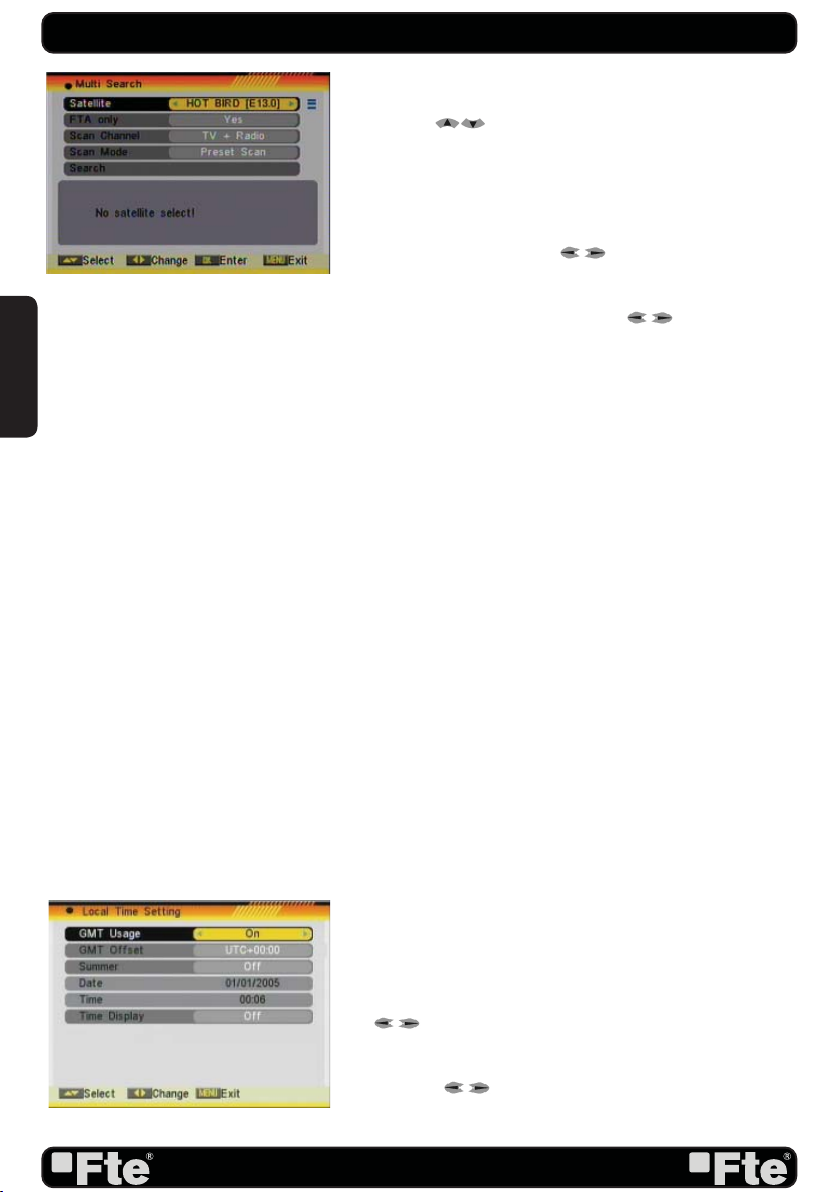
The receiver includes an installation assistant (Quick Setup)
that will help you to setup the different parameters.
When the receiver is turned on at first time (using the button at
the rear panel of the receiver), the next menu is shown on the
TV (Image 1):
The receiver is programmed with all the channels of Astra (at
position 1 of the DISEqC), Hotbird (at position 2 of the DISEqC),
Hispasat (at position 3 of the DISEqC) and Turksat (at position
4 of the DISEqC). If your installation is different to this case,
please follow installation steps to search the channels.
In order to move through the different options of this menu,
please use the keys [ ] of your remote control. If a “Short
circuit on the LNB” message is shown on the TV, please check
the connections before continuing the installation.
Language
: press [ ] to select languages. The selection
of languages include: English, German, French, Spanish,
Italian, Portuguese, Turkish, Polish, Russian, Danish, Greek,
Hungarian, Arabic, Farsi.
First Audio
: Some channels offer more than one audio language.
This function allows you to set the preferred audio language for
those channels using [ ]. If a channel offers the same
audio language as the “First Audio” you set the system will play
this audio language as default. If the channel does not offer
this audio language then the system will compare the offered
languages with the second audio language. The selections of
audio languages include: English, German, French, Spanish,
Italian, Portuguese, Turkish, Polish, Russian, Danish, Greek,
Hungarian, Arabic, Farsi.
Second Audio
: If the channel has no audio language that
corresponds with “First Audio” but with “Second Audio” the
system will play the second audio language as default. If no
audio language corresponds with the “Second Audio” then the
default language of the current channel will be played instead.
The selections of audio languages include: English, German,
French, Spanish, Italian, Portuguese, Turkish, Polish, Russian,
Danish, Greek, Hungarian, Arabic, Farsi.
LNB Power
: Here you can set the power output to the LNB. If
your receiver is connected to the LNB directly then you need to
set the LNB Power to “On”. If your receiver is connected to a
multi switch (SMATV signal distribution system) then it may be
that you don’t need to provide the power to the LNB. But since
this is depending on the kind of installed distribution system we
IMAGE 1
QUICK INSTALLATION GUIDE
ENGLISH

PAG. 5
rev 1.2
recommend you to contact your installer or to refer to the user
manual of this system to get the correct information.
Single search
: You can edit the following items (Image 2):
1. Satellite: Press [ ] to switch Satellites or press [OK] to
enter satellite list to select directly.
2. LNB Configuration: Selecting this option and pressing [OK],
the LNB Configuration menu will be displayed. In this menu,
next options can be modified (Image 3):
- LNB Type: Press [ ] to switch among “Standard”, “User”
and “Universal” mode. If you select “Standard” or “User”, the
frequency of the LNB can be changed. Pressing [OK] the
frequencies will appear to be edited. Select the frequency
you want to edit and change the value with [ ]
- 22K: Use [ ] to switch “ON” and “Off”. The 22 kHz sig-
nal is used in KU Universal LNBs to change between low
band and high band. After choosing LNB type “Universal”
you cannot modify 22K.
- DiSEqC1.0: Use [ ] to switch the options of DiSEqC
switches.
- DiSEqC1.1: Use [ ] to switch the options of DiSEqC1.1
switches.
- Positioner: Press [ ] to select between “None /
DiSEqC1.2 / USALS”.
- Polarity: Press [ ] to switch between “Auto / H / V”.
Once the LNB is configured, press [Exit] to save the chan-
ges and go to the previous window to continue configuring
the antenna.
- Toneburst: Press [ ] to switch this function “On” or
“Off”.
3. DiSEqC1.0: Use [ ] to switch the options of DiSEqC
switches.
4. On “TP Index” item use [ ] to select the desired
transponder.
5. In the “FTA Only” item, press [ to select to scan only
free channels or even scrambled channels. If you select “Yes” it
will scan free channels only.
6. In “Scan Channel” item, press [ ] to select to scan TV
+ Radio Channels, or just TV channels or just Radio channels.
7. In “Scan Mode” item you can select “Auto Scan” to blind
scan or “Preset Scan” to scan all preset transponders.
8. Move the highlight to “Search” and press [OK] button to
start scanning. Bars are showing the progress of the channel
scanning in the lower part of the window and the found channels
are listed.
You can stop the scan with [Exit] and save the so far found
channels.
9. Press [Exit] to exit this menu. A window to confirm the
changes will appear.
IMAGE 2
IMAGE 3
QUICK INSTALLATION GUIDE
ENGLISH

PAG. 6
rev 1.2
Multi search
: You can edit the following items (Image 4):
1. On “Satellite” item press [OK] to open the satellite list.
Then press [ ] to move the highlight and press [OK]
to mark/unmark and [EXIT] to finish the selection. You can
select several satellites in this menu. At the bottom of the
screen you can see the selected satellites. The system will use
DiSEqC1.0/1.1, DiSEqC1.2 and USALS functions to search
the marked satellites and scan channels.
2. On “FTA Only” item, press [ ] to select scanning of all
channels or just scanning of free channels. If you select “Yes” it
will scan free channels only.
3. On “Scan Channel” item, press [ ] to select the
scanning range from TV + Radio Channels, only TV channels or
only Radio channels.
4. On “Scan Mode” item, you can select “Auto Scan” to make
a blind scan or “Preset Scan” to scan all preset transponders of
the selected satellites.
5. Select “Search” and press [OK] to start scanning. In the
lower part of the window the progress of scanning and the
found channels are displayed.
6. Press [Exit] to cancel or finish the scanning and saving the
found channels.
Main Menu: Selecting this option, the main menu will appear
on the TV.
STEP 3: TIME CONFIGURATION
It is recommended to setup the clock before starting to enjoy
the receiver, because correct time maybe is required by some
applications. Please complete following options:
Press the [Menu] key of the remote control for appearing the
main menu. Select the “System Setup” option and confirm
pressing [OK].
Once in the “System Setup” option, please select “Local Time
setting” option and press [OK]. Select “Time” option and press
[OK]. Image 5 is watched on the TV. For setting up the time,
please complete:
1. GMT Usage: this option will allow you to select if the date
and time will be introduced manually (GMT Usage: Off) or if
you wish to introduce the offset respect GMT manually (GMT
Usage: On).
2. GMT Offset: If GMT Usage is On, the offset respect GMT
has to be configured depending on your region or country. Use
the [ ] keys to choose the offset. Remember that the
offset values are between -12:00 and +12:00
3. Summer: this option is only available when “USE GMT” is
enabled. Use [ ] to switch on/off the summer timetable.
4. Date / Time: In order to introduce manually the time and date.
Before these values can be modified, the automatic control of
IMAGE 5
QUICK INSTALLATION GUIDE
IMAGE 4
ENGLISH

PAG. 7
rev 1.2
IMAGE 6
GMT has to be turned off.
NOTE: If the current channel provides the correct time
information, you will see the current time after you entered
“Time” menu. If the channel doesn’t provide time information,
you have to input the date and time information manually. The
most channels support the time signal.
5. Show time: Use [ ] to switch on/off this option. When
the option is enabled, the time will be displayed at the TV in a
frame in the top right margin.
6. Press [Exit] to exit the menu.
STEP 4: MODULATOR OUTPUT CHANNEL CON-
FIGURATION
It is recommended to setup the modulator output channel befo-
re starting to enjoy the receiver, especially if you are using this
output for getting the picture on the TV and mixing it with an
existing antenna signals.
The receiver includes an UHF modulator, allowing connecting
a TV set or VCR without SCART connector. The modulator has
an antenna input and the output range is from channel 21 to
69. This will allow you to mix the existing antenna signals with
the output channel generated by the receiver. The modulator
output is factory preset to channel 38. To change this value,
please complete following options:
1. Press [Menu] button and access “System Setup” menu.
2. Select “TV System” menu and press [OK] (Image 6).
3. Select “RF Channel” option and change its value using
[ ].
4. Press [Exit] button to save the changes and exit this menu.
You will also have to tune your TV set accordingly, in order to
receive the picture from the receiver.
QUICK INSTALLATION GUIDE
ENGLISH

PAG. 8
rev 1.2
TV Channel List: This option shows the list of TV stored channels.
Radio Channel List: This option shows the list of Radio stored channels.
Channel Setup: This option allows setting the receiver to start in a predefined channel.
Favourite Channel List Name: It allows changing the name of the favourite groups.
Delete All: This option deletes all TV and Radio stored channels.
Restore channel list and settings: This option loads the user TV and Radio channel list,
saved previously.
Save channel list and settings: This option makes a backup of the channel list and it will
allow restoring the channel list even thought after a factory default.
Single Search: Once the antenna is configured, this option allows search for the channels
of one satellite.
Multi Search: Once the antenna is configured, this option allows search for the channels
of various satellites.
TP Search: Once the antenna is configured, this option allows search for the channels
of one TP.
Satellite List: This option shows all the stored satellites. This list can be modified.
TP List: This option shows all the stored TP. This list can be modified.
Satellite Guide: After introducing some data, this application allows to know which
orientation and elevation should be the antenna.
QUICK INSTALLATION GUIDE
ENGLISH

PAG. 9
rev 1.2
Language: This option allows choosing the language of the menus.
TV System: This option allows choosing the video Standard and other parameters of
the screen.
Time & Timer Setting: Timer setting menu.
OSD Setting: This option allows configuring the subtitles of the channel information.
Parental Lock: In this option, user can lock the access to the menu and change the
password of the receiver.
Power setting: Turns on or off the LNB power or enable / disable Low Power
Consumption mode.
RCU position Switch: To chose the RCU position of the remote control.
Information: Shows all the technical information for the selected channel.
Quick Setup: The installation assistant will be loaded.
Game: Some games like Tetris, Snake and Othello.
Factory Default: This option resets the receiver and loads the factory default values.
Software Upgrade: To update the receiver with other receiver or by satellite.
SatcoDX Auto programming: To load SatcoDX channel lists.
Smartcard: Information about conditional access system.
CI: Information about conditional access system.
QUICK INSTALLATION GUIDE
Recording management: Allows to reproduce, to block and to delete recordings.
HDD Control: Allows to configure the hard disk options and to format it.
HDD Information: You can see the capacity of the hard disk.
ENGLISH

PAG. 10
rev 1.2
Safety Precaution
Caution…..…………………...............................………………………………………………13
1. Panel & Remote Control Description
1.1. Front Panel Description…….......................................…………………………14
1.2. Rear Panel Description……................................………….…………………..14
1.3. Remote Control Description…...............................................…………………………..15
2. Basic Operations
2.0. Switch on STB……………………….....................................………………………………...16
2.1. Standby ……………………..............................................…………………………………...16
2.2. TTX …………..................................................……………………………………..16
2.3. Mute……………............................................………………………………………..17
2.4. Channel Number…………...........................……………………………………………………17
2.5. Multi-Pictures……............................……………………………………………………………17
2.6. CH + / CH -…...............................................…………………….…………………………..17
2.7. TV/RADIO…………........................…………………………………………………….17
2.8. Vol+/Vol-…......................................……………………………………………………….17
2.9. Exit….................................……………………………………………………..17
2.10. Menu-……………………...................................…………………………………..17
2.11. Recall…..............................................………………………………………...17
2.12. Channel List…………………….........................…………………………………...18
2.13. EPG…………………...............................…………………………………………...18
2.14. List………………................................…………………………………………………19
2.15. Favourites………....................................………………………………………………...19
2.16. Audio Track / Mode…...........................……………………………………………….19
2.17. Information……..................................…………………………………………...19
2.18. FAV +/-…..................................……………………………………………….19
2.19. ZOOM……………………………………………………………………...19
2.20. Subtitles……………………………………………………………………...19
2.21. LNB Short……………………………………………………………………...20
2.22. Code......................................................................................................20
2.23. REC......................................................................................................20
2.24. PVR......................................................................................................21
2.25. Time Shift......................................................................................................21
2.26. Forward / Reward ...................................................................................21
2.27. GoTo......................................................................................................21
3. Channel
3.1. TV Channel List…………....................……………………………………………..22
3.1.1. Favourite………...............................………………………………….……………22
3.1.2. Move.……………..............................………… …………………………….…………23
3.1.3. Sort......................................………………………… …………………….………..23
3.1.4. Edit….......................................…………………………………………….23
3.1.4.1 Delete…........................................…………….…...23
3.1.4.2 Skip….......................…………………………………..…………..23
3.1.4.3 Lock..….................................………………………… …….……….24
INDEX
ENGLISH
Table des matières
Autres manuels FTE Maximal Récepteur

FTE Maximal
FTE Maximal MAX T220 HD Manuel utilisateur

FTE Maximal
FTE Maximal PVR T150 Manuel utilisateur

FTE Maximal
FTE Maximal MULTILINK R LT Manuel utilisateur

FTE Maximal
FTE Maximal MAX S222E Manuel utilisateur

FTE Maximal
FTE Maximal MAX S122 Manuel utilisateur

FTE Maximal
FTE Maximal MAX S123 HD Manuel utilisateur

FTE Maximal
FTE Maximal eXtreme HD mini Manuel utilisateur

FTE Maximal
FTE Maximal MAX S302CI Manuel utilisateur

FTE Maximal
FTE Maximal MAX T115+ Manuel utilisateur

FTE Maximal
FTE Maximal DVB 310 S Manuel utilisateur


