
Foto Electric Supply SP4513 Manuel utilisateur

QUICK-START USER GUIDE ANDROID 5.1
SP4513
ANDROID SMARTPHONE
User Manual

PRECAUTIONS
On the Road
Using a device while driving is illegal in many countries. Please refrain from using your mobile while
driving.
Near Sensitive Electronics or Medical Equipment
Don’t use your device near sensitive electronic equipment – particularly medical devices such as
pacemakers –as it could cause them to malfunction. It can also interfere with the operation of fire
detectors and other automatic-control equipment.
While Flying
Your device can cause interference with aircraft equipment. So it’s essential you follow airline
regulations. And if airline personnel ask you to switch off your device, or disable its wireless functions,
please do as they say.
At a Petrol Station
Don’t use your device at petrol stations. In fact, it’s always best to switch off whenever you’re near
fuels, chemicals or explosives.
Making Repairs
Never take your device apart. Please leave that to the professionals. Unauthorised repairs could break
the terms of your warranty. Don’t use your device if the antenna is damaged, as it could cause injury.
Around Children
Keep your mobile out of children’s reach. It should never be used as a toy as this is hazardous.
Near Explosives
Turn off your device in or near areas where explosive materials are used. Always obey local laws and
turn off your device when requested.
Emergency Calls
To make an emergency call your device must be turned on and in an area where there’s network
coverage. Dial the national emergency number(112/911 or other emergency call number) and press
“Send”. Explain exactly where you are and don’t hang up until help has arrived.
Working Temperature
The working temperature for the device is between 0 and 40 degree Celsius. Please don’t use
the device outside the range. Using the device under too high or too low temperature might cause
problems.
At very high volume, prolonged listening to a mobile device can damage your hearing.
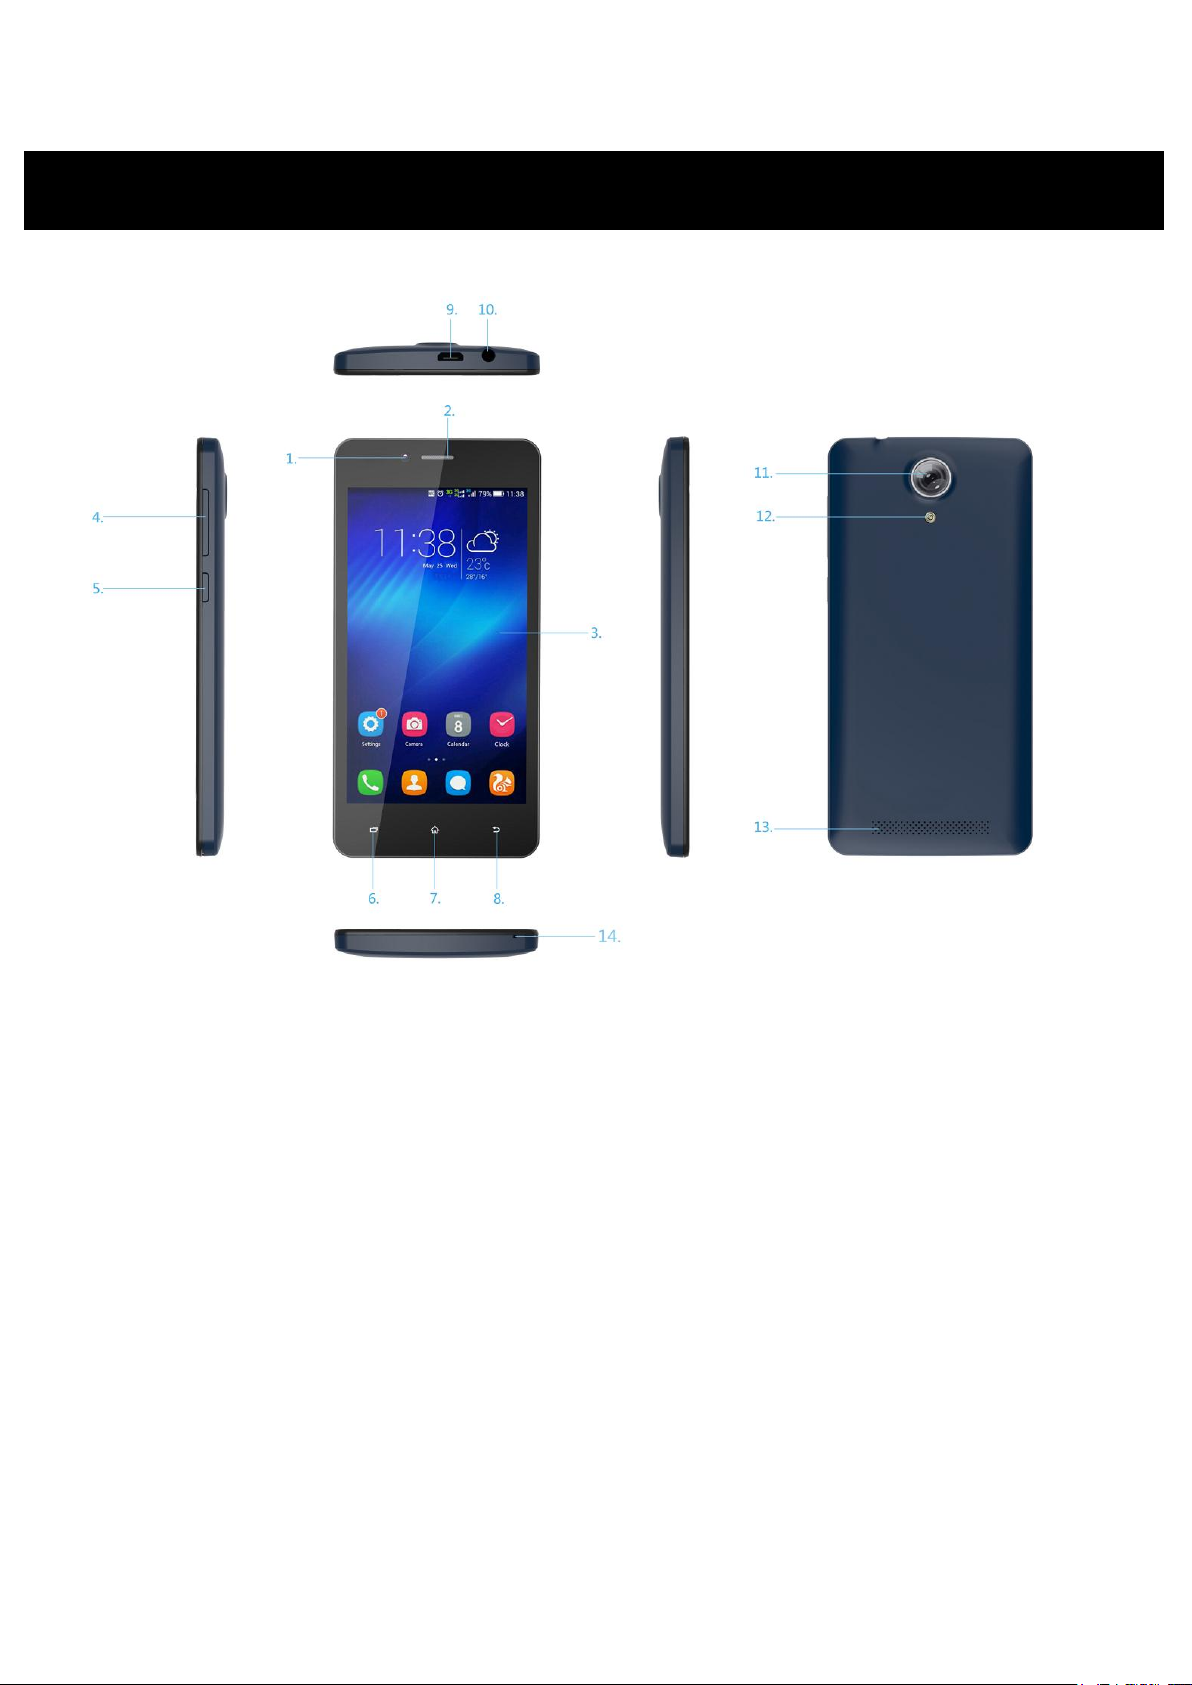
1 .Front camera
2. Speaker
3. Touchscreen
4. Volume button
5. Power button
6. Menu button
7. Home button
8. Back button
9. Micro USB and charging port
10. Earphone jack
11. Rear camera
12. Flash
13. Speaker
14. Microphone
1. PARTS AND BUTTONS OF THE DEVICE
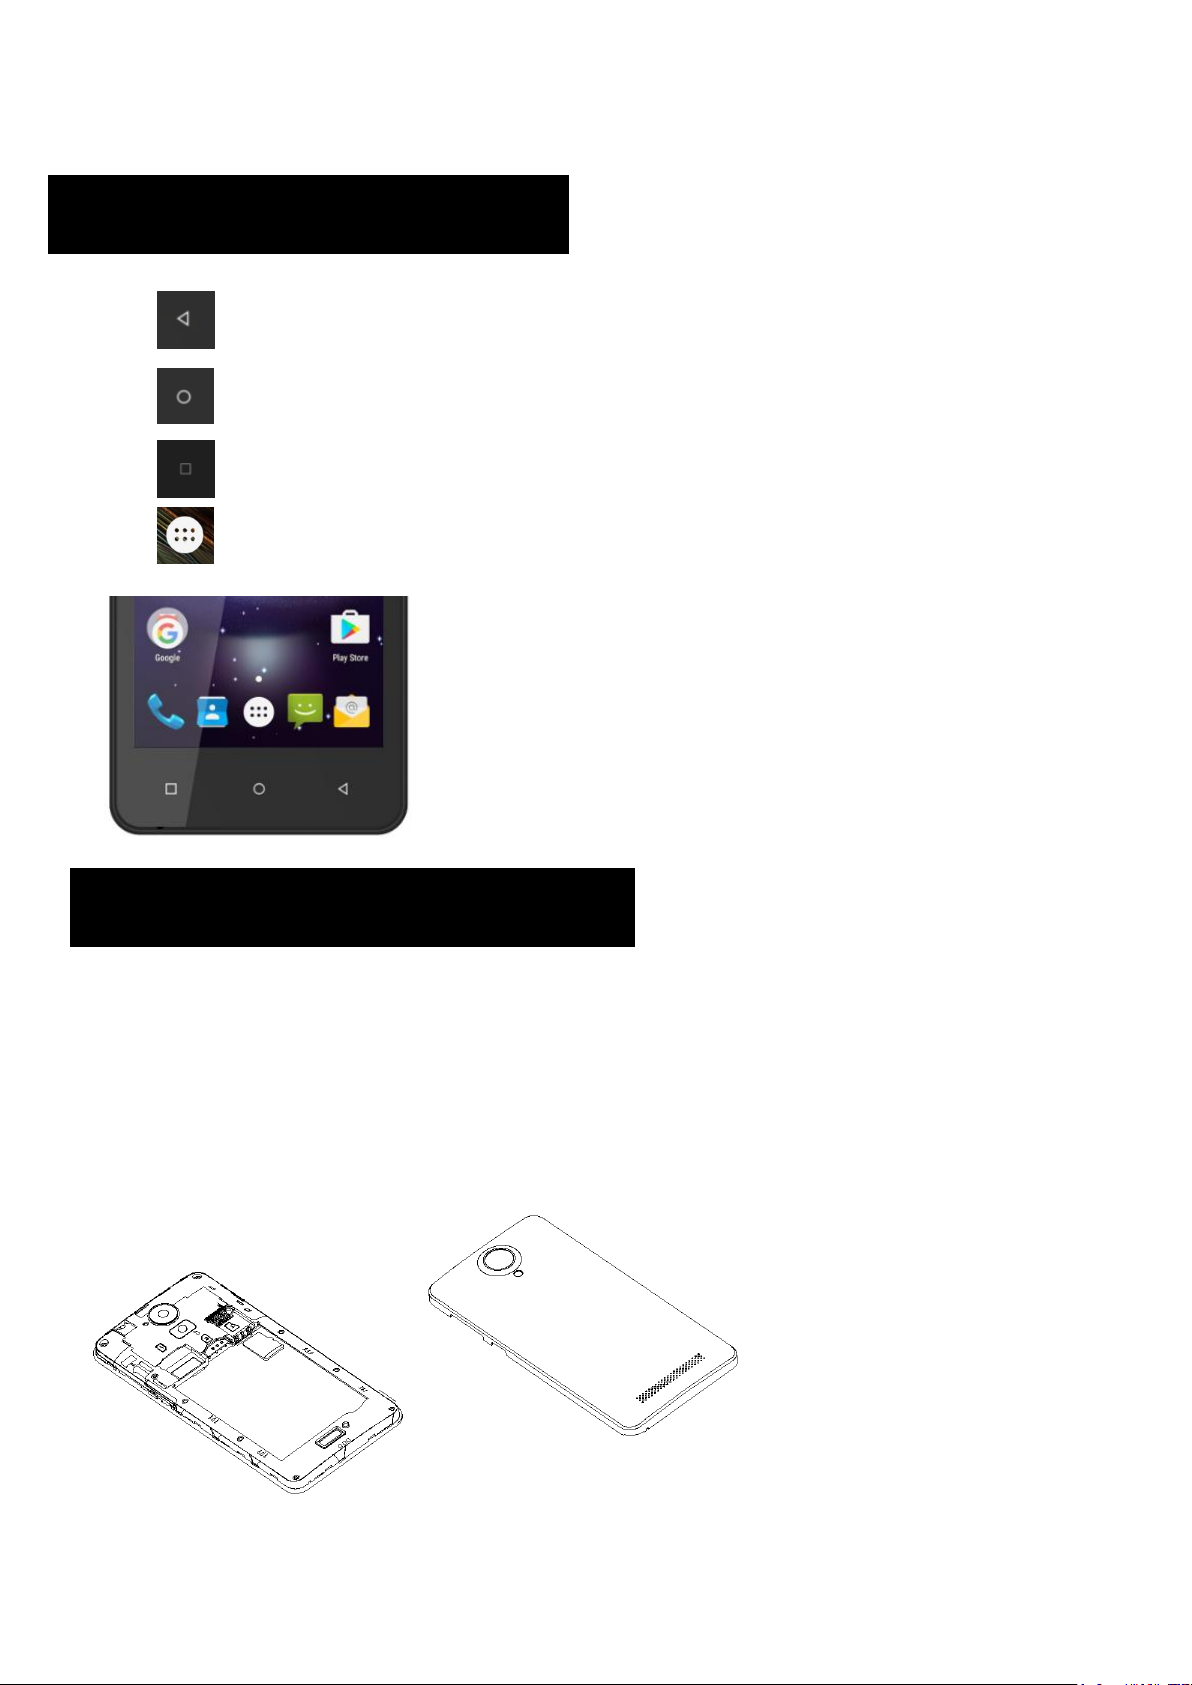
The button moves back one step to the previous menu/page.
The button returns immediately to the main screen.
The button displays a menu of recently opened applications.
The button will launch the applications and settings menu.
Installing the micro-SIM Card and Battery
Switch off your phone before installing or replacing the battery or the micro-SIM card.
Insert your fingernail into the slot at the bottom left of the back cover, and slide
fingernail across bottom of back cover to lift it off.
2. TOUCH BUTTONS
3. GETTING STARTED
WARNING!
To avoid damage to the phone, do not use any other kind of SIM card, or any
non-standard micro-SIM card cut from a SIM card. You can get a standard
micro-SIM card from your service provider.
Insert the battery by aligning the metal contacts on the battery with the metal
contacts in the battery compartment. Gently push down on the battery until it
clicks into place.
Align the back cover with the back of the phone and press the cover back into
place. Ensure that all the tabs are secure and there are no gaps around the
cover.
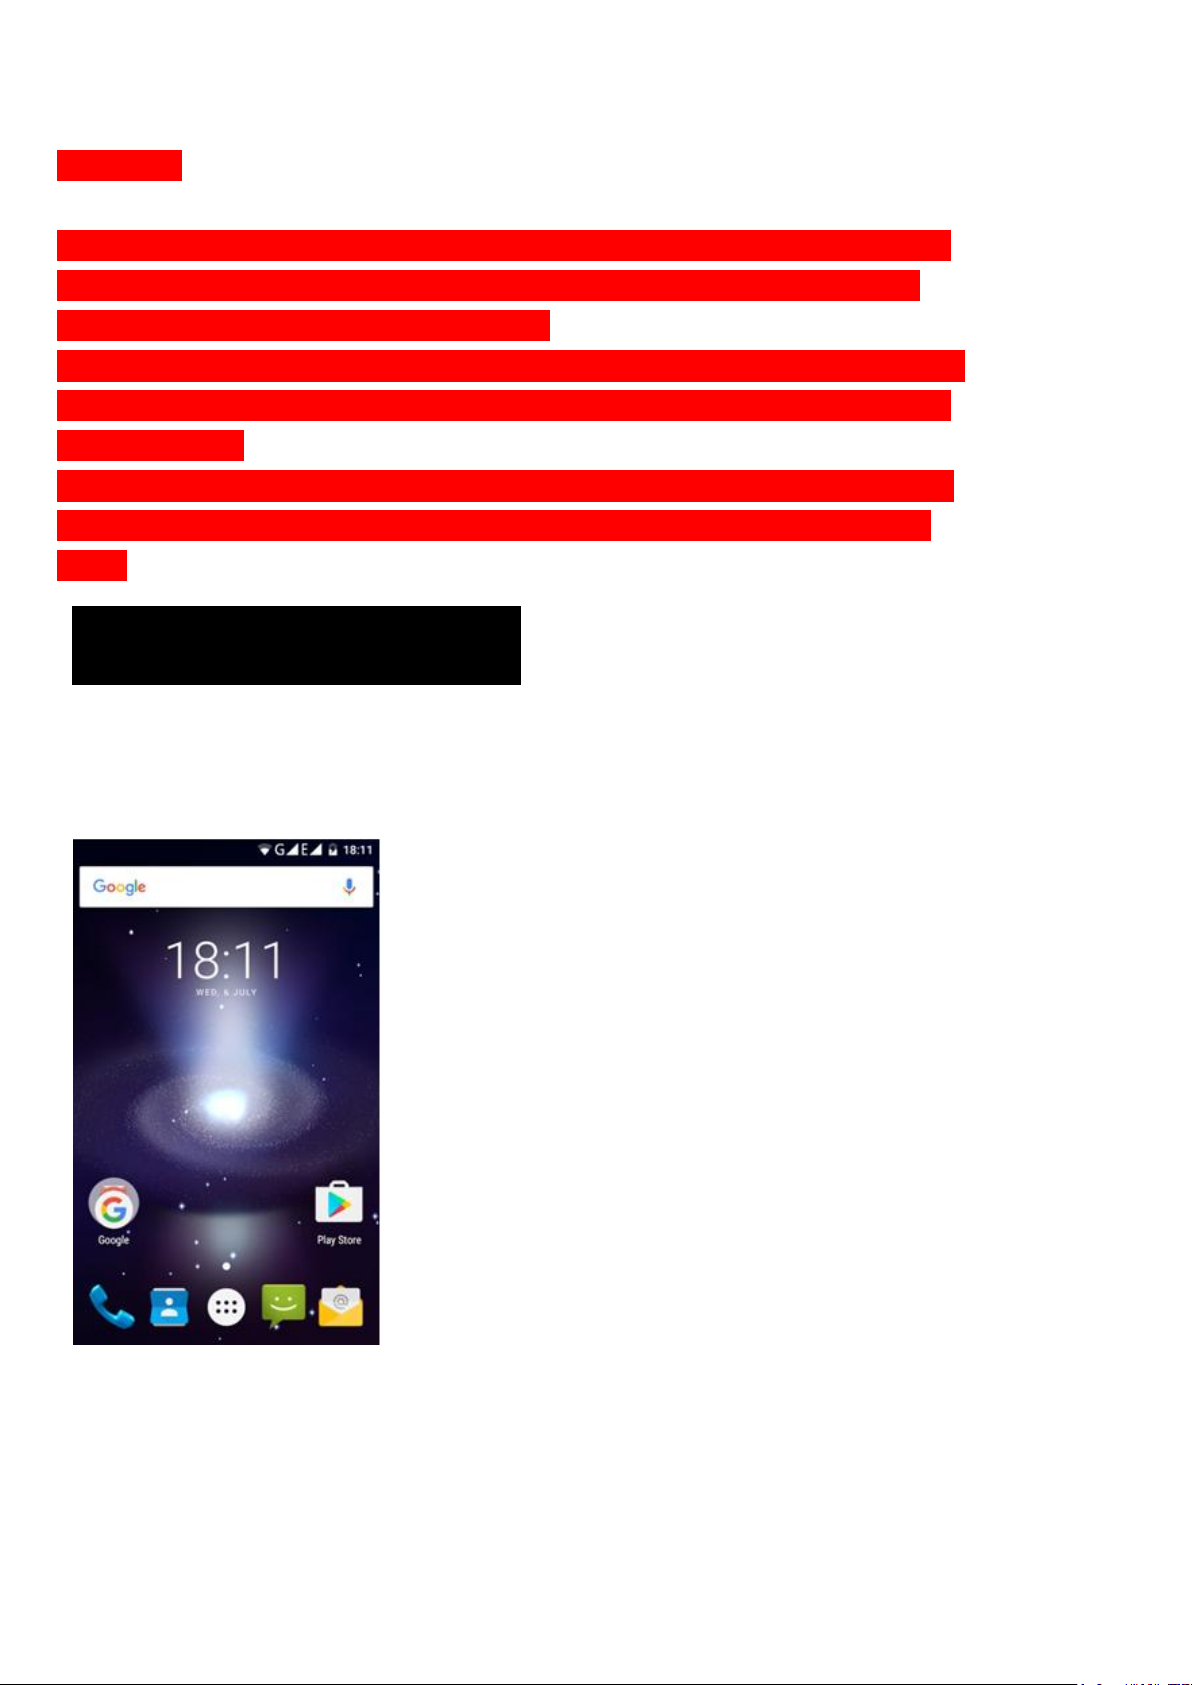
The home screen will look similar to the picture below. To switch between screens,
simply slide your finger left or right across the display.
The home screen contains shortcuts to your most-used applications and widgets.
The status bar displays system information, such as current time, wireless
connectivity and battery charge status.
4. HOME SCREEN

When you receive a notification you can quickly view it by following the below
instructions. Slide your finger from the top of the screen down to the center to
access Notification Panel to see your notifications.
Drag the notification menu down to display the second fast access menu, the menu
will look similar to the below image.
5.QUICK NOTIFICATION PANEL

Through this menu, it is possible to modify the functions such as brightness, auto
rotation, Wi-Fi, Bluetooth and more.
The settings menu allows you to adjust Tablet cellphone System Confguration.
To Change Settings:
1. Touch the “Settings” menu icon on the Application menu. The Settings
menu will open.
2. Touch a category title to view further options on the right side of the screen.
• Wi-Fi –Connect to/disconnect from wireless networks, view connection status
• Data usage – Enable/disable mobile data, view current usage, set mobile data limit
(note: this function is available only on devices supplied with 3G card
functionality)
• Bluetooth – Connect or disconnect Bluetooth devices
• Display – Adjust display settings
• Smart Gesture settings – “ON” / “OFF”
• Audio Profiles –Adjust the different audio settings such as ringtones
• Prompts and notifications –Adjust different notification settings
• Storage – View your phone’s internal and external storage settings
• Battery – View the status of your battery and make adjustments to power
consumption
• Apps – A list of all apps downloaded and running
• Delete applications – Select apps to delete
• Location services – Change approximate location detection, improve search
results, GPS satellites
• Security – Adjust phone’s security settings
• Accounts – Add or remove email and Google accounts such as Gmail, Google
• Language and input Select language –add to the dictionary, edit on-screen
keyboard settings, vocal search, etc.
• Backup and reset – Backup and restore data, perform factory reset, etc.
• Date and time – Set date, time zone, time, clock format etc.
• Accessibility – Set up large text, auto-rotate screen, speak password etc.
6. SETTINGS MENU

• About Phone – Displays information about your phone
1. When phone is powered off insert a SIM card by removing the SIM cover as
illustrated above, insert your finger in the indent located near the charging port and
unclip the SIM cover, then insert the SIM card. Please take note of the direction of
insertion following the diagram on the phone’s SIM port.
2. After inserting a SIM card, turn on the phone and wait a few minutes for your
phone to display Network information.
Inserting and Removing TF Card
NB: Please ensure when inserting an SD card your phone is powered “OFF”
1. Insert the TF card into the TF card slot located under the SIM card cover as
explained in the Inserting/Removing SIM card section. Gently push TF card into
slot until it clicks into place.
2. A prompt will be seen on the screen saying “Preparing SD card”.
Removing TF Card
1. Close all applications and documents which have been opened from the TF card.
2. Select “Settings” and find “Storage” then click “Unmount SD card”.
3. A prompt will be seen on the screen saying “SD card safe to remove”.
4. Gently press the TF card to remove and pull out the TF card.
Once your SIM cards are installed turn on your phone and wait a few minutes for
your phone to find a network.
Then select the Call icon. Here you can dial a number or select a contact
from your stored contacts list to call. You can also view outgoing and incoming
calls that have been made, as well as adding or removing contacts.
7. INSERTING/REMOVING SIM CAEDS
8. MAKING AND RECEIVING CALLS

To answer a call –Slide your finger to the blue Call Answer key.
To reject a Call –Slide your finger to the Red Call End key.
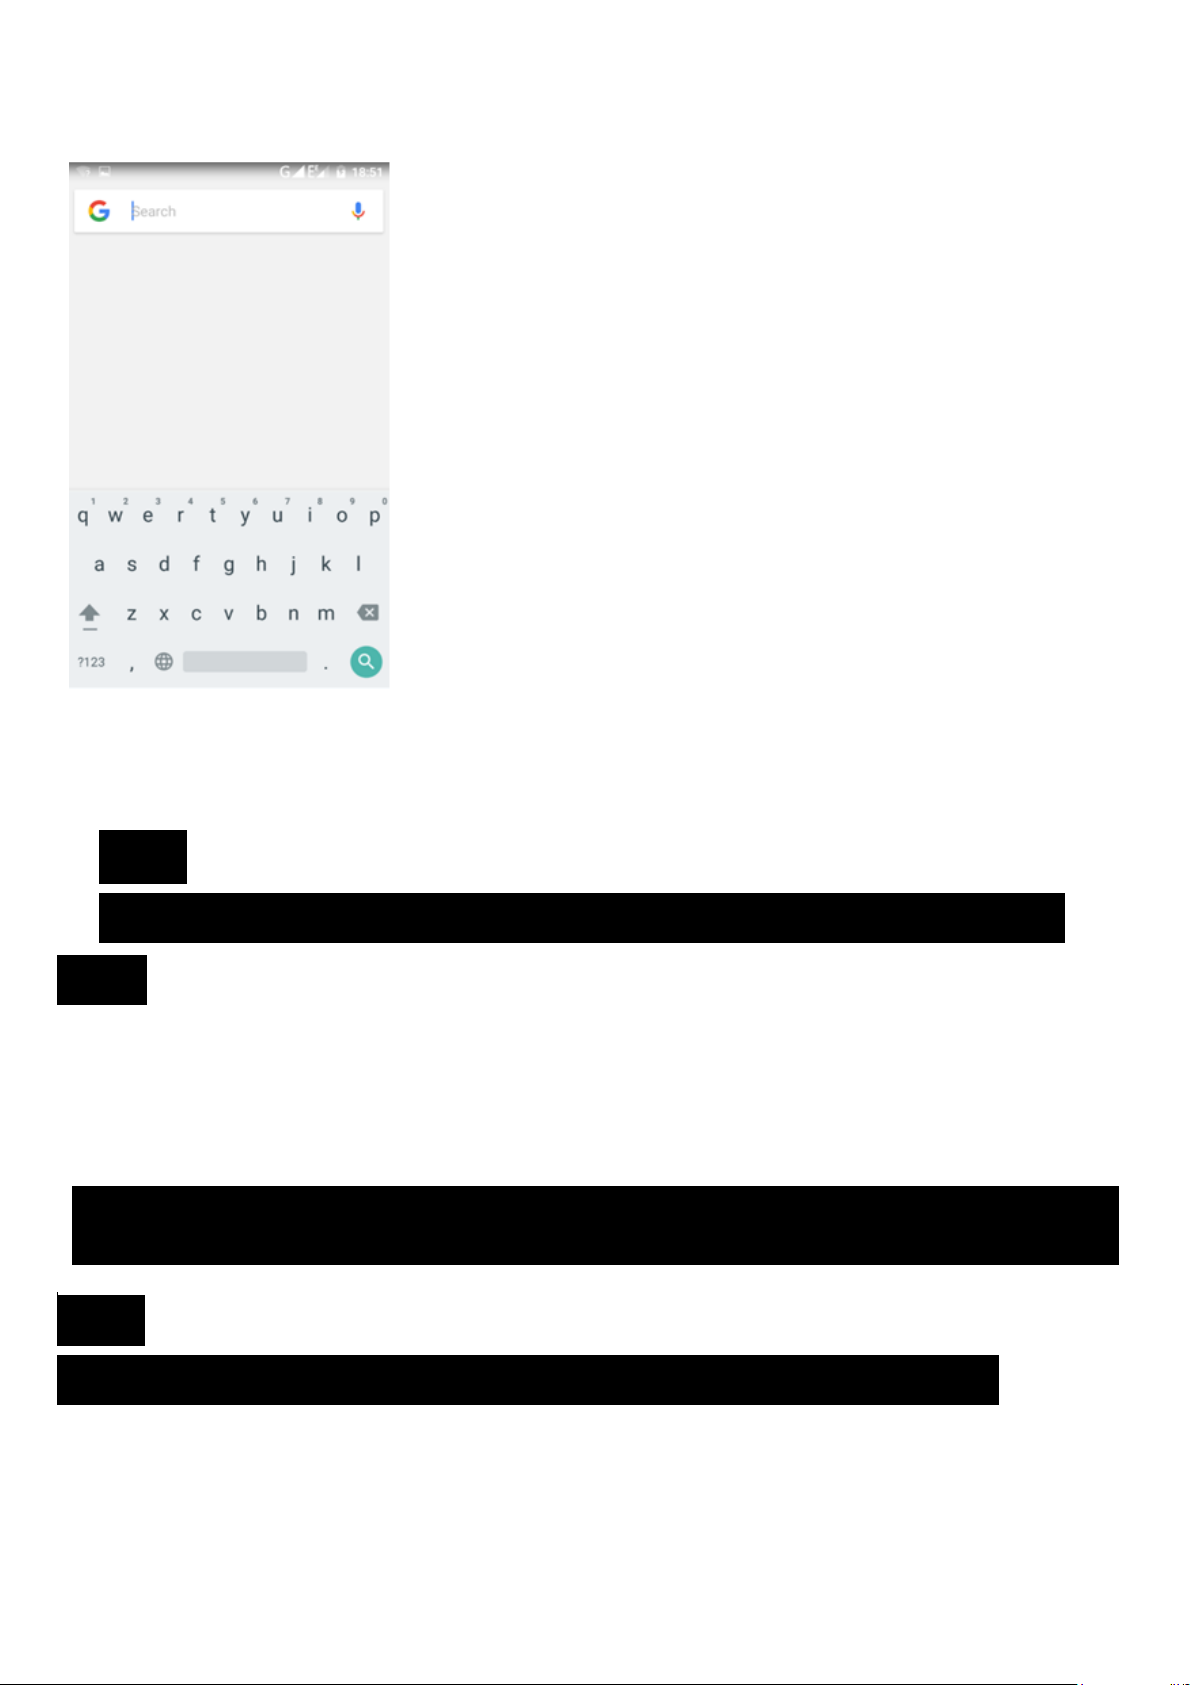
The phone has a software keyboard which automatically displays when you tap the
place on screen where you want text or numbers to be entered, then simply start
typing.
9. ANSWERING AND REJECTING CALLS
10. SOFTWARE KEYBOARD
Touchscreen
The touchscreen responds to finger touch.
Note:
• Don’t place any object on the touchscreen for it may damage or crush the
screen.
Single Click: Single click one icon to choose the icon or option you want.
Long Press: Press and hold an icon to delete or move an icon or app.
Drag: Press the icon and drag it to a different screen.
Note:
• Turn on your phone before connecting the phone to a PC by USB cable.
1. Use a USB cable to connect the phone with a computer. The phone will
automatically detect a USB connection.
11. HOW TO CONNECT TO A COMPUTER
Table des matières
Autres manuels Foto Electric Supply Téléphone portable


