Dual MXD26 Mode d'emploi
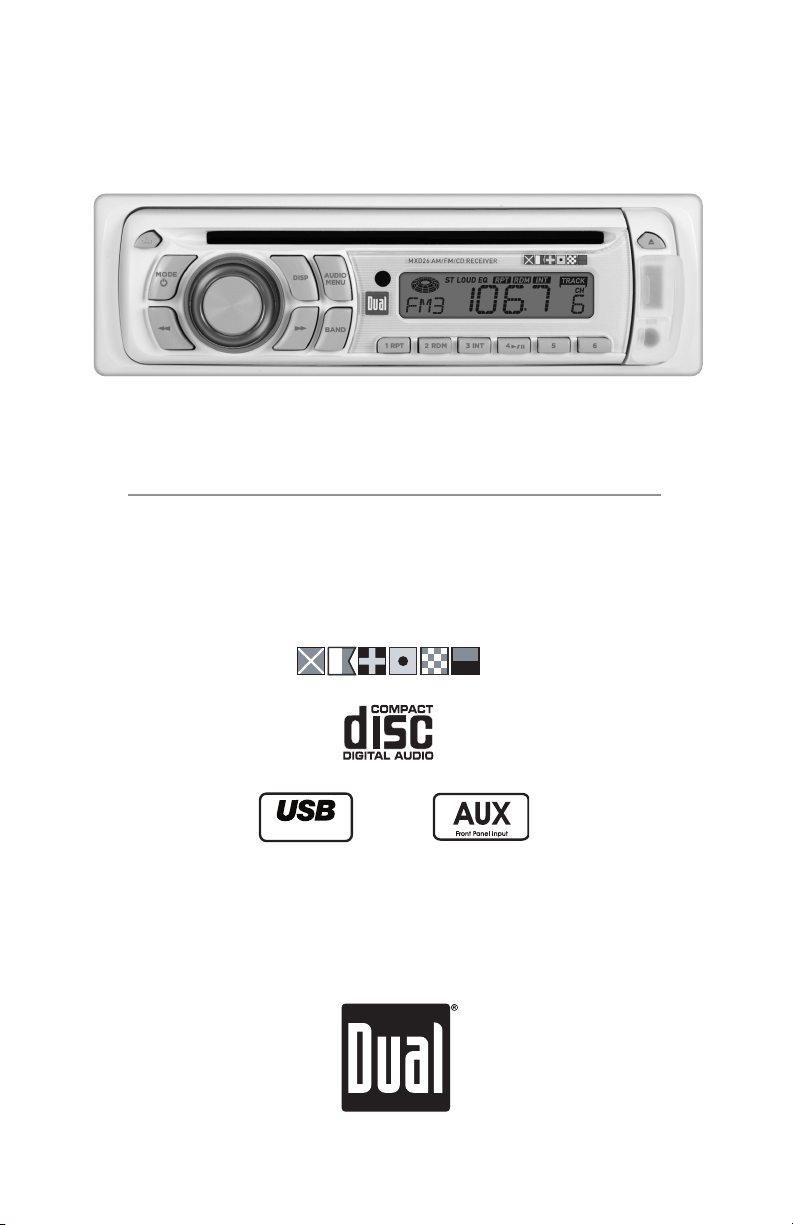
AM/FM/CD Receiver with Auxiliary Input, USB Charging Port,
Remote Control and Detachable Face
MXD26
Charge Port
INSTALLATION/OWNER'S MANUAL
MARINE

2
Preparation
TYPICAL MOUNTING METHOD
MXD26 INSTALLATION
Please read entire manual before installation.
Before You Start
•Disconnectnegativebatteryterminal.Consultaqualifiedtechnicianforinstructions.
•Avoidinstallingtheunitwhereitwouldbesubjecttohightemperatures,suchasfrom
directsunlight,orwhereitwouldbesubjecttodust,dirtorexcessivevibration.
Getting Started
•Remove2transitscrewslocatedontopoftheunit.
•Insertthesuppliedkeysintotheslotsasshown,andslidetheunitoutofthemounting
sleeve.
•Installmountingsleeveintoopening,bendingtabstosecure.
•Connectwiringharnessandantenna.Consultaqualifiedtechnicianifyouareunsure.
•Certainvehiclesmayrequireaninstallationkitand/orwiringharnessadapter(sold
separately).
•Testforcorrectoperationandslideinto
mounting sleeve to secure.
•Snaptrimringintoplace.

3
Rear Preamp Output
Connect to amplifier RCA input
Antenna Connector
RCA Cable
(sold separately)
AMP
BLUE
BLACK
RED
YELLOW
Remote Turn-On
Connect to amplifier or power
antenna. Insulate wire if not used.
Ground
Connect to vehicle
chassis ground.
Accessory
Connect to ignition
circuit or switched 12 volt source.
Memory
Connect to battery
circuit or constant 12 volt source.
Right Front
Gray/Black (-)
Gray (+)
Left Front
White/Black (-)
White (+)
Right Rear
Violet/Black (-)
Violet (+)
Left Rear
Green/Black (-)
Green (+)
5 AMP
AGC Fuse
Wiring Diagram
FUSE
When replacing the fuse,
makesurenewfuseisthe
correct type and amperage.
Using an incorrect fuse
coulddamagetheradio.The
MXD26 uses one 5 amp AGC
fuse located in-line.
* Caution-Donotattachanyspeakerleadstogroundasseveredamagewilloccur.
MXD26 INSTALLATION

4
Control Locations
Release
Mode / Power
Volume Knob
Display
Audio / Menu
Eject
USB Charging Port
Auxiliary Input
Preset 6
1
2
3
4
5
6
7
8
9
Preset 5
Preset 4 / Play / Pause
Preset 3 / Intro
Preset 2 / Random
Preset 1 / Repeat
Band
Tune/TrackUp
Tune/TrackDown
10
11
12
13
14
15
16
17
1 2 3
8
MXD26 OPERATION
TheMXD26hasaneasy-to-useinterfacethatprovidesarewardingexperience,as
wellassupportforyourfavoritetunes.AudioCD-RandCD-RWdiscplaybackensures
compatibility with your music collection, and the RCA preamp output provides the right
connections to expand your system. From its front panel auxiliary input for connecting your
MP3 player, to the detachable face for security assurance, this head unit has you covered.
46
57
91011121314151617

5
MXD26 OPERATION
1 2
4
3
8
95
6
7
Volume Down
Audio / Menu
Band
Tune/TrackDown
1
2
3
4
5
6
7
8
9
Display
Volume Up
Mute
Power / Mode
Tune/TrackUp
Remote Control

6
MXD26 OPERATION
General Operation
Press RELEASE and pull away from the left side to remove.
Tore-install,insertrightsideoffaceplatefirstthenpushleft
side to secure.
Remove trim ring and install supplied #1 x 7/32” Phillips head
screw through left side of mounting frame into faceplate.
Press to turn the unit on. Inserting a CD will turn the unit
on automatically. Press and hold for three seconds to turn
the unit off.
Press MODE to select between AM/FM, CD or auxiliary input.
Modes of operation are indicated in the display.
Insert a 3.5mm connector in the front panel AUX port.
Connect the other end of the 3.5mm connector to the
headphone output of an audio device, MP3 player, etc. Press
MODE to select AUX mode.
Adjustvolumeusingthe rotary encoder(00-46).
Theradiofrequency(tunermode)andCDtrack/elapsedtime
(CDplayermode)willbeshownbydefault.PressDISP to
displaytheclock,andpressDISP again to return to default
display.
Press and hold DISPfor2seconds,theclockwillbeginto
flash. Press TRACK
nn
toadjustthehoursandTRACK
ll
toadjusttheminutes.PressDISP or wait 5 seconds to save
theclocksettings.
Theclockwilldisplay12-hourAM/PMtimeinUSAfrequency
spacingmode(PM10:00).InEuropeanfrequencyspacing
mode,theclockwilldisplay24-hourtime(22:00).
Press and hold for more than 2 seconds to RESET the unit
uponinitialinstallation.TheRESET button is located behind
the faceplate.
Faceplate Removal
Semi-permanent
Faceplate Installation
Power On/Off
Mode
Auxiliary Input
Volume
Display
Set the Clock
12/24-hour Clock
Reset

7
Insert the USB connector of a battery powered USB device
into the USB charging port on the front panel, which
provides5voltsDCand1.0amps.TheUSBdevicewill
immediately begin charging.
Note: TheUSBchargingportmaynotbecompatiblewith
everydeviceduetodifferencesinpowerrequirements.
Note:ThisUSBportprovidespoweronly,andwillnot
playbackmusicfromaUSBdevice.
Press AUDIOtoselectbetweenVolume(default),Bass,
Treble,Balance,FaderandEQ.
USB Charging Port
Audio
BASSVOLUME TREBLE BALANCE FADER
EQ
MXD26 OPERATION
Menu Function Options Action
Loudness
Curve
LOUD OFF Disables the loudness function.
LOUD ON
Enables the loudness function. Activating this feature
willenhancethebassandtreblefrequencieswhen
listening to music at low volumes.
Tuner
Frequency
Spacing
FRE USA Programs the unit to USA tuner spacing.
(200kHzforFMand10kHzforAM).(Tuner mode only)
FRE EU Programs the unit to European tuner spacing.
(50kHzforFMand9kHzforAM).(Tuner mode only)
Local/Distance
Tuning
LOC OFF Activates distance tuning.
LOC ON Activates local tuning for strong station reception only.
Clock
Display
CLOC ON Programsunittodisplaytheclockwhenthepoweris
off.
CLOC OFF Programsunittonotdisplaytheclockwhenthepower
is off.
Beep
Confirmation
BEEP OFF Disables the confirmation beep.
BEEP ON Enables the confirmation beep.
Illumination
Dimmer
ILLUHI Programs the LCD to the brightest illumination level.
ILLU LO Lowers the LCD illumination level.
General Operation
Press and hold AUDIO/MENU for more than 3 seconds to
access the setup menu, then press AUDIO/MENU to cycle
through menu options. When desired option appears in the
display, rotate the volume knobleft/righttoadjustoractivate
the desired function.
Setup Menu

8
MXD26 OPERATION
Audio Operation
Press AUDIO until BAS appears
Rotate the volume knobleft/righttoadjust
(-6minimum/6maximum)
Press AUDIOuntilTREappears
Rotate the volume knobleft/righttoadjust
(-6minimum/6maximum)
Press AUDIO until BAL appears
Rotate the volume knobleft/righttoadjust
(LF12-RT12)"BALL=R"representsequalbalance.
Press AUDIO until FAD appears
Rotate the volume knobleft/righttoadjust
(FR12-RR12)"FADR=F"representsequalbalance.
Press AUDIOuntilEQappears.Rotatevolumeknobleft/
righttoadjustbetweenCLS,POP,ROCandOFF(default)
equalizationcurves.AnyadjustmenttotheBassorTreble
settingsautomaticallycancelsthecurrentEQcurve.
Press TUNE
nn
or TUNE
ll
for more than 2 seconds to
seektothenextstrongstation.
Press TUNE
nn
or TUNE
ll
momentarily to change the
radiofrequencyupordownonestepatatime.Pressand
holdtoadvancequickly.
Press BAND for more than 2 seconds to select mono or
stereo(default)receptionofthebroadcastsignal.
Press BAND to select between FM1, FM2, FM3 and AM1, AM2
bands.
Up to 18 FM stations and 12 AM stations can be stored.
Tostoreastation,selectthedesiredbandandstation.
Press and hold the desired preset button for more than 2
seconds. When stored, the preset number will appear in the
display.Thestationcanberecalledanytimebypressingthe
corresponding preset button.
Bass
Treble
Balance
Fader
Preset EQ Curves
Seek Tuning
Manual Tuning
FM Stereo/Mono
Band
Storing and Recalling
Station Presets
Tuner Operation

9
CD Player Operation
Withthelabelfacingup,insertastandardsizeCDintothe
CDslot.TheCDwillautomaticallybeginplayback.
Press the EJECTbuttontostopandejecttheCD.
Theunitwillchangetotunermode.
Press TRACK
ll
toskiptothebeginningofthenexttrack.
Press TRACK
nn
to return to the beginning of the current
track.PressingTRACK
nn
againskipstothebeginningof
theprevioustrack.
Press and hold TRACK
ll
or TRACK
nn
to fast forward
orreverseatrack.
Press
l
/
II
totemporarilystopCDplayback.
Press
l
/
II
againtoresumeplayback.
Press INTtoplaythefirst10secondsofeachtrack.
Press INT to cancel.
Press RPTtocontinuouslyrepeatselectedtrack.
Press RPT to cancel.
Press RDMtoplayalltracksinrandomorder.
Press RDM again to cancel.
Some CD-Rs and CD-RWs may be incompatible with this
unit, depending on media type and recording method.
Note:CD-Rrecordingsessionsmustbeclosed(finalized)for
playback.
Insert CD
Eject CD
Track Select
Fast Forward and Reverse
Pause
Intro
Repeat
Random
CD-R/CD-RW
Compatibility
MXD26 OPERATION

10
MXD26 WARRANTY
FCC Compliance
ThisdevicecomplieswithPart15oftheFCCRules.Operationissubjecttothefollowingtwoconditions:
(1)thisdevicemaynotcauseharmfulinterference,and
(2)thisdevicemustacceptanyinterferencereceived,includinginterferencethatmaycauseundesiredoperation.
Warning:Changesormodificationstothisunitnotexpresslyapprovedbythepartyresponsibleforcompliance
couldvoidtheuser’sauthoritytooperatetheequipment.
Note:ThisequipmenthasbeentestedandfoundtocomplywiththelimitsforaClassBdigitaldevice,pursuantto
Part15oftheFCCRules.Theselimitsaredesignedtoprovidereasonableprotectionagainstharmfulinterference
inaresidentialinstallation.Thisequipmentgenerates,usesandcanradiateradiofrequencyenergyand,ifnot
installed and used in accordance with the instructions, may cause harmful interference to radio communications.
However,thereisnoguaranteethatinterferencewillnotoccurinaparticularinstallation.Ifthisequipmentdoes
causeharmfulinterferencetoradioortelevisionreception,whichcanbedeterminedbyturningtheequipmentoff
andon,theuserisencouragedtotrytocorrecttheinterferencebyoneormoreofthefollowingmeasures:
• Reorient or relocate the receiving antenna.
• Increasetheseparationbetweentheequipmentandreceiver.
• Connecttheequipmentintoanoutletonacircuitdifferentfromthattowhichthereceiverisconnected.
• Consultthedealeroranexperiencedradio/TVtechnicianforhelp.
Troubleshooting
Problem Cause Action
Yellow wire not connected or incorrect voltage
Red wire not connected or incorrect voltage
Checkconnectionsforpropervoltage
(11~16VDC)
Blackwirenotconnected Checkconnectiontoground
Fuse blown Replace fuse
Speakerwiresnotconnected Checkconnectionsatspeakers
Oneormorespeakerwirestouchingeach
other or touching chassis ground
Insulateallbarespeakerwiresfrom
each other and chassis ground
Yellow or red wire touching chassis ground Checkforpinchedwire
Speakerwirestouchingchassisground Checkforpinchedwire
Incorrect fuse rating Use fuse with correct rating
Unit is not mounted correctly
CD mechanism position out of alignment
CD transit screws still in place
Checkmountingsleeveoradda
backstrapsupport
Physicaldefectinmedia(CD,CD-RorCD-
RW) Checkmediaforscratches
Press EJECT for 3 seconds to reset
CD mechanism position
Remove 2 transit screws located on top
of the unit.
Unit will not turn on
(nopower)
Unit has power
(butnosound)
Unit blows fuses
Excessiveskipping
Unit will not accept
a disc
Error Codes
Error Code Cause Action
ER-1 appears on display Disc error PressejectorRESET
ER-2 appears on display Mechanism error or disc is in upside down PressejectorRESET
ER-3 appears on display Servo error PressejectorRESET
FCC Compliance
Table des matières
Autres manuels Dual Récepteur de voiture

Dual
Dual DXDM228BT Mode d'emploi

Dual
Dual XDMA460 Manuel utilisateur

Dual
Dual XDVD8285 Mode d'emploi

Dual
Dual XDVDN8190 Mode d'emploi

Dual
Dual XDVD156BT Mode d'emploi

Dual
Dual XDVD210 Manuel utilisateur

Dual
Dual DCBT304U Mode d'emploi

Dual
Dual XDVD1170 Mode d'emploi

Dual
Dual XHD7714 Mode d'emploi

Dual
Dual DCPA701 Mode d'emploi

Dual
Dual MCD139BT Mode d'emploi

Dual
Dual DC504BiM Mode d'emploi

Dual
Dual XML8110 Mode d'emploi

Dual
Dual XDCP97BT Mode d'emploi

Dual
Dual XHD6420 Mode d'emploi

Dual
Dual XD5220 Mode d'emploi

Dual
Dual XML8100 Mode d'emploi

Dual
Dual XDVDN8290N Mode d'emploi

Dual
Dual XC4300 Mode d'emploi

Dual
Dual XDVD210 Mode d'emploi


