Deka EVO II Series Manuel utilisateur
1
INSTRUCTION
MANUAL
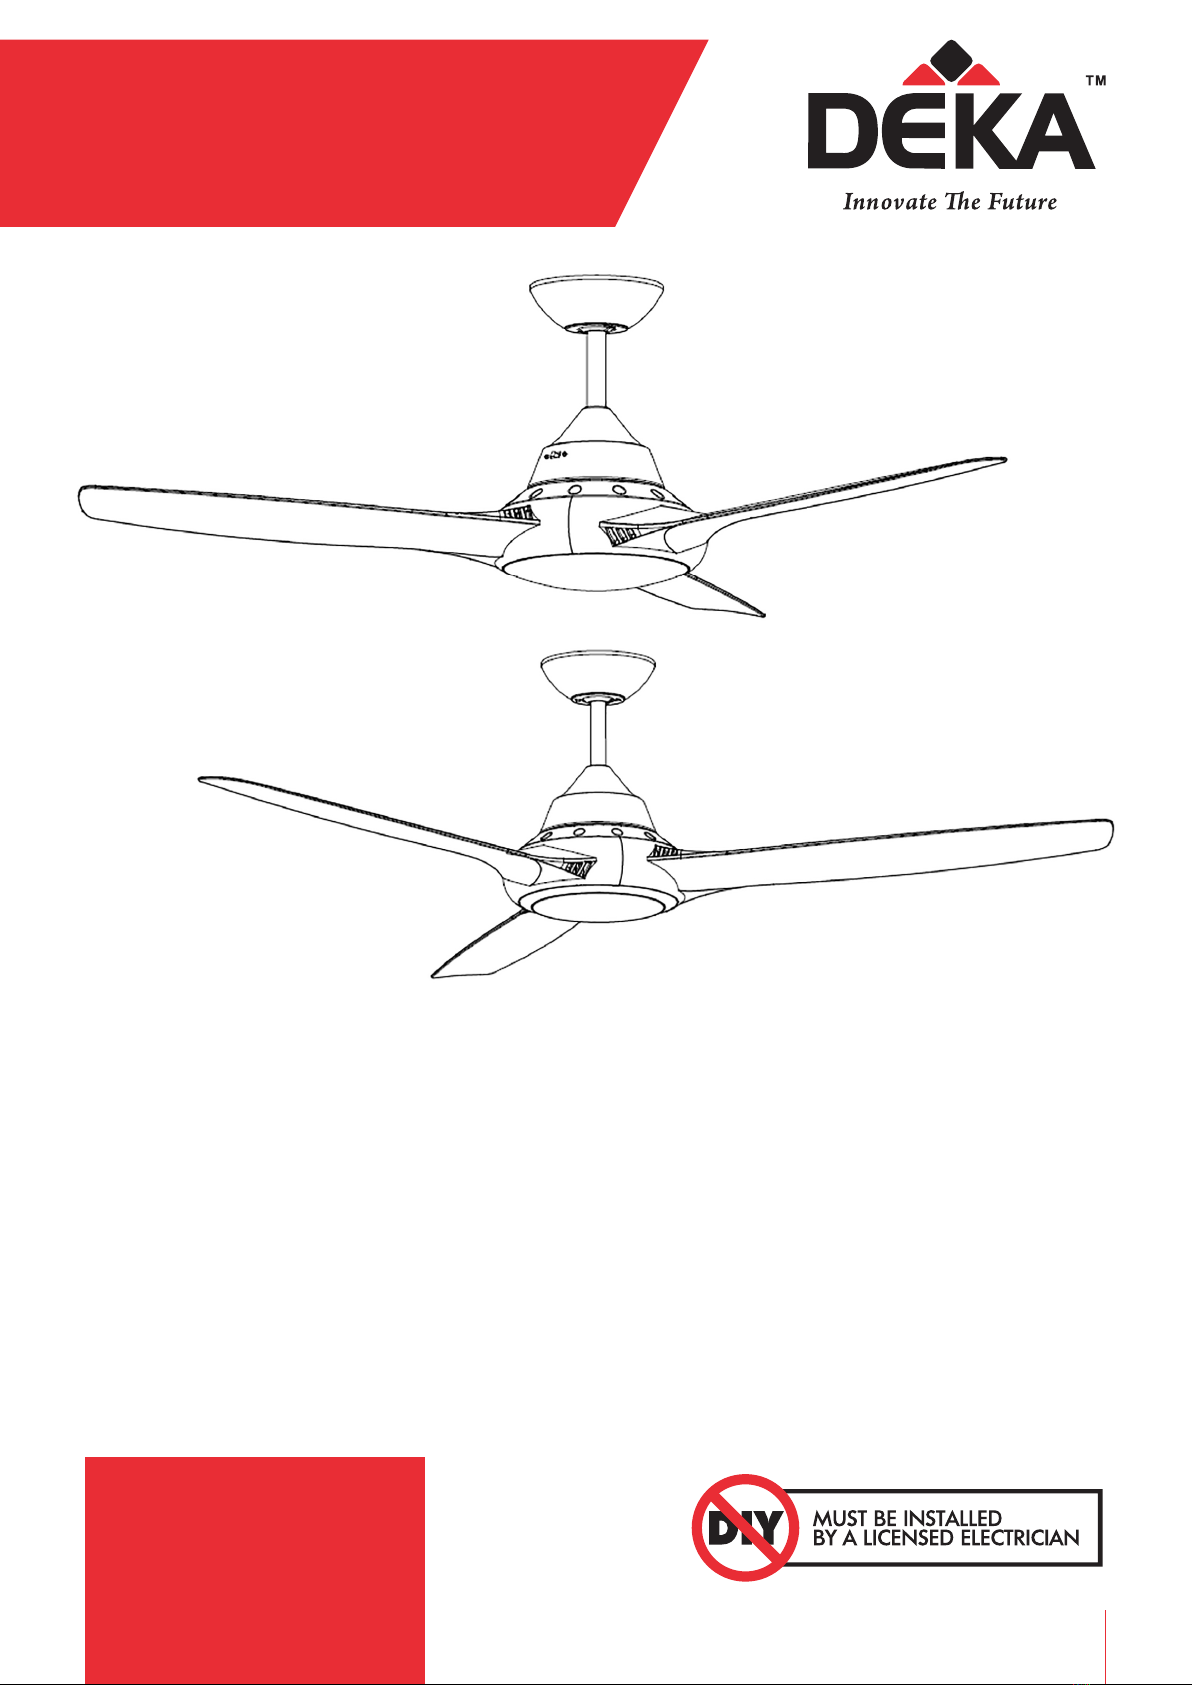
Fan pictured is for illustration purposes only.
Styles may vary according to the specific models.
Ceiling Fan Installation Manual, Rev 1.0
EVO II series
Models: EVOII36xx, EVOII36LED1xx,
EVOII50xx, EVOII50LED1xx,
EVOII58xx & EVOII58LED1XX
• INSTALLATION
• OPERATION
• MAINTENANCE
• WARRANTY
INFORMATION
CAUTION
Read Instruction Carefully
For Safe Installation and
Fan Operation
1

2
SAFETY
PRECAUTIONS
Thank you for purchasing this quality Deka ceiling
fan. To ensure correct function and safety, please
read all instructions before using the product and
keep all instructions for future reference.
1. In Australia, the appliance is not intended for use by persons (including children) with
reduced physical, sensory or mental capabilities, or lack of experience and knowledge,
unless they have been given supervision or instruction concerning the use of the
appliance by a person responsible for their safety.
2. Children should be supervised to ensure that they do not play with the appliance.
3. An all-pole disconnection switch must be incorporated into the fixed wiring, in
accordance with local wiring rules.
4. Do not dispose of electrical appliances as unsorted municipal waste, use separate
collection facilities. Contact your local government for information regarding the
collection systems available. If electrical appliances are disposed of in landfills or
dumps, hazardous substances can leak into the ground water and get into the food
chain, damaging your health and well-being.
5. The structure to which the fan is to be mounted must be capable of supporting a
weight of 30kg.
6. The fan should be mounted so that the blades are at least 2.1m above the floor in
Australia.
7. The fan is suitable for indoor and coastal areas provided the fan is fully undercover.
8. Only a licensed electrician/contractor should perform installation of this product.
9. WARNING: If unusual wobbling or oscillating movement is observed, immediately
stop using the ceiling fan and contact the installing electrician/contractor or warranty
provider as listed in this rear of this document.
10. The replacement of any parts should be performed by a licensed electrician/contractor,
the warranty providers agents, or suitably qualified persons.
11. The fixing means for the attachment of the mounting bracket (as supplied) or other
devices to the ceiling shall be fixed with a sufficient strength to withstand 4 times the
weight of the ceiling fan.
WARNING:
FOR SAFE USE OF THIS FAN AN ALL-POLE DISCONNECTION
MUST BE INCORPORATED INTO THE FIXED WIRING IN
ACCORDANCE WITH THE WIRING RULES.
As outlined in clause 7.12.2 of AS/NZS 60335-1 for meeting the minimum
electrical safety of this standard. Please note warranty will be void if installation
is without an all-pole disconnection incorporated in the fixed wiring in accordance
with the wiring rules. Example: If a fan is connected to a circuit that can be
isolated via an all-pole safety switch at the switchboard, then this is considered
to be an all-pole disconnection to the ceiling fan electrical circuit, meeting the
requirements of clause 7.12.2 of AS/NZS 60335.1.
If installing with a remote control, a single-pole switch on the active of the
receiver input of remote control must also be included in the wiring, and
located in the same room as the ceiling fan.
2

3
BEFORE
INSTALLATION
Unpack the fan and carefully identify the parts. Please refer to Fig 1.
FAN WITHOUT LIGHT (Fig 1a.) FAN WITH LED LIGHT (Fig 1b.)
1. Mounting bracket x 1 1. Mounting bracket x 1
2. Pre-assembled fan motor, down rod,
canopy and bottom cover x 1 2. Pre-assembled fan motor, down rod,
canopy bottom cover & light kit x 1
3. Blades x 3 3. Blades x 3
4. Wall switch x 1 set 4. Wall switch x 1 set
5. Balancing kit x 1 set 5. Balancing kit x 1 set
6. Blade screws x 11 6. Blade screws x 11
7. Mounting bracket screws x 2
(timber use only) 7. Mounting bracket screws x 2
(timber use only)
8. Ceiling fan bottom plate 8. Light kit x 1
Fig 1a.
Fig 1b.
3

4
INSTALLING THE
MOUNTING BRACKET
• The ceiling fan must be installed in a location so that the blades are a minimum 300mm
spacing from the tip of the blade to the nearest objects or walls (Including bulkheads
and beams).
• Secure the hanging bracket to the ceiling joist or structure that is capable of carrying a
load of at least 30kg, with the two long screws provided. Ensure at least 30mm of the
screw is threaded into the support.
Note: The bracket screws provided are
for use with wooden structures only. For
structures other than wood, the appropriate
screw type MUST be used.
Warning: Ceiling fan must be mounted so that blades are 2.1m from the floor and 300mm
from the wall and other obstructions to the blade tip.
Angled Ceiling Installation
This fan hanging system supports a
maximum 18-degree angled ceiling
installation.
4

5
BLADE
INSTALLATION
HANGING
THE FAN
Lift the fan assembly onto the mounting bracket.
Ensure slot (A) of the hanging ball joint is positioned
on notch (B) of the mounting bracket (C) to prevent
the fan from rotating when in operation. Fig 6.
BLADE ATTACHMENT
1. Remove the ceiling fan bottom plate (or the lamp shade) by
twisting it anti clockwise. Fig 2.
2. Remove the blade screws (including upper and lower) and
keep safe for the following instruction. Fig 3 & Fig 4.
3. Insert the blade into the fan motor assembly and align the
mounting holes on the blade to the mounting holes on fan
motor assembly. Tighten the blade on the motor by using 4
screws. (Take care not to over tighten as this can damage
blades). Fig 3 & Fig 4.
4. Once completed, repeat the process on the remaining blades.
5. After completing the blades installation, please re-install the
bottom cover (or lamp shade). Fig 5.
Fig 2.
Fig 3. Fig 5.
Fig 6.
Fig 4.
5

6
ELECTRICAL
WIRING DIAGRAM
WARNING: For your safety all electrical connections must be undertaken by a licensed
electrician.
NOTE: An additional all pole disconnection must be incorporated in the fixed wiring in
accordance with the wiring rules.
NOTE: Wiring diagram includes the light kit wiring. The light wiring diagram and switch is
omitted when no light kit is used with the ceiling fan.
WIRING DIAGRAM: For installations using wall control only
After completing the electrical connection at the mounting bracket terminal block,
connect the ceiling fan by joining the male and female connector plugs.
6

7
WIRING DIAGRAM: WHEN USING REMOTE CONTROL
(Remote sold separately)
A single-pole switch must be placed in the same room as the fan as per
local wiring regulations AS/NZ 3000:2018. Please follow the below wiring
instructions before installation of remote kit. A remote kit does not substitute
for a terminal switch and doing so will void warranty.
1/ Remote receiver installation.
FINISHING
THE INSTALLATION
Cover the mounting bracket with the canopy. Ensure all electrical wiring is tucked inside
the canopy and that the wires are not damaged during this step. Secure the canopy to
the mounting bracket using the screws provided. Do not overtighten the screws as this
will misalign the canopy potentially causing sounds. For best results leave screws about
4-5mm from mounting bracket and position canopy into key lock slot.
7

8
USING YOUR
CEILING FAN
FAN WALL CONTROL
Turn on the power and check the operation of the fan.
• OFF Position – Fan off
• 3rd Position – Low fan speed
• 2nd Position – Medium fan speed
• 1st Position – High fan speed
LIGHT CONTROL (If Applicable)
• Switch – ON/OFF
REVERSE FUNCTION
Your ceiling fan can operate either in fan mode or reverse fan mode.
SUMMER MODE: The reverse switch should be in the “left” (SUMMER) position to rotate
the fan in an anticlockwise direction. The airflow will be directed downwards, for cooling in
summer.
WINTER MODE: The reverse switch should be in the “right” (WINTER) position to
rotate the fan in a clockwise direction. The airflow will be directed upwards, for energy
conservation in winter.
8

9
REPLACING THE LED DRIVER
(For models with light kit)
REPLACING THE LED LIGHT PLATE
(For models with light kit)
NOTE: Always turn OFF the power at
the mains switch before attempting to
replace the LED driver.
NOTE: LED Driver shall only be
replaced by a licensed electrician.
Loosen the screw (A) to lift the top
housing (B). Replace the LED driver
by unplugging the connectors (C, D).
Reposition the top housing and secure
it on the down rod by screw (A).
NOTE: The light source contained in this luminaire shall only be replaced by a licensed
electrician.
NOTE: Always turn OFF the power at the mains switch before attempting to replace the
LED LIGHT.
1. Remove the lamp shade by rotating it anti clockwise. Fig 7.
2. Remove the light cover by loosening the 2 screws. Fig 8.
3. Unplug the male and female plugs, then remove the 2 screws holding plate to the fan
and now the LED light kit will be free. Fig 9.
4. Replace the LED light kit and reinstall the plate back to the fan, replug the male and
female plugs together and reinstall the light cover back to the fan.
5. Reinstall the lamp shade to the fan firmly by rotating it clockwise.
Fig 7. Fig 8. Fig 9.
9

10
CHANGING THE COLOUR OF THE LED LIGHT
(For models with light kit)
NOTE: Always turn OFF the power at the mains switch before attempting to change the
Light output on your ceiling fan.
You are able to select/change the colour output of the LED light on your
EVO II Ceiling fan.
1. Loosen the screw (A) to lift the top housing (B)
2. Locate the switch (C) and select your desired colour choice
• WW – 3000K Warm White – 1120 lumen
• NW – 4000K Neutral White – 1330 lumen
• W – 5700K Cool White – 1230 lumen
3. After selection, place the switch back inside safely, reposition the top housing (B) and
secure it on the down rod by screw (A).
4. Turn mains switch back on and test.
10
Ce manuel convient aux modèles suivants
6
Table des matières
Autres manuels Deka Ventilateur


