
Define PRO-PRC Manuel utilisateur

PRO-PRC-MAN-16V04 (0719)Copyright © 2016 Dene Instruments
1
This quad channel process controller is
ideal for numerous industrial applica-
tions with 0–20mA or 4–20mA DC in-
puts. It can be used either on its own, or
inconjunction with another instrument
(such as a transmitter).
One of the key features of this control-
ler is its ability to average the inputs
across 2, 3 or 4 input channels, and use
this averaged value for a display source
or for setpoint activation.
There is also the option to log your data
and store it in the controller's internal
memory, where it can be printed or re-
trieved in Excel-compatible format for
easy analysis.
Contents
1 - Specications .............................. 2
2 - Front Panel & Display ................. 3
3 - Wiring.......................................... 5
4 - Dimensions & Installation .......... 8
5 - Input Setup & Calibration ........ 10
6 - Setpoint Setup .......................... 19
7 - Setpoint Direct Access.............. 22
8 - Reset PIN Numbers / View
Firmware Version...................... 22
A - Appendix A - Serial Modes....... 23
PRO-PRC
Quad Process Controller
Order Codes
PRO-PRC
-HV
-LV
85–265V AC / 95–370V DC
15–48V AC / 10–72V DC
Options
-R2
-R4
2 x relay outputs
4 x relay outputs
-A 1 x mA/V analog output
-S2R 1 x RS232 (RJ11 terminal)
-S4S 1 x RS485 (screw terminal)
-D Data logging 3,328kB

PRO-PRC-MAN-16V04 (0719) Copyright © 2016 Dene Instruments
2
1 SPECIFICATIONS
Input
Input signal 4 x 0–20mA / 4–20mA
Power supply
HV (85–265V AC/95–370V DC) OR
LV (15–48V AC/10–72V DC)
Excitation 24V DC (50mA max)
Sampling rate 5Hz per channel
Resolution 100,000 counts
Zero dri 0.05μA/°C typical
Span dri ±25ppm/°C typical
Non-linearity ±0.01% full scale max
Input noise 0.3μAp-p typical (at 1Hz
output rate)
Noise rejection 50/60Hz
Relay Output
Number of relay outputs None, 2, or 4
Relay output type 5A form A (3A 240V
AC max or 3A 30V DC max)
Analog Output
Analog output type 1 x Isolated 16 bit
4–20mA / 0–10V (selectable)
Comm Port
Number of serial ports None or 1
Serial port options Isolated RS232 (RJ
terminal) or RS485 (screw terminal)
Output mode Custom ASCII, Modbus
RTU slave, or Ranger A
Data rate: 1200–115k2 baud
Parity: Odd, even or none
Data Logging
Memory 3,328KB (stores up to 12,288
samples)
Programming
Front panel buttons Up, Down, P (Prog/
Enter), plus 2 Menu buttons (F)
Security Input and setpoint setups
are independently accessible and PIN
protected
Display
Display type LED display, 5 buttons
LED indicators 6 setpoint indicator LED's
Digits 1 row of 6 digits, 13mm (0.5"), 14
segment alphanumeric LED
Display range 0.1 to 99999.9
OPTIONAL
OPTIONAL
OPTIONAL
OPTIONAL

PRO-PRC-MAN-16V04 (0719)Copyright © 2016 Dene Instruments
3
Construction
Casing Panel mount case
Ingress protection rating IP65 dust/
splash proof (face only)
Dimensions (H x W x D)
48 x 96 x 120mm (1.89 x 3.78 x 4.72")
Panel cutout 45 x 92mm (1.77 x 3.62")
2 FRONT PANEL & DISPLAY
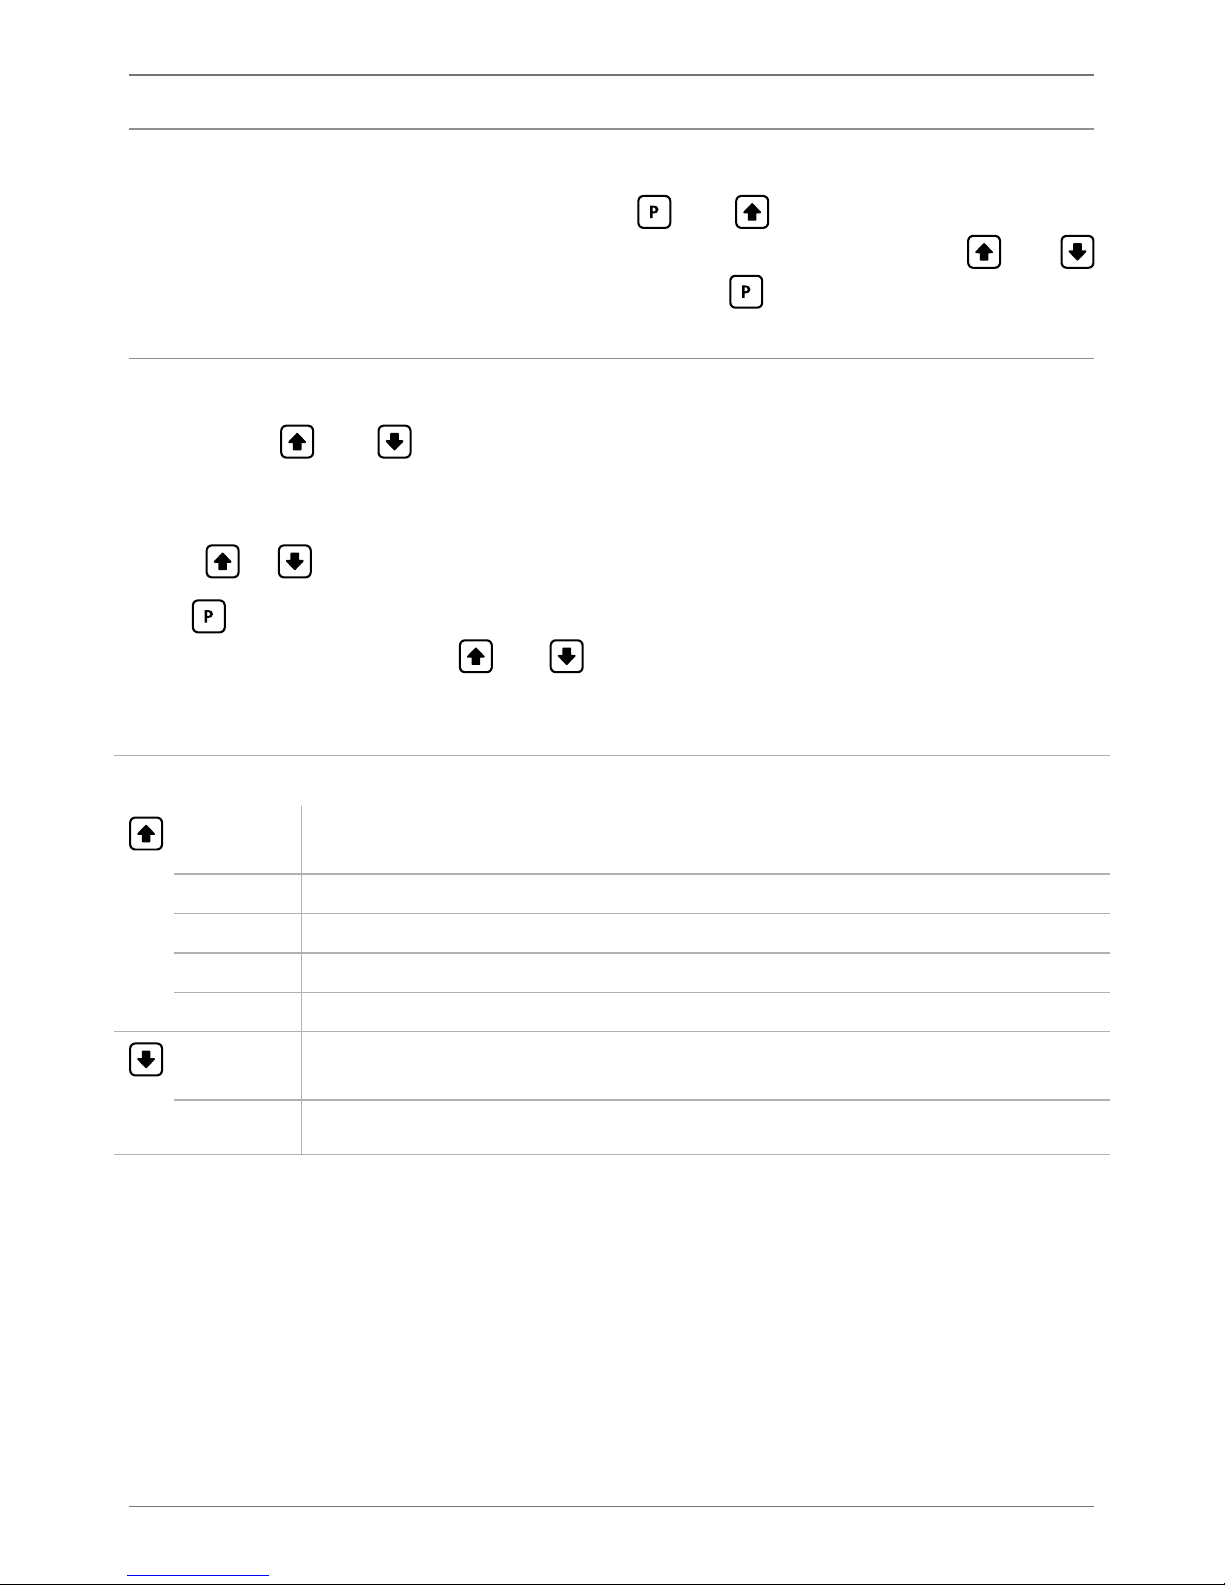
2.1 - Front panel
SPX The SP LED's are used to
indicate active setpoints.
This button is used to ac-
cess the Input Setup & Calibra-
tion menu (Section 5).
This button is used to save
96mm (3.78")
48mm
(1.89")
your settings and advance to the next step in the setup process. If you have data
logging installed, it can also be congured as a data logging shortcut key (see 5.4D).
This button is typically used to scroll through options or increase values in the
setup menu. Pressing this button from the main display will allow you to view/reset
the Peak value, or to view the current input values for channels 1–4 (see 2.3).
This button is typically used to scroll through options or decrease values in the
setup menu. Pressing this button from the main display will allow you to view/reset
the Valley value, or to view the current channel average value (see 2.3).
This button is used to access the Setpoint Setup menu (Section 6) and the Set-
point Direct Access menu (Section 7).
PRO-PRC-MAN-16V04 (0719) Copyright © 2016 Dene Instruments
4
2.2 - Display brightness
To adjust the display brightness, press the and buttons together from the
main display. BRI appears and toggles with the current setting. Use the and
buttons to adjust the LED backlight, and then press to nish.
2.3 - Up and down button shortcuts
Pressing the and buttons from the main operational display allows instant
access to a number of values held in the controller's memory. These variables will ap-
pear in the order shown in the table below, and will cycle continuously at each press
of the or button.
Press at any time to return to normal operating mode. PEAK and VALLEY may be
reset to zero by pressing the and buttons at the same time while the variable
is being displayed.
Up and down button shortcuts
PEAK The maximum measured value since the instrument was turned on or reset
(see 5.3H to set the source for 'Peak/Valley')
CH 1 Current input value for channel 1
CH 2 Current input value for channel 2
CH 3 Current input value for channel 3
CH 4 Current input value for channel 4
VALLEY The minimum measured value since the instrument was turned on or reset
(see 5.3H to set the source for 'Peak/Valley')
CH AVE Channel average value (see 5.3I)

PRO-PRC-MAN-16V04 (0719)Copyright © 2016 Dene Instruments
5
3 WIRING
3.1 - Pinouts
D E F
A B C Key
3.1A Relay Output (see 3.3)
3.1B Serial Port (see 3.5)
3.1C Analog Output (see 3.4)
3.1D Analog Input (see 3.2)
3.1E Function Pins (see 3.6)
3.1F Power Supply HV/LV
(see 3.7)
3.2 - Analog input
See 3.1D
Wire the analog input module as shown, referring to the
product label. The unit accepts up to four process inputs.
Note that you must start wiring from channel 1. (I.e. For 2 channels,
use CH1–2, not CH3–4).
+24V EXC
CH3CH2CH1 CH4
3.3 - Relay outputs
See 3.1A
If your controller has relay
outputs tted, wire them as
shown. Relays can be pro-
grammed to operate within
the total span range of the
controller.
SP2 SP1
–R2
SP3SP4 SP1SP2
–R4

PRO-PRC-MAN-16V04 (0719) Copyright © 2016 Dene Instruments
6
3.4 - Analog output
See 3.1C
If your controller has analog output tted, wire it as shown for either
voltage (0–10V) or current (4–20mA).
–V
+V
–mA
+mA
-A
3.5 - Serial port
See 3.1B
If your controller has serial port tted, wire it as shown
in the applicable diagram. (S2R: RS232, RJ11 terminal,
S4S: RS485, screw terminal).
N/C
SGND
+5V DC (option)
RXD
TXD
N/C
-S2R
D
-
D +
SGND
-S4S
3.6 - Function pins
See 3.1E
Connect external switches as shown to enable
a function to be executed when its switch is
activated.
›Valley Resets the valley reading
›Hold Holds the current display value
›Test Resets the meter
›Peak Resets the peak reading
Valley TestHold COM Peak

PRO-PRC-MAN-16V04 (0719)Copyright © 2016 Dene Instruments
7
3.7 - Power supply
See 3.1F
DO NOT attempt to wire your controller while the power is on. NEVER connect your
low voltage controller to mains power.
Wire your controller for low or high voltage power supply, as show in the diagrams
below. Check the label on the unit against the colour of the connector:
›Orange =
High voltage (85–265V AC,
95–370V DC)
›Black =
Low voltage (15–48V AC,
10–72V DC)
High
voltage
(HV)
HV power
supply
−DC
Neutral
AC
+DC
Live
AC
Low
voltage
(LV)
LV power
supply
−DC
Neutral
AC
+DC
Live
AC
Once you have completed the wiring process it is safe to switch on your power
supply. Ensure that your display is functioning before you proceed.

PRO-PRC-MAN-16V04 (0719) Copyright © 2016 Dene Instruments
8
4 DIMENSIONS & INSTALLATION
4.1 - Case dimensions
Cabling
Allowance
96mm
(3.78")
92mm
(3.62")
120mm (4.72") 39mm (1.54")
155mm (6.10") minimum depth required behind panel
4mm (0.16")
Cabling
Allowance
48mm
(1.89")
45mm
(1.77")
120mm (4.72") 39mm (1.54")
155mm (6.10") minimum de
p
th re
q
uired behind
p
anel
4mm (0.16")

PRO-PRC-MAN-16V04 (0719)Copyright © 2016 Dene Instruments
9
4.2 - Installation instructions
A Prepare the Panel Cutout to
92 x 45mm ±.5 (3.62 x 1.77" ±.02),
as shown below.
Allow at least 155mm (6.10")
depth behind the panel to accom-
modate the meter body, protrud-
ing connectors and cabling.
B Remove the Mounting Clips from
the meter back.
C Slide the Panel Gasket over the
rear of the unit to the back of the
Meter Faceplate.
D From the front of the panel, insert
the meter into the Panel Cutout.
Holding the unit in place, engage
the Mounting Clips so that the tabs
snap into place over the notches on
the case.
E To achieve a proper seal, tighten
the Screws evenly until the unit sits
rmly against the panel. Do not
over-tighten the screws.
Panel Meter Faceplate
Panel
Gasket
Mounting
Clips
Screws 92mm ±.5
(3.62″ ±.02)
45mm ±.5
(1.77″ ±.02)
Panel Cutout

PRO-PRC-MAN-16V04 (0719) Copyright © 2016 Dene Instruments
10
5 INPUT SETUP & CALIBRATION
5.1 - Enter F1 PIN number
A Enter the calibration mode by pressing the button.
_ _ _ ENTER CAL PIN NUMBER scrolls across the display and toggles with 0.
Use the and buttons to enter your security code (factory default 1). Then
press . If the correct PIN is entered, setup is started at 5.2.
If an incorrect PIN number is entered, _ _ _ INCORRECT PIN NUMBER – ACCESS
DENIED scrolls across the display and it returns to normal operating mode.
You will have the opportunity to change your PIN number at the end of this section
(5.9). If you have forgotten your PIN number, see Section 8.
5.2 - Input setup
A _ _ _ INPUT SETUP scrolls across the display and toggles with SKIP. Press to
skip to 5.3, or the button and then to ENTER input setup.
B _ _ _ MAINS FREQUENCY scrolls across the display and toggles with the current
selection. Use the and buttons to select 50HZ or 60HZ, and press .
C _ _ _ AVERAGING SETUP scrolls across the display and toggles with SKIP. Press
now to skip, or use the and buttons to select a channel to set up
averaging for (CH 1, CH 2, CH 3 or CH 4), and then press .
If you selected a channel, continue to 5.2D now.
If you selected SKIP, skip to 5.3 now.
D _ _ _ AVERAGING SAMPLES scrolls across the display and toggles with the cur-
rent averaging. Using the and buttons, alter the number of input samples
that the controller will average, and then press .
Table des matières


