Byocycles IBEX Range BYO-2014IBX Manuel utilisateur

IBEX Range
2015
OWNERS MANUAL
Product Code: BYO-2014IBX
Product Code: BYO-2014IBX+
IBEX
IBEX PLUS

Introduction
Thank You For Choosing A Byocycle Electric Bike.
Welcome to the new world of Electric Bicycles. They are fast, quiet, environmentally friendly
and fun. To ensure your safety when riding, please read this manual carefully
before you make your rst journey.
The dealer you have purchased your ByoCycle from will have performed a pre delivery
inspection (PDI), so if you notice the tyres look used it is just a sign that the bike has been
thoroughly safety checked.
Before riding your ByoCycle, it is advisable to check your tyres are the right pressure and
your brakes are in good working order. Both of these will affect the quality of your ride.
Also be aware that in adverse weather conditions the braking and tyre performance will
decline, so please take extra care.
When riding your ByoCycle please observe the highway code, this is not only for your
safety but also the safety of other road users.
When cycling we recommend wearing a helmet, high visibility clothing and using lights at
all times, anything that will ensure you are seen by other road users will only be of benet.
By following the steps laid out in the manual, you will prolong the usage of your Byocycle as
well as increasing your overall enjoyment.
We wish you many happy miles of cycling.
Regards
The ByoCycles Team
Page 2

Owners Manual Contents
1. Package Contents 3
2. Quick Start 5-8
2.1 Charging
2.2 Operation
2.3 Battery Fitting & Removal
2.4 Parts Identication
3. Looking After Your Byocycle 9-12
3.1 Before The 1St Ride
3.2 Pre Ride Checks
3.3 Post Ride Checks
3.4 Weekly Checks
3.5 Monthly Checks
3.6 Lubrication
3.7 Water Resistance
3.8 Mechanical Maintenance
3.9 Tyre Maintenance
4. Controls And Equipment 13-14
4.1 Led Display/LCD Display
4.2 Throttle Control
4.3 Pedelec Control
4.4 Lights
4.5 Gears
4.6 Brakes
4.7 Manifold Wire
4.8 Ride Position Adjustment
4.8.1 Handlebars
4.8.2 Seatpost
4.9 Wheel Removal
5. Battery 15-16
5.1 On/Off
5.2 Display
5.3 Charging
5.4 Cleaning
5.5 Storage/Transport
5.6 Maintenance
5.7 Disposal
5.8 Copacity/Range/Usage
6. Trouble Shooting 17
7. EG Declaration 18
8. Legal Regulations 19
8.1 Public Road Use
8.2 Other Legal Regulations
9. Warranty 20
9.1 Liability
9.2 Exclusions
9.3 Claims
10. Technical Specication 21
11. Pre Delivery Inspection 22
12. Service Schedule 23
When purchasing your ByoCycle, you should have received the following items
• 1 x ByoCycle Bike
• 1 x Battery Charger
• 1 x Multi-tool (Allen Keys, Spanner Tool, Screwdriver Etc..)
• 1 x King-Meter SW-LCD User Guide (IBEX PLUS ONLY)
1. Package Contents
Page 3

Page 4

2. Quick Start
2.1 Charging The Battery
Before using your ByoCycle, we advise that you charge the battery fully. This is done
by rstly connecting the supplied charger to the battery then connecting the charger to
the mains socket. By connecting the charger in this sequence it minimizes the chance of
short circuiting the system.
2.2 Operation
To start the system you need to have the battery already tted to the bike. Press the REP
switch to position (1) - (this will make the system ‘live’ but not active).
Press the ‘ ’ button on the handlebar display to activate the system. Once active
you can use the handle bar display to select the amount of assistance you require.
For IBEX PLUS models - Please refer to the user guide.
Page 5

2. Quick Start Cont.
The bike has two modes of operation, ‘Pedelec’ mode and ‘Automatic’ mode. These work
in tandem with each other so there is no need to select one or the other (as on previous
ByoCycle systems). The ‘Pedelec’ function means the motor assistance will activate when
one rotation of the cranks has been achieved, it will then continue to provide assistance as
you pedal. The motor will cut out when the pedal strokes stop. The ‘Automatic’ function is
operated by rotating the thumb lever on the right-hand side of the handlebars next to the
handlebar grip.
By rotating the thumb lever the bike will pull away with no input from the rider, (EU
specication bikes do not have this function). Both brakes have a motor cut-out switch
installed to neutralise the motor when the brakes are pulled.
2.3 Battery Fitting & Removal
To t the battery to the bike, using the slots on the rear of the battery, align the battery with
tting guide and slide the battery onto the connection plate. Push the barrel lock into place
& then turn the key anti-clockwise. The battery is now locked in place and the key can now
be removed.
To remove the battery insert the key and turn clockwise. The barrel will spring out and the
battery can be removed. Again, remove the key and keep it in a safe place, until the
battery needs to be replaced.
Page 6

2.4 Parts Identication
Your ByoCycle comprises of various components you should take note of. These vary
from items that affect safety to the bike’s operational features. The images below lists the
equipment for the various styles of ‘LED and the LCD’ Specication’ bikes.
IBEX PLUS MODEL
2. Quick Start Cont.
Brake Lever
Throttle Control
Brake Lever
Gear ShifterPower/Light
Unit
LCD Display Unit
(IBEX PLUS Only)
Brake Lever LED Display - Assistance Level
& Light Control
Bell
Gear Shifter
Brake Lever
Throttle Control
Height Adjustment
Stem Clamp
IBEX MODEL
Page 7

2. Quick Start Cont.
Page 8
Seatpost
LCD Display
IBEX PLUS ONLY
Saddle
Battery
Quick Release Seat
Clamp Lever
Handle Bar
Adjustment System
LED Display IBEX (Left
Hand Side Of
Handlebars)
Pannier Rack
Rear Light
Reector
Gear Cable
Inner Tube Valve
Derailleur
Chain
Chainwheel
Pedal
Stem Height
Adjusting System
Front Light
Throttle Control
Reector
Fork
Inner Tube Valve
Disk Brake
Motor
(Rear Wheel Only)

To ensure you enjoy a safe and comfortable riding position, please allow your authorised
ByoCycle specialist to adjust the handlebars and stem.
3. Looking After Your Byocycle
3.1 Before The 1St Ride
Before you embark on your 1st journey aboard your ByoCycle, we strongly recommend
you familiarise yourself with the bike and its controls. Ensure your bicycle is ready to use
and adjusted to t your body.
That Means:
• Setting the position of the saddle and handlebars to suit your body size.
• Checking the assembly and position of the brakes.
• Securing the wheels onto the frame and forks.
• Checking the tyre pressures.
• Checking the battery to make sure it is properly secured.
• Setting the adjustable suspension setting to suit your riding style.
Page 9
i
Allow your authorised ByoCycle specialist to adjust your brakes, so that they are within easy
reach at all times. Ensure you know which brake lever operates which brake (left/right).
WARNING! Modern braking systems might be more powerful or have a different functionality or
feel to what you have previously experienced. It is advised to take an initial test ride in a safe
and open space to familiarise yourself before setting off on your rst ride. Also remember the
effectiveness of the brakes will be different in wet conditions, we advise allowing extra braking
distances in adverse/wet conditions.
WARNING! Always apply the bicycle’s brakes before stepping onto the pedal. Both brakes have
a motor cut-out switch which will ensure the bicycle stays stationary while you familiarise yourself.
The initial force of power will give a different riding experience to a non-electric powered bike.
In some instances this can lead to falls and/or dangerous incidents, which can lead to injury.
To assess your bike for rattles and unfamiliar noises, lift the bike slightly off the ground (5cm) and
drop it (making sure at the same time it does not fall over completely). If you hear any rattles,
please seek the advise of you ByoCycle specialist.
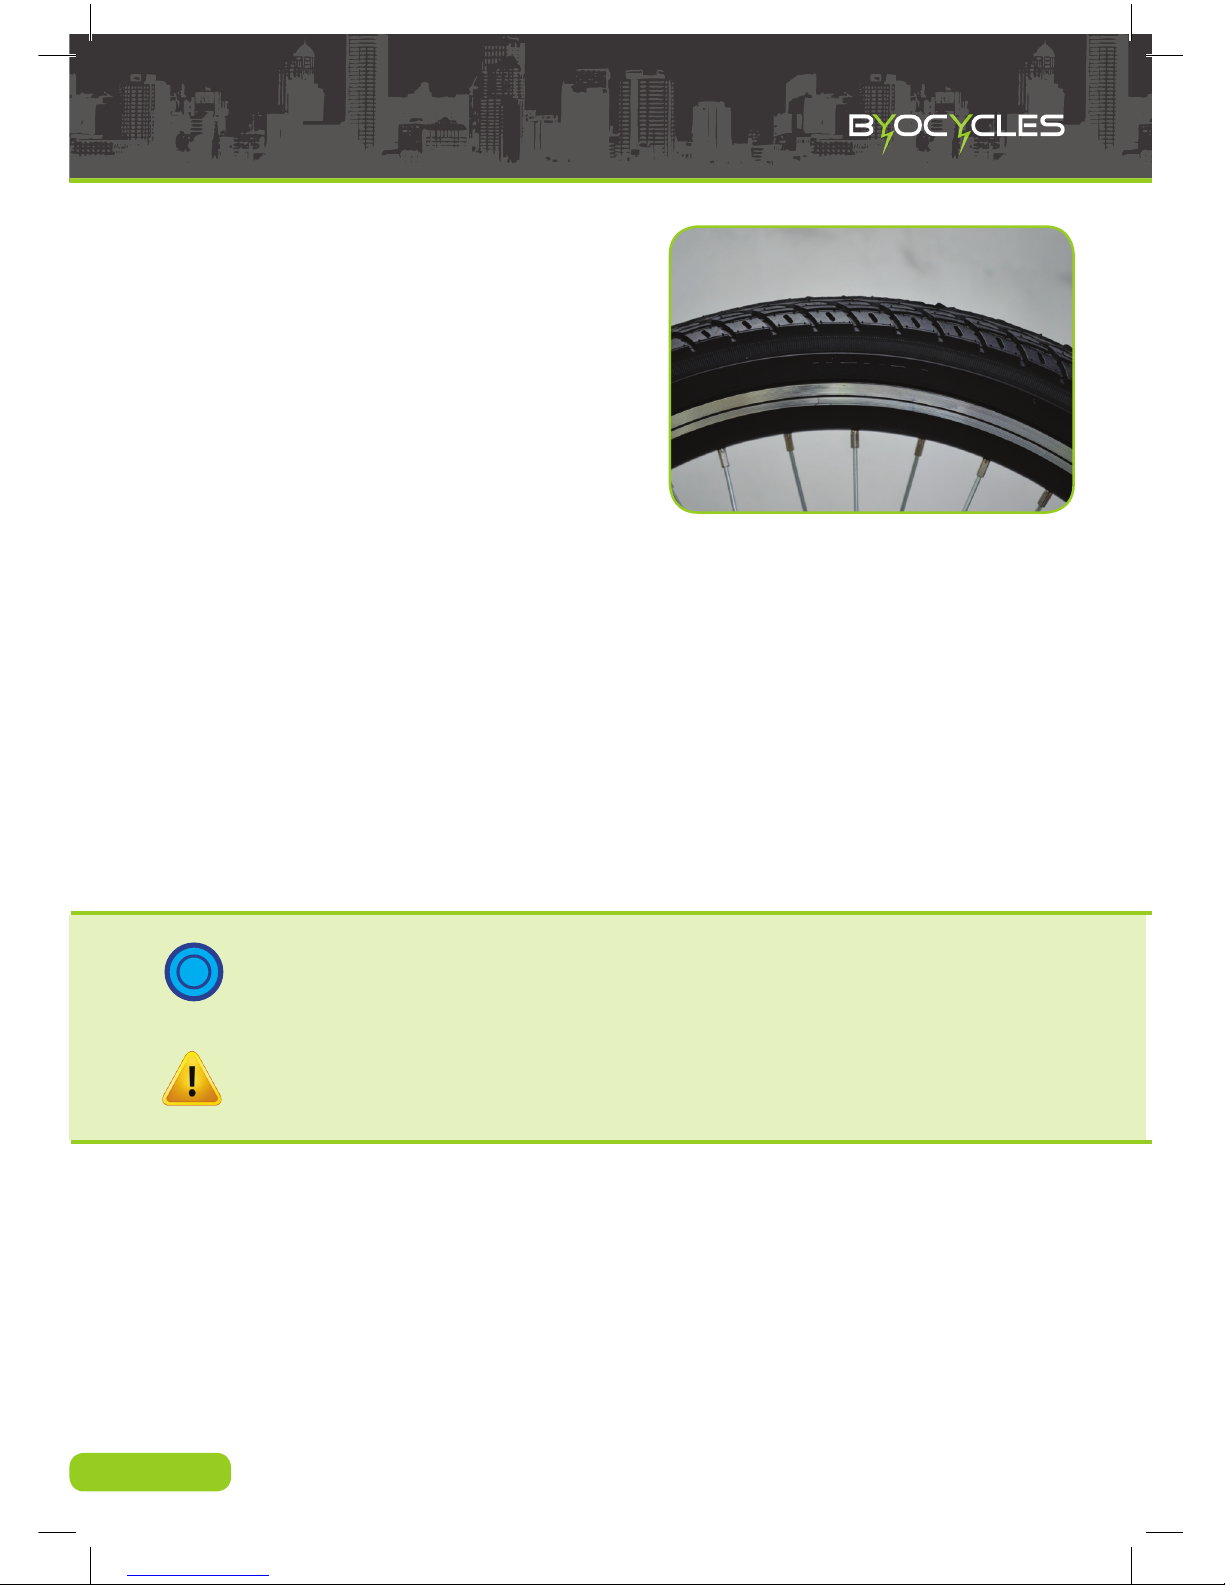
To ensure your tyres are at the appropriate
pressure, seek the information on the side walls of
the tyre. This will give you a guide for the correct
pressure, personal preference will play its part here.
Check your tyres for any wear marks, such as
cracking in the side walls, cuts, embedded debris
such as glass and/or stones, and also the general
shape of the tyre to see if it is free of any bumps of
bends.
To ensure your brakes work, apply pressure to the
brake levers and try to move the bike, pulling the
rear brake will cause the wheel to lock up as you
move forward, pulling the front brake will cause the rear wheel to raise from the ground.
3.2 Before Each Ride
Before each ride ensure the following items are checked:
• Tyres are pumped up correctly and are free of damage and foreign objects.
• Brakes are working correctly.
• Gears work correctly
• Handlebars and stem are tted correctly
• Wheels run true and smoothly.
• Frame and fork are free of damage
• All nuts and bolts are tight as well as all quick release clamps being secure.
3. Looking After Your Byocycle Cont.
3.3 After Each Ride
After each ride ensure the following items are checked:
• The bike is clean and free of any dirt that can cause degradation to the frame and
components.
• The battery is stored in a warm place free of moisture.
• The bike is secure and not likely to fall over or be stolen.
iIn the event of the bike being dropped or it falls over or it is involved in an accident, perform all
these checks again before setting off on the bike.
WARNING! If you are unsure about any part of the bike being below the appropriate standards,
stop riding and consult your ByoCycle specialist. Failure to do so could result in the bicycle
failing without warning, possibly causing serious injury to the rider and fellow road users.
Page 10
Ce manuel convient aux modèles suivants
2
Table des matières
Autres manuels Byocycles Vélo


