Blue Star Chest Freezer Manuel utilisateur
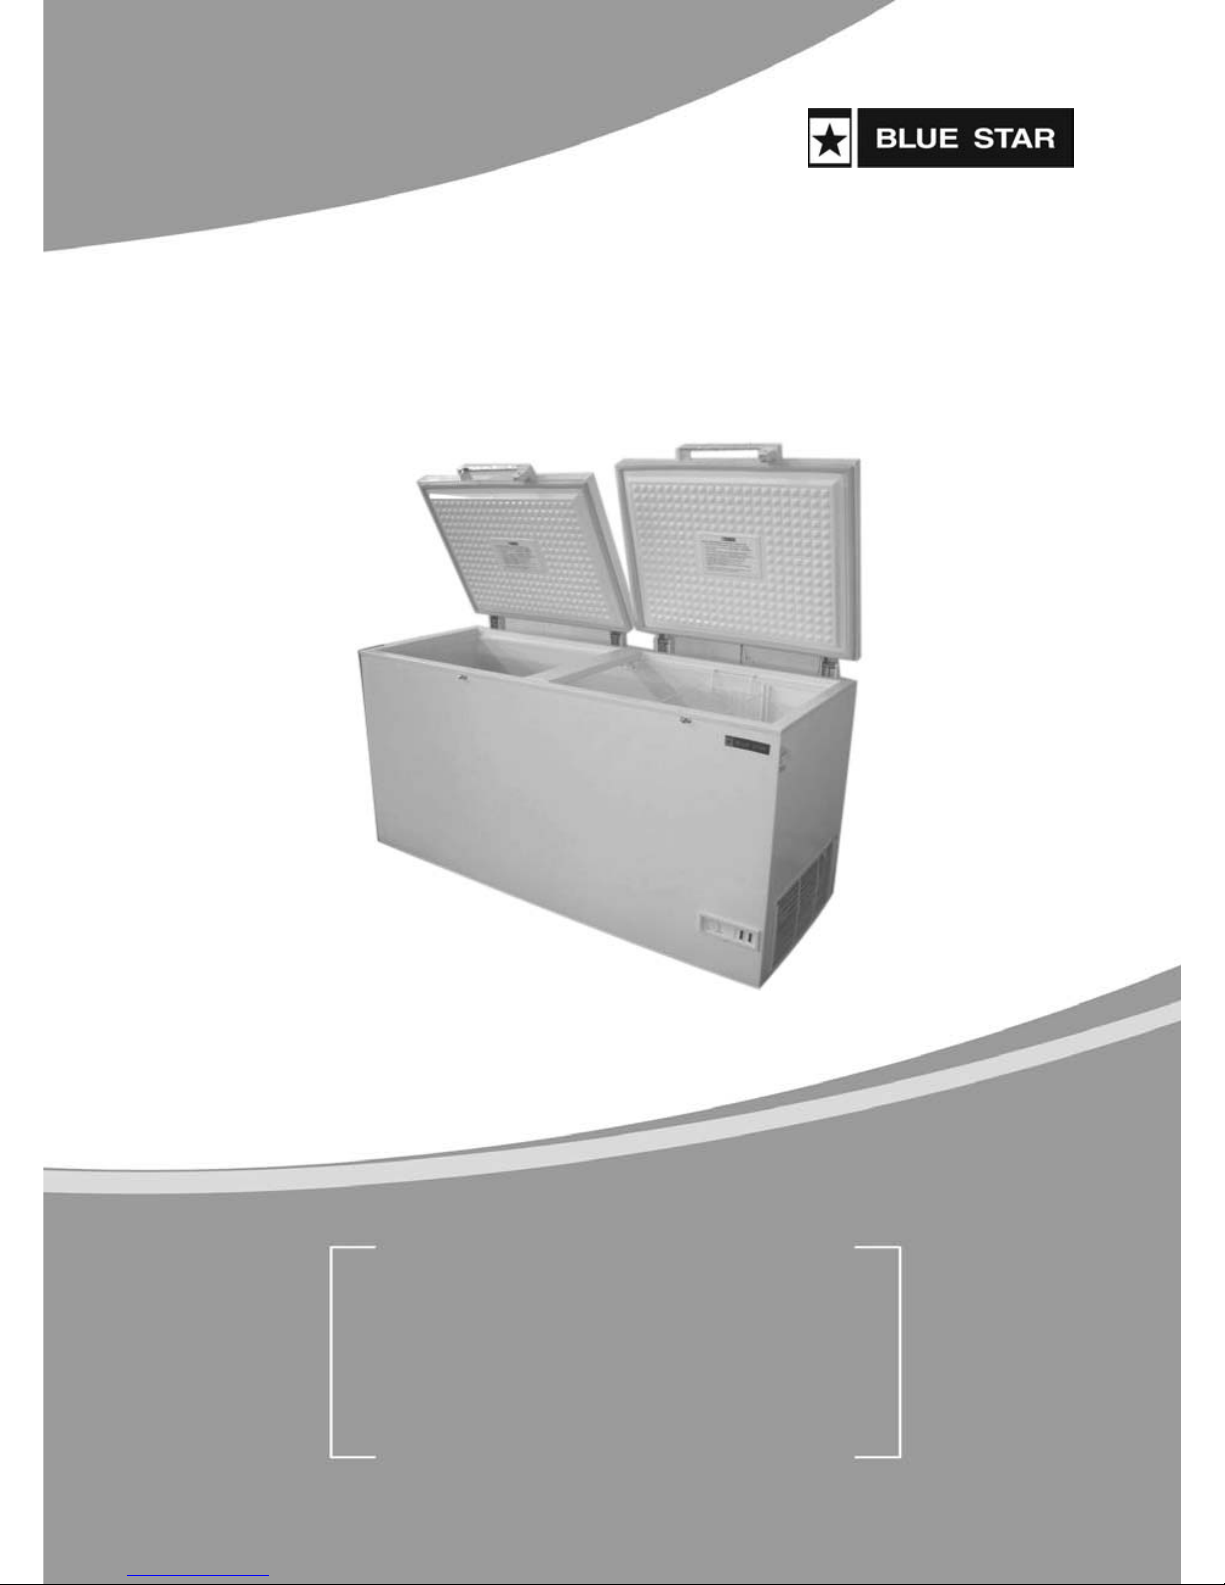
Hard Top
Chest Freezer
User ‘s Manual

First Printed in February 2009
Revised - June 2010
Reprinted - September 2010
No part of this publication may be reproduced in any manner
whatsoever without permission in writing from the Vice President,
Refrigeration Products Department, Blue Star Limited.
While due care has been taken to avoid errors or misinterpretation,
Blue Star Limited is neither liable nor responsible for consequence
of any action taken, on the basis of this publication.
All contents applicable as on date of publication. Modifications may
take place subsequent to that.
Published by Blue Star Limited,
No. 9, Bazullah Road, T’ Nagar, Chennai-600017, India.
For restricted circulation only. Not for sale.

1
USER’S MANUAL
Contents
Letter from the Vice President ......................................................................3
Product Features ...........................................................................................4
Installation & Operation .................................................................................5
Operational Do’s & Don’ts ............................................................................. 7
Maintenance ..................................................................................................8
Troubleshooting ........................................................................................... 10
Warranty ...................................................................................................... 11
Warranty Certificate .....................................................................................13
Service Centres ........................................................................................... 15

2
HARD TOP CHEST FREEZER
3
USER’S MANUAL
Letter from the Vice President
Dear Customer,
Congratulations on the purchase of your new Blue Star Chest Freezer, just
one of the many world-class products that we market. This superior product
has been engineered for convenient and optimum performance. It has been
manufactured with the best available materials, with stringent quality controls
undertaken during all the manufacturing processes. It has been tested
rigorously in the factory to ensure you years of satisfactory and trouble-free
performance.
We are confident that time and performance will justify the trust you have
placed in this product. This manual will help you get the best of your Blue Star
Chest Freezer. Please do spare some time to go through this manual carefully.
In the unlikely event of your running into a problem, kindly check the
Troubleshooting Chart to diagnose the possible cause and take necessary
steps. However, do not hesitate to approach your dealer or the nearest
Blue Star office, if you require help. The list of Blue Star service offices is
given on page 15 of this manual.
I do hope that you will enjoy using your Blue Star Chest Freezer.
With warm regards,
P Venkat Rao
Vice President
Refrigeration Products Department
Blue Star Limited
4
HARD TOP CHEST FREEZER
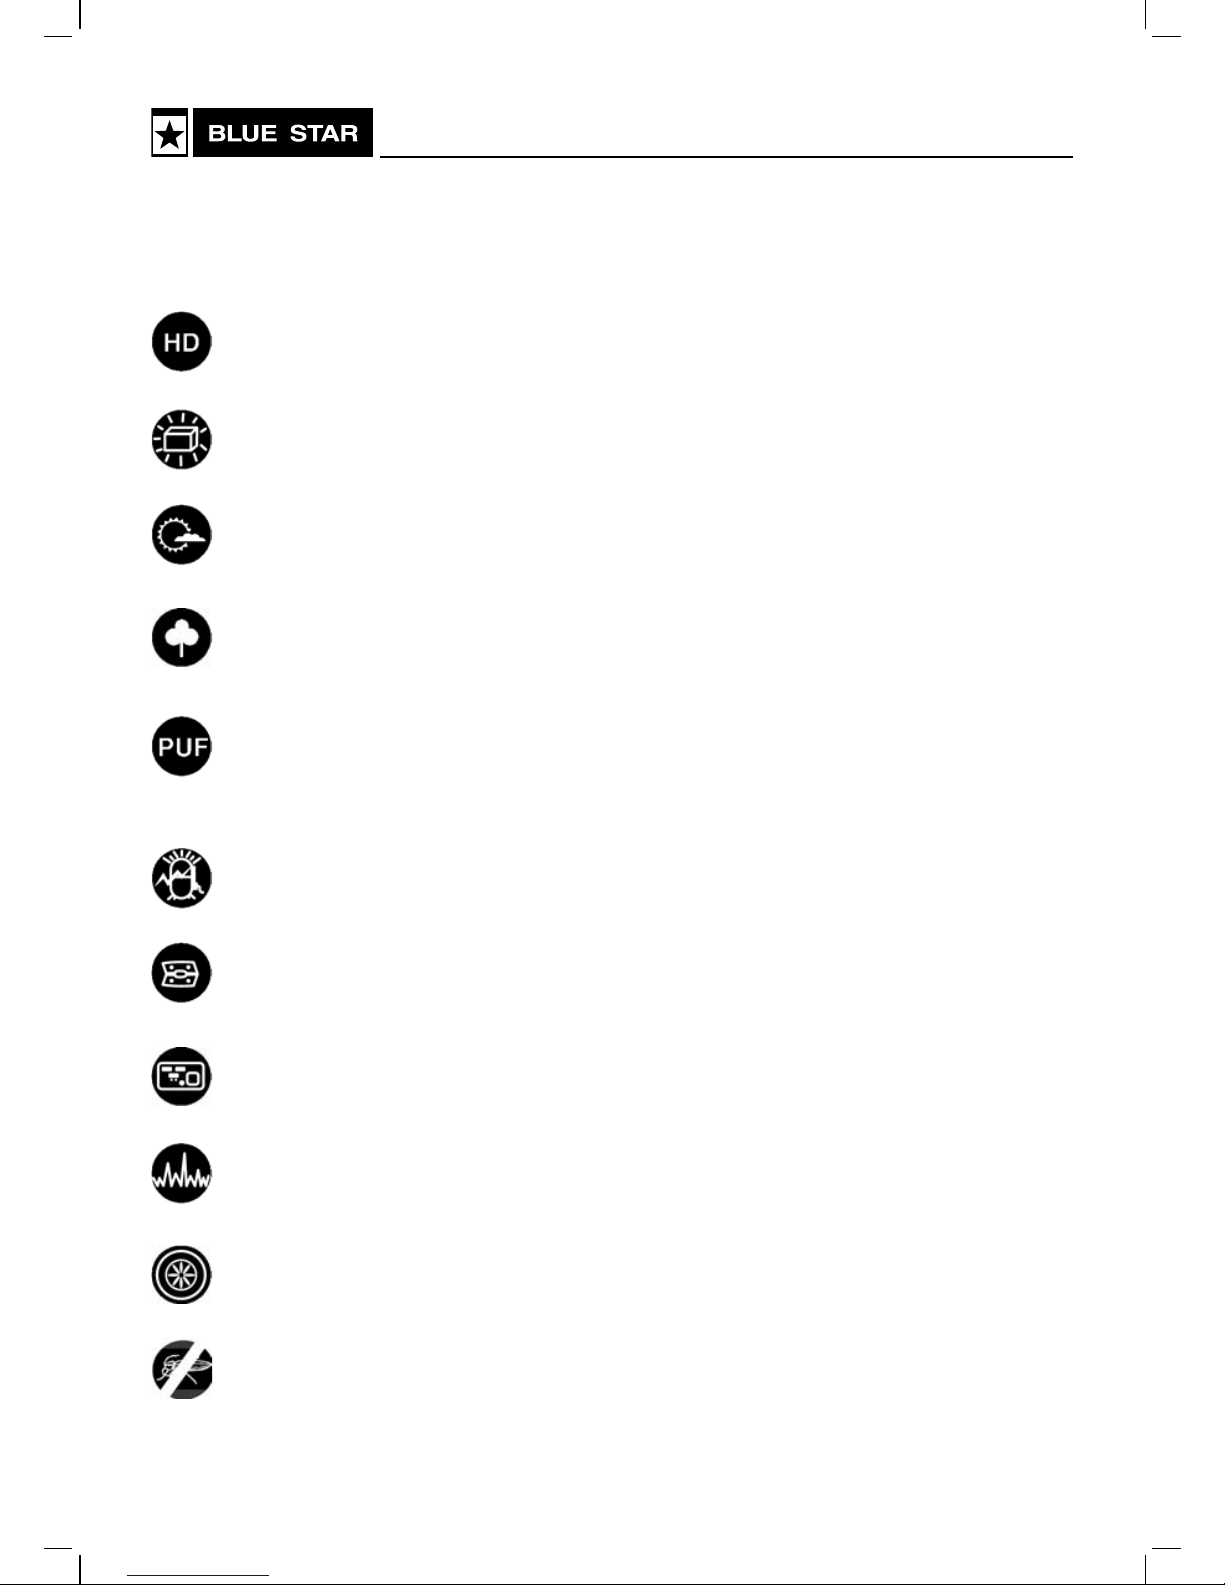
Product Features
Overall robust construction for heavy duty use
Complete body in pre-coated sheet for corrosion resistance
Tropicalised for high subcontinental ambients
High density PUF injected through environment friendly process
Uniform PUF thickness, close cells & positive sealing of gasket
for high holding time
High energy-efficiency compressor
Robust hinges for trouble free opening and closing of lid
LED indicator for power and compressor function
Suitable for sustained high voltage variation of 230V ±10%
Heavy duty wheel for easy movement
Totally sealed base to avoid menace from pests

5
USER’S MANUAL
Installation & Operation
Installation
Blue Star’s dealer technician will carry out the installation of your Chest
Freezer. However for your general information, the following aspects need
to be taken care of during installation.
1. The freezer should be installed at a suitable site, on a good firm
level surface.
2. Any floor unevenness should be corrected at the time of installation.
3. A gap of at least 6 inches must be allowed on all sides to facilitate
adequate air circulation on all sides of the cabinet.
4. The freezer should be connected to a single phase 230V 50Hz A.C.
supply by means of a three pin socket, suitably earthed. The wires
in the mains lead are coloured in accordance with the following
code:
Green : Earth
Blue/Black : Neutral
Red : Phase
5. It is recommended that the interior of the freezer is cleaned before
putting it into use. Lukewarm water containing a little bicarbonate of
soda mixed in the proportion of 1 teaspoonful of bicarbonate to
2 pints of water should be used for the purpose.
6. The outside of the freezer should also be cleaned before start up.

6
HARD TOP CHEST FREEZER
Control Panel
Before actually operating your Chest Freezer, it is important that you
understand the control panel of the product.
• The green lamp lights up whenever the freezer is connected to live
electricity supply.
• The red lamp lights up whenever the compressor is “ON” (cooling
function is on).
• The thermostat knob can be used to set the desired temperature.
It can be adjusted between Max. (–23°C ± 1.5°C) and Min. (-13°C ±
1.5°C) Positions. The knob is best operated by means of a coin.
Operation
Plug in the freezer. Position the thermostat knob in the control panel at the
mid position, after which the green lamp in the control panel will glow, to
indicate that the freezer is cooling. Let the freezer operate for at least 3
hours before you place items in the freezer.
Temperature Control
The thermostat maintains a constant temperature at the selected position.
A normal storage temperature of –18°C is obtained by positioning the
thermostat knob at the mid position.
The temperature range of thermostat is –13°C to –23°C ± 1.5°C
The ambient temperature at the location of the freezer and the frequency
and duration of lid opening, will have an impact on the temperature in the
freezer. The temperature control knob should be adjusted so that, at least
-18°C is maintained in the freezer. If the chest freezer is to be unused for
some time, it is recommended to pull out the plug and leave the lid ajar, after
having washed and cleaned the chest freezer.

7
USER’S MANUAL
Operational Do’s & Don’ts
Do’s (
)
Store only frozen products.
Ensure that there is adequate air circulation on all sides and at the
rear of your freezer.
Carefully clean and prepare each item and wrap in polythene or
place in waxed cartons.
Keep down the size of each package to a minimum. Square
packages will utilise space more effectively.
Switch on the freezer at least 3 hours before the desired freezing
is to be effected.
Use the vacuum release provided for easy opening of lid when
vacuum is created inside the freezer.
Fill the freezer only upto the red line indicator.
Don’ts (
)
Avoid placing unfrozen food in contact with food previously frozen.
Do not load the freezer with fresh produce. Frozen food should be
used in rotation and therefore packages should be carefully labelled.
Do not keep carbonated drinks in a freezer.
Do not open the lid of the freezer unnecessarily or frequently.

8
HARD TOP CHEST FREEZER
Maintenance
Avoiding Frost
Frost
Small amounts of frost will accumulate inside the freezer, depending upon
the frequency and duration of the lid operation or the amount of moisture
inside. It is essential to ensure that no frost or ice is allowed to form at places
where it will affect the close fitting of the lid. This might allow air to penetrate
the cabinet, thus encouraging, continuous running of the compressor.
Removing frost
Thin frost formation is quite soft and can be removed with a brush or a plastic
scraper.
Do not use metal or sharp scrapers.
Remove all dislodged frost from the cabinet floor. For the removal of
light frosting, it is not necessary to switch off the freezer.
For removing heavy ice deposits, the freezer should be
completely disconnected from the power supply and emptied.
The contents should be placed in a cardboard box and wrapped in thick
blankets or layers of paper to keep them cold.
Draining
Draining defrost water is effected by removing the drain plug. Before doing
Place a dish or the plastic partition (from inside the freezer) under
the outlet to collect the water.
Clean the inside with warm water added with a little bicarbonate of soda
and then dry thoroughly. Wash all removable parts in the same way and
Ce manuel convient aux modèles suivants
1
Table des matières
Autres manuels Blue Star Congélateur


