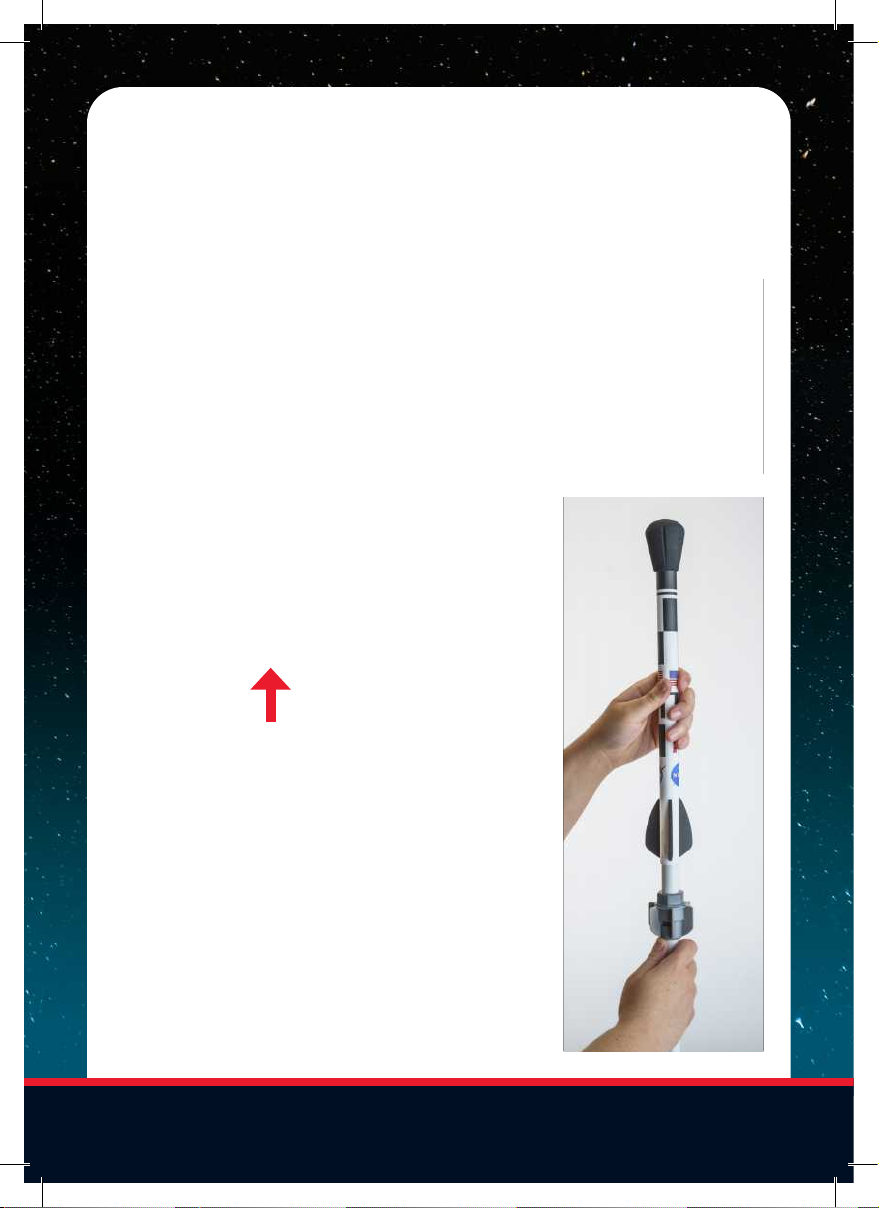
5. Attach the air pump to the valve
on the side of the launch base. You
may leave the air pump attached to
the rocket base if you’re performing
multiple launches.
6. Add air pressure to the launch
base. You may launch at any pressure,
but we recommend between 100
and 120 psi for the most impressive
launches. Note: There is a safety valve
on the bottom of the tank set at 125
psi. It will automatically release any
pressure above this setting.
7. Step back 10-20 feet (3–6 m) from
the rocket base for the best viewing
of your launch. If your remote begins
to flash both LED lights, you’ve lost
connectivity to the base and will need
to move closer.
8. Press and hold the left button.
The red LED light on yofur remote will
turn solid and you will hear “Ignition
Activated.”
9. Continue holding the left button
until the right LED flashes green and
you hear “Ready to Launch.” Once
you’ve heard “Ready to Launch” press
the right button to launch your rocket.
Note: The remote will say “Ready to
Launch” three times. If you do not press
the right button to launch in that time,
the launch will be canceled. If the launch
cancels, return to Step 9 and try again.
10. Stay clear of your rocket as it
returns to the ground. Retrieve your
rocket, and then return to Step 4 to
launch again.
11. Once you’re done launching for
the day, detach the air pump from the
launch base. Then pull the air pressure
release valve ring a few times to
release any residual pressurized air
from the tank.
6