Beta Three Q series Manuel utilisateur
ED-B3-Q-150630-001
CN
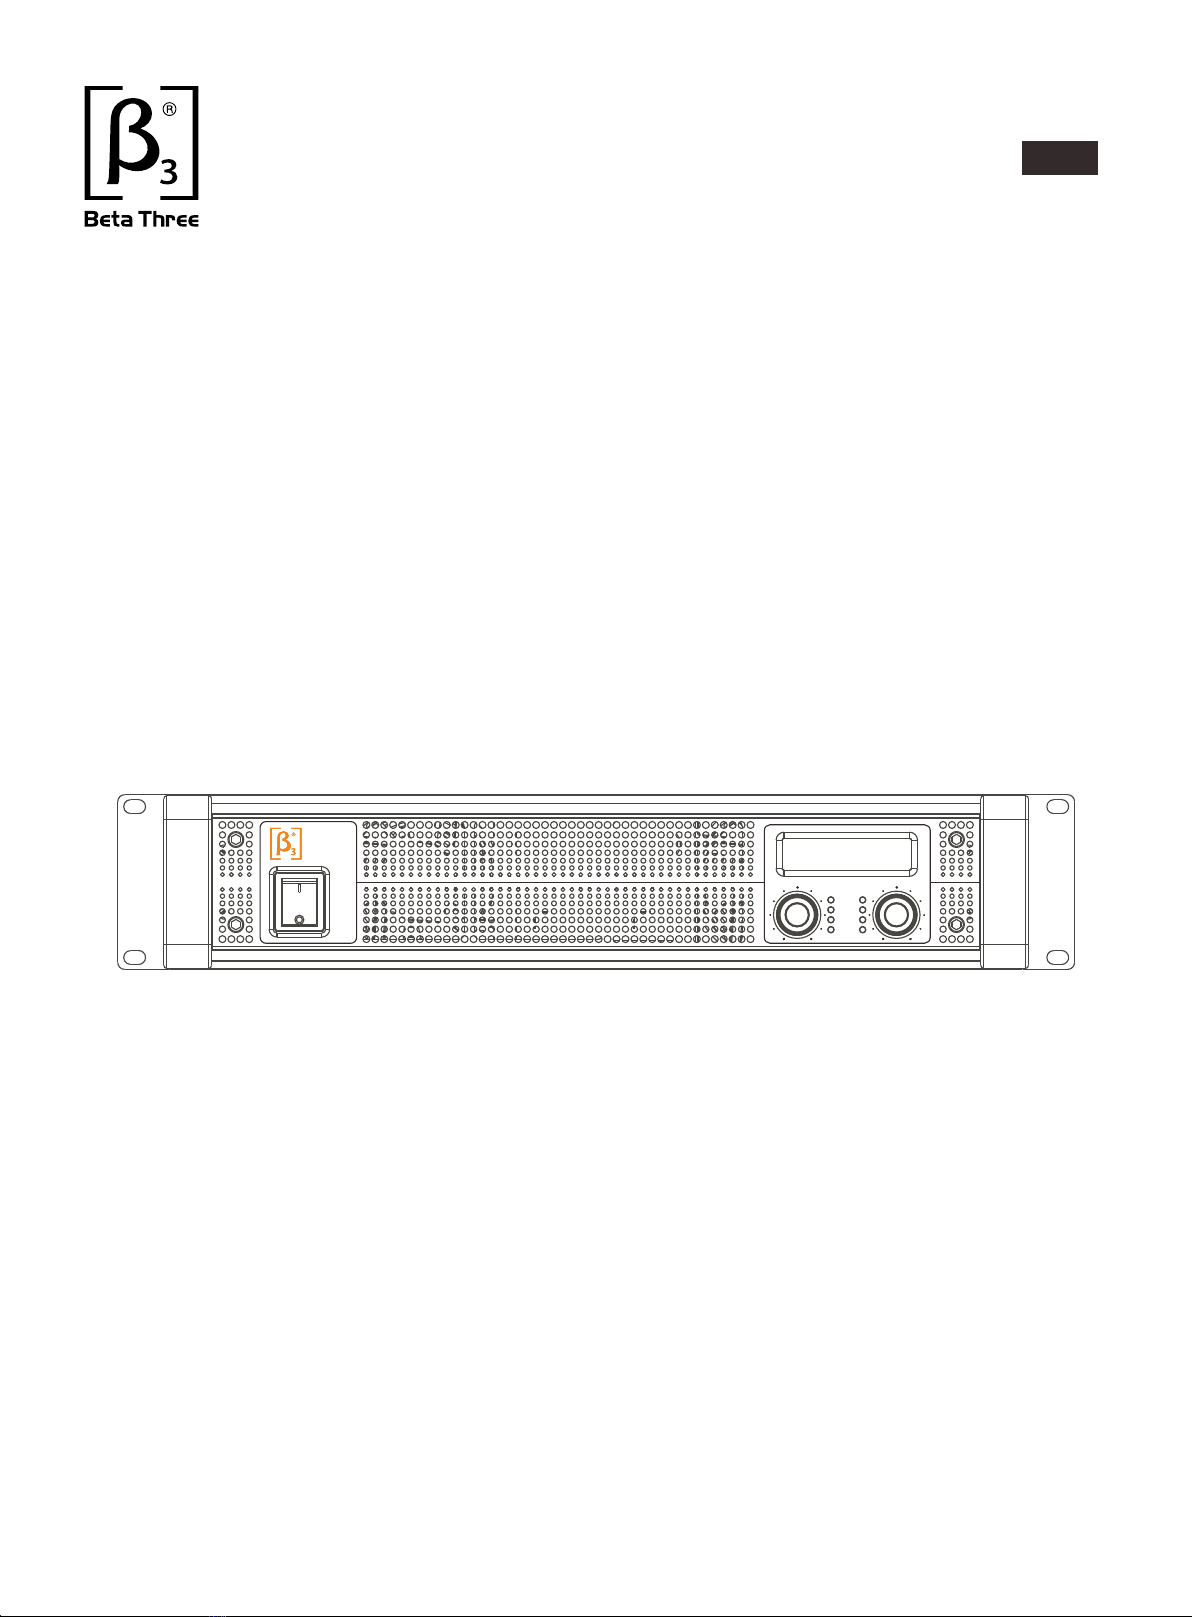
User Manual
Two Channel professional power amplifier
Q series
Q7i
PROFESSIONAL
2-CHANNEL
POWERAMPLIFIER
POWER
ON
OFF
BRIDGE
PEAK
SIGNAL
PWR/ERR
CHA CHB
Q7i
PROFESSIONAL
2-CHANNEL
POWERAMPLIFIER
POWER
ON
OFF
BRIDGE
PEAK
SIGNAL
PWR/ERR
CHA CHB

NOTE
Symbols:
The equilateral triangle with lightning bolt warns the user of dangerous voltage
levels localized within the cabinet.
The equilateral triangle with exclamatory mark means the important operation
in the user's manual.
High voltage inside the equipment, do not open the chassis.
Do not expose the equipment to the rain or moisture.
Keep adequate ventilation, do not block the port.
Be sure the voltage of this equipment complies with the local industrial voltage.
Put off the power plug if not used for long time.
Do not work on overload for long time.

CATALOGUE
Introduction
1、
Parameters
2、
Installation
3、
Front panel
4、
Indicators on front panel
5、
Rear panel
7、
Power supply
8、
Input/output connectors
9、
Function setup and cable connection
10、
Operations
11、
Protection and the cooling system function
14、
Troubles and trouble shootings
15、
Safety attentions
16、
P1
P2
P4
P5
P5
P8
P8
P9
P10
P11
P22
P23
P24
Front panel
6、
Software instruction
12、
USB driver instruction
13、
P6
P11
P22

1
1.INTRODUCTION
Thanks for your trust and support.
The Beta Three Q Series is new designed professional high power out Class D with DSP
solution amplifier.
Q Series professional amplifier adopts high efficiency Class D and switching power supply under 2U
equipment cabinet with outstanding radiating solution. The weight can be decreased
under 9kg with continuous stability
Q Series professional amplifier adopts DSP audio processor with control of frequency response,
crossover point, crossover slop, delay and protection for two channels. it can be preset customized
frequency curve.
Product features:
1,High power with light weight and easy to use or install.
2,Built-in DSP for the most flexible use with different speaker.
3,Simple front panel controls and LCD screen give you all control information.
4,Accurate temperature protection will make sure the safe working mode.

2
2.Parameter
Power output under limited
Distortion(typical)
1 KHz at full rated power
>100dB (1kHz, A wight)
Peak output voltage
1Vrms
Input Sensitivity
20Hz~20kHz(±0.5dB)
Class D
Output Circuity
Votage gain(8Ω)
Standard consumption
current 1/8/power(2Ω)
>200:1100(Hz)
Damping factor
Frequency Response(8Ω)
Input Impedance(Ω)20k(balanced), 10k(unbalanced)
Input Port 3-pin XLR
Nl4, binding posts
Output Port
Model Q7iQ5iQ3i
Stereo & parallel
Mode(4Ω)
Stereo & parallel
Mode(8Ω)
Stereo & parallel
Mode(2Ω)
Bridged mono
Mode(8Ω)
Bridged mono
Mode(4Ω)
550W/CH
1000W/CH
1500W/CH
2000W
3000W
850W/CH
1550W/CH
2500W/CH
3000W
5000W
1500W/CH
2500W/CH
3500W/CH
5000W
7000W
300W/CH 500W/CH 700W/CH
<0.5%
Signal to Noise(A-weighted)
Maximum Input Level 4Vrms
Max consumption current
1/3/power(2Ω)
100V(per channel)
200V(bridged) 130V(per channel)
260V(bridged) 170V(per channel)
340V(bridged)
37dB
4.5A
10A
39dB
6.7A
15.5A
41.5dB
9.2A
20.5A
~220-230V 50/60Hz
Power Supply
Net weight 8.2kg 8.5kg 9.5kg
Power
output
(dynamic)

3
125×545×405mm
Dimension
Protect Function Short circuit,open circuit,thermal,RF Protection Load protected against DC faults
DSP Functions
3.5"(2 RU) 19" 12.3"(89mm×483mm×310mm)× ×
Packing dimension
Low pass Filter, adjustable Frequency 20Hz to 20khz
limit: compression ratio,bytes,start and recovery time adjustable
Delay:9.4167ms(max)can be stored 50 group frequency curve
High Pass Filter, adjustable Frequency 20Hz to 20khz
8-band PEQ,with variable Frequency,Gain,and Bandwidth
2.Parameter

3.Installation drawing
4
气流方向
298mm
482mm
290mm
295mm
301mm
307.6mm
76mm
310mm
气流方向
气流方向
435.5mm
88mm
350mm

1.
2.
3.
4.
Power switch
Channel-A gain knob
Channel-B gain knob
Channel bridge indicator
4. FRONT PANEL
5.
6.
7.
8.
Channel-A peak led
Channel-B peak led
Channel-A signal led
Channel-B signal led
9.
10.
11.
12.
Channel-A PWR/ERR indicator
Channel-B PWR/ERR indicator
Ventilation hole
LED display
5. INDEICATORS ON FRONT PANEL
PWR/ERR indicator for each separated channels, more indicates as below:
PWR/ERR lights up red when the amplifier is powered on during self-examine process.
This process will not have any output after 5S self-examination, PWR/ERR lights turn green.
PWR/ERR lights flashing when the amplifier is short circuit or at too low impedance,
however it can be a green light by turn off volume .Please check the loading impedance and
output connection.
PWR/ERR lights red when device temperature is over the limit and output is temporarily cut off.
Please turn off the amplifier, improve the cooling condition and clean the ventilation.
PWR/ERR lights continuous red when power supply voltage too high or too low, please use
the correct one. In this situation, the amplifier can get back to normal work when power
disconnects 3 minutes or more.
PWR/ERR lights red when defection appears, if you are not sure the problems,
please consult technicians.
a.
b.
c.
d.
e.
5
123
4
56
789 10
11
Q7i
PROFESSIONAL
2-CHANNEL
POWERAMPLIFIER
POWER
ON
OFF
BRIDGE
PEAK
SIGNAL
PWR/ERR
CHA CHB
Q7i
PROFESSIONAL
2-CHANNEL
POWERAMPLIFIER
POWER
ON
OFF
BRIDGE
PEAK
SIGNAL
PWR/ERR
CHA CHB
12

6
6. FRONT PANEL CONTROL INSTRUCTIONS
Remark: When amplifier PWR/ERR become red or connected with PC, the two knobs on front
panel is no function.
BRIDGE
PEAK
SIGNAL
PWR/ERR
CHA CHB
BRIDGE
PEAK
SIGNAL
PWR/ERR
CHA CHB
Preset 01
A:0.0 B:0.0
A: CHA knob is to select the parameter, CHB knob is to change the parameter and confirm.
When power on, enter to main menu automatically. Press CHA to enter parameter selection
menu screen, the follow instructions are based on menu order list.
Preset 01
A:0.0 B:0.0
B. For above menu, use CHA and CHB knob to adjust the channel volume, max volume is 0dB.
SINGNAL output indicator for each separated channel.
SINGNAL signal indicator is equivalent to outputs paralleled on the circuit. When the Gain is
turned to minimum and whether there is input signal, the signal indicator will not light up.
CLIP output clipping indicator for each separated channel.
When input signal is too big, the CLIP indicator lights up. Too strong and continuous clip may
cause damage to the speaker and sound. Please reduce gain or signal input when the clip is
too frequent.
BRIDGE indicator, it's switched to bridge mode, means two channels are bridged.

7
C. CHA HPF menu, through CHB knob to adjust HPF crossover point, the range is 20Hz-20 Khz,
OFF means close filter and select relevant slope through PC software.
CHA HPF Freq:
20Hz
D. CHA LPF menu, through CHB knob to adjust HPF crossover point, the range is 20Hz-20 Khz,
OFF means close filter and select relevant slope through PC software.
CHA LPF Freq:
OFF
E. CHB HPF menu, through CHB knob to adjust HPF crossover point, the range is 20Hz-20 Khz,
OFF means close filter and select relevant slope through PC software.
CHB HPF Freq:
OFF
F. CHB LPF menu, through CHB knob to adjust HPF crossover point, the range is 20Hz-20 KHz, OFF
means close filter and select relevant slope through PC software.
CHB LPF Freq:
OFF
G. Parameter save menu, save current parameter as Preset one, can recall the preset for next
power on; maximum store 50 presets for this device. Also can be saved and named by relevant PC
software, through CHB knob to select “Yes”or “NO”to determine the saving or not, press CHB
knob to save.
Save as:
Preset 01 No
H. Preset/recall the curve
Press CHA knob for 3 seconds in main menu, shown as above, through CHB knob to select
relevant presets; Press CHB knob to confirm to recall the presets, if successful, the recall curve
will be shown on screen. Press CHA knob to return main menu and cancel the curve recall.
Remark: When selected curve as below, it means this file doesn't include parameter.
Preset Recall:01
. . . . . . . . . . . .
Preset Recall:01
Not Use . . . . . . . .
Ce manuel convient aux modèles suivants
3
Table des matières
Autres manuels Beta Three Amplificateur

Beta Three
Beta Three DT Series Manuel utilisateur

Beta Three
Beta Three BA3240 Manuel utilisateur

Beta Three
Beta Three T-2000 Manuel utilisateur

Beta Three
Beta Three BA1602 Manuel utilisateur

Beta Three
Beta Three UA2000 Manuel utilisateur

Beta Three
Beta Three UA Series Manuel utilisateur

Beta Three
Beta Three CA Series Manuel utilisateur

Beta Three
Beta Three BA5120 Manuel utilisateur


