8DO NOT place hob too close to yourself or any object, allow the air to circulate freely. Maintain a minimum air gap of 250mm.
8DO NOT use the hob for any purpose other than that for which it is designed.
8DO NOT stand hob on carpets, cloth, cardboard or fibrous materials when in use.
8DO NOT use the hob outdoors. These hobs are designed for indoor use only.
8DO NOT use hob if the power cord, plug or the hob is damaged, or if the hob has become wet.
8DO NOT use in bathroom, shower room, or in any wet or damp environments or where there is high condensation.
8 DO NOT operate the hob when you are tired or under the influence of alcohol, drugs or intoxicating medication.
8 DO NOT allow the hob to get wet as this may result in an electric shock and personal injury.
8DO NOT insert or allow objects to enter any openings of hob as this may cause an electric shock,a fire or damage to the hob.
8DO NOT use the hob where there are flammable liquids, solids or gases such as petrol, solvents, aerosols etc, or where heat sensitive
materials may be stored.
8DO NOT place the hob immediately below any electrical outlet.
8DO NOT cover hob when in use, and do not obstruct the air vents (i.e. with clothing, curtain, furniture, bedding etc).
9Allow the hob to cool before storage. When not in use, disconnect from power supply and store in a safe, cool, dry, childproof area.
NOTE: Children of less than 3 years should be kept away unless continuously supervised.
Children aged from 3 years and less than 8 years shall only switch on/off the appliance provided that it has been placed or installed
in its intended normal operating position and they have been given supervision or instruction concerning use of the appliance in a safe
way and understand the hazards involved. Children aged from 3 years and less than 8 years shall not plug in, regulate and clean the
appliance or perform user maintenance.
Operation
• Power / Temperature ranges
• NOTE: Suitable cookware consists of pots and pans with a base made of steel or cast iron.
You can identify these either by means of the markings on the pan or by ascertaining
whether a magnet clings to the base of pan.
• NOTE: Unsuitable cookware is made from any kinds of material that is non-magnetic,
such as aluminium, copper and stainless steel, as well as non-metal vessels made of
porcelain, glass, ceramic, plastics etc. If unsuitable cookware is placed on the hob “E0”
appears in the LED.
• NOTE: Thin pan bases are better suited to induction cooking than thick sandwich
bases,Theveryshortresponsetimestosettingmodications(shortpreheatingperiod,
rapid and controllable browning ) are not possible when pans with thick bases are used .
• NOTE: Only use cookware that is suitable for the size of the hob. This will ensure that
the induction hob function works perfectly. The base of the pan must not be curved or
uneven,itmustsitat.
• NOTE:Thediametermaynotbelessthan16cmtoensurethattheenergyeldhasaneffect.DO NOT use pans with a diameter in
excess 26cm.
• Use the “CONTROL”button(g.1.9)toselectthemoderequiredi.e.power,temperatureortimersetting.TherelevantLED will light
(g.1.4,1.5,1.6)toshowwhichmodeisactive.
• Use the “+, - “buttons(g.1.3,1.8)toadjustthesettingaccordingly.
• NOTE: The hob controls can be locked by pressing the “Max” and “Min”buttonssimultaneously,repeattounlockthecontrols(g.1.1.
g.1.2).
• ON (Power on)
•
Once connected the appliance to the power supply, hold the “On / Off” button, a beep will be heard and the plates can now be activated by
pressing the “CONTROL” button on the respective plate.
• After pressing On / Off if no other button is pressed, the unit will return to standby mode after one minute.
• OFF (Power Off)
• When the unit is switched on or in operation , press the “On / Off” button to turn off both plates;
• When the unit is switched on or in operation by pressing one of the two “Control” buttons on control panel, it will turn off the related
induction plate.
Item Description
1 Max: To run at highest power/
temperature.
2 Min: To run at lowest power/
temperature.
3 Increase power, temperature or
timer setting.
4 Power control mode indicator.
5 Temperature control mode
indicator.
6 Timer control mode indicator.
7 LED Display.
8 Decrease power, temperature or
timer setting.
9Control mode selector - press to
cycle through options.
10 On/Off button.
1 2
3
4 5 6
7 8 9
10
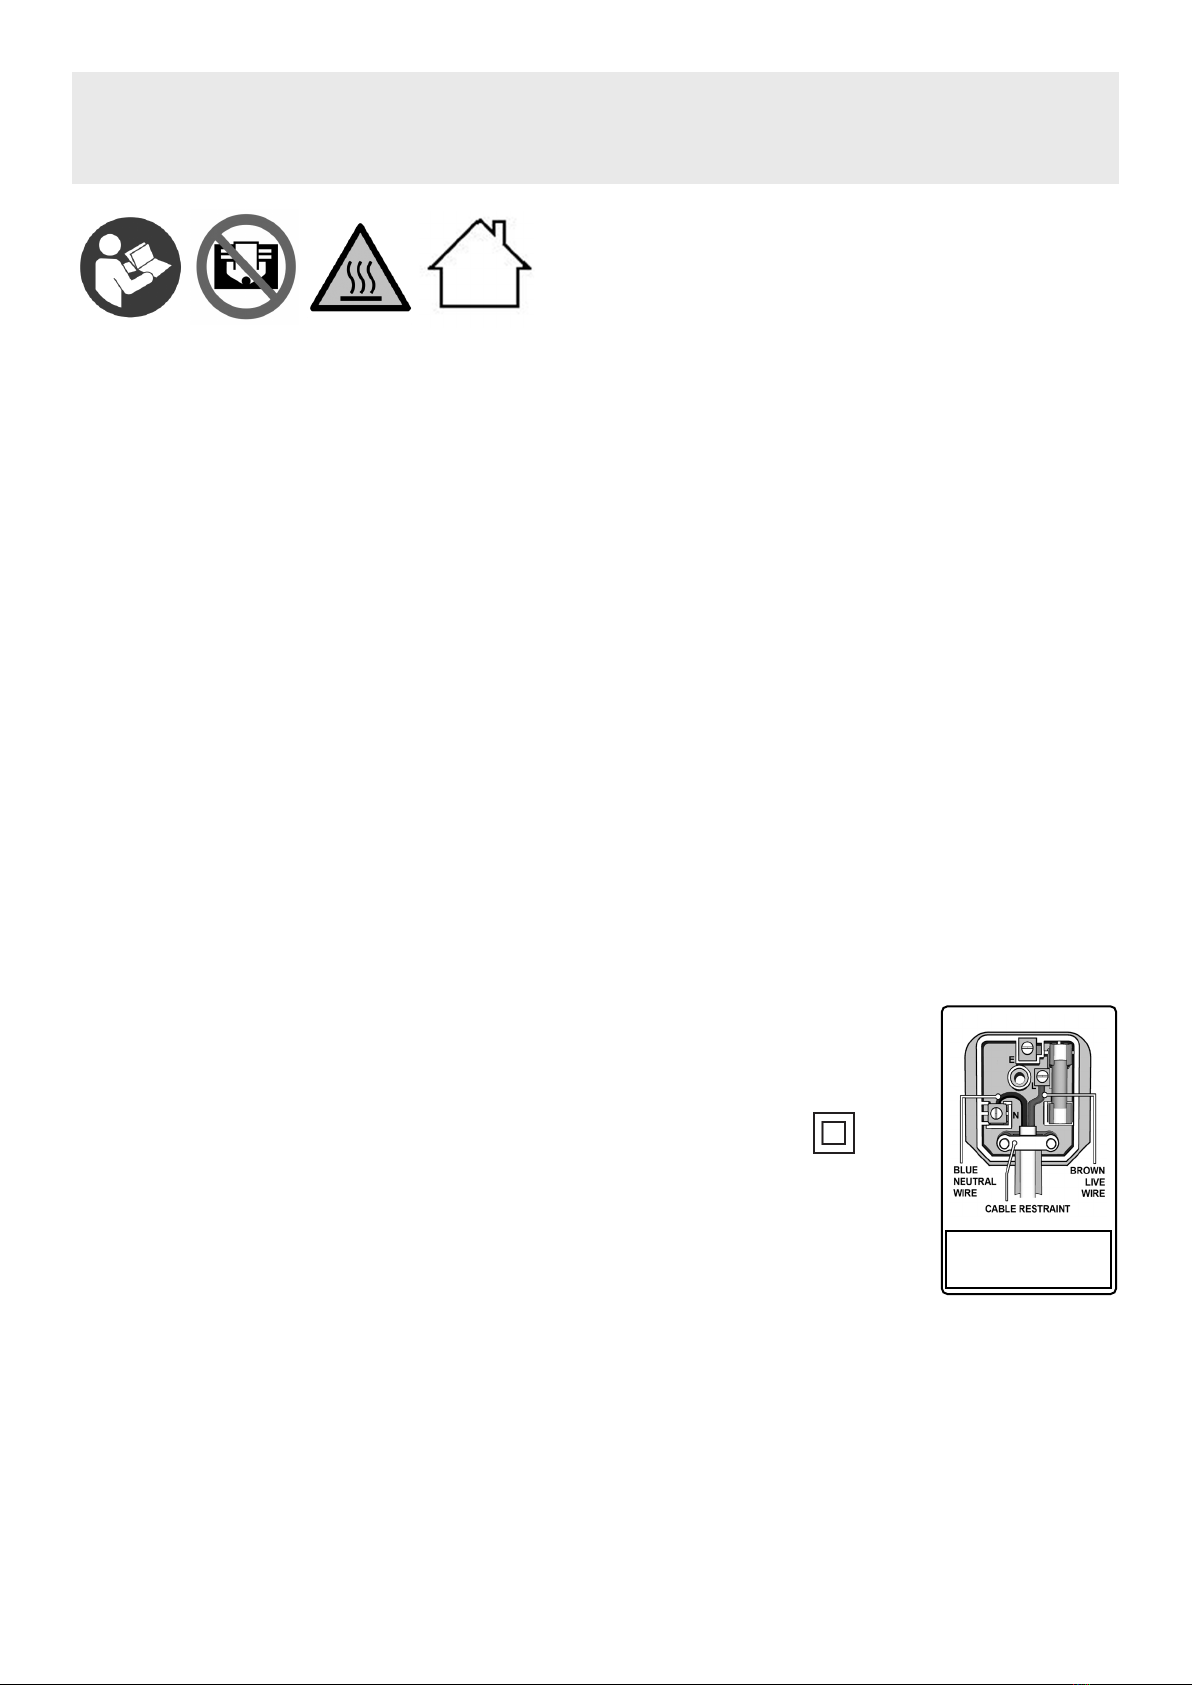
Voltage 220-240V 50/60Hz
Max Power LEFT 1800W
Max Power RIGHT 1000W
Power Levels LEFT 600W,1000W, 1300W, 1600W, 1800W
Power Levels RIGHT 200W, 400W,600W ,800W,1000W
Temperature 60oC - 240oC (10 Levels)
LEFT SIDE 1800W MAX RIGHT SIDE 1000W MAX