EWC
Controls
Inc.
385
Highway
33
Eng
lishtown,
NJ
07726
800
-446-3110
FAX
732-446-5362
E-M
ail-
[email protected]Copyright 2003 EWC Controls Inc., All Rights Reserved©
SETTING THE HUMIDISTAT
Most people feel comfortable between 35% to 45%
RH but the proper relative humidity for your home
depends upon many factors such as outside air
temperature, type and placement of insulation,
vapor barrier, effectiveness of weather stripping,
type of windows and doors (including frames and
jams)and whether storm windows and doors are
used. With all these variables it is nearly impossible
to recommend a proper humidity setting. The best
humidistat setting is one that you are comfortable
with. Also, as the outdoor temperature fluctuates, it
may be necessary to adjust the humidiy level a few
times during the heating season. Refer to the
“Relative Humidity Chart” as a starting point for your
proper humidistat setting. Generally, in a tighter and
better-insulated house, the humidistat may be set
higher than in a drafty, uninsulated house.
You may prefer to purchase an Optional #072000
Autoflo Humidity Control which will sense the
outdoor temperature and automatically adjust the
RH level in the home, as the outdoor temperature
changes. Contact the sales department or visit us at
www.ewccontrols.com to find out all there is to
know about the 072000 Smart Humidistat.
INSTALLDOOR AND EVAPORATIVE PAD
Make sure the evaporative pad is positioned in the
door correctly. The black mark on the edge of the pad
indicates the top. The pad slides into the door and
rests against the four legs located inside.
Position the bottom edge of the door in the tray
located on the lower opening in the housing. Then
simply push top of door closed until it has snapped in
to place. To remove door just push down on the two
tabs located at the top of the door and pull the door
away from the housing.
DRAIN CONNECTION
Connect the ½ inch plastic tubing to the drain
spout and secure it. The spout is located at the
bottom of the housing. Keep the tubing as short
as possible and avoid sharp bends. The drain
line should be routed on a continuous
downward slope and into a suitable drain.
WARNING: Failure to connect the drain tubing
could result in a flood.
WATER CONNECTIONS
Water supply for the humidifier should be taken
from a nearby hot water line but cold water is
acceptable. All water connections should be
made at ground floor level. Do not use any
water line served by a water softener. If your
home has a water softener, make the
connection up stream of the water softener. A
water softener is not a demineralizer. It merely
exchanges various hard-ions for soft-ions in
the water. These soft-ions or minerals, will build
up in the transfer media in the humidifier,
causing the need for more frequent servicing.
The evaporation of softened water may
produce a white powder which may be carried
through the duct system and ultimately in to the
home. The saddle tapping valve should be
mounted on top of, or on the side of the water
line. If the valve is installed on the bottom of the
water line it could clog with sediment from the
water line. Refer to the instructions on the
saddle valve package and proceed as follows.
For copper water lines the valve is self piercing.
Mount the saddle valve to top or side of water
line, then turn “T” handle to the clockwise until it
stops to pierce and seat the valve to the pipe.
Open to flush the valve and close it again. Then
connect plastic water line from the valve to the
humidifier making sure not to kink it or run it
near any hot flue pipes. Connect water line to
valve and humidifier with supplied hardware.
Now open the saddle valve turning the tee
handle counter clockwise until fully open.
Check for water leaks and repair as necessary.
Attic installations are not recommended.
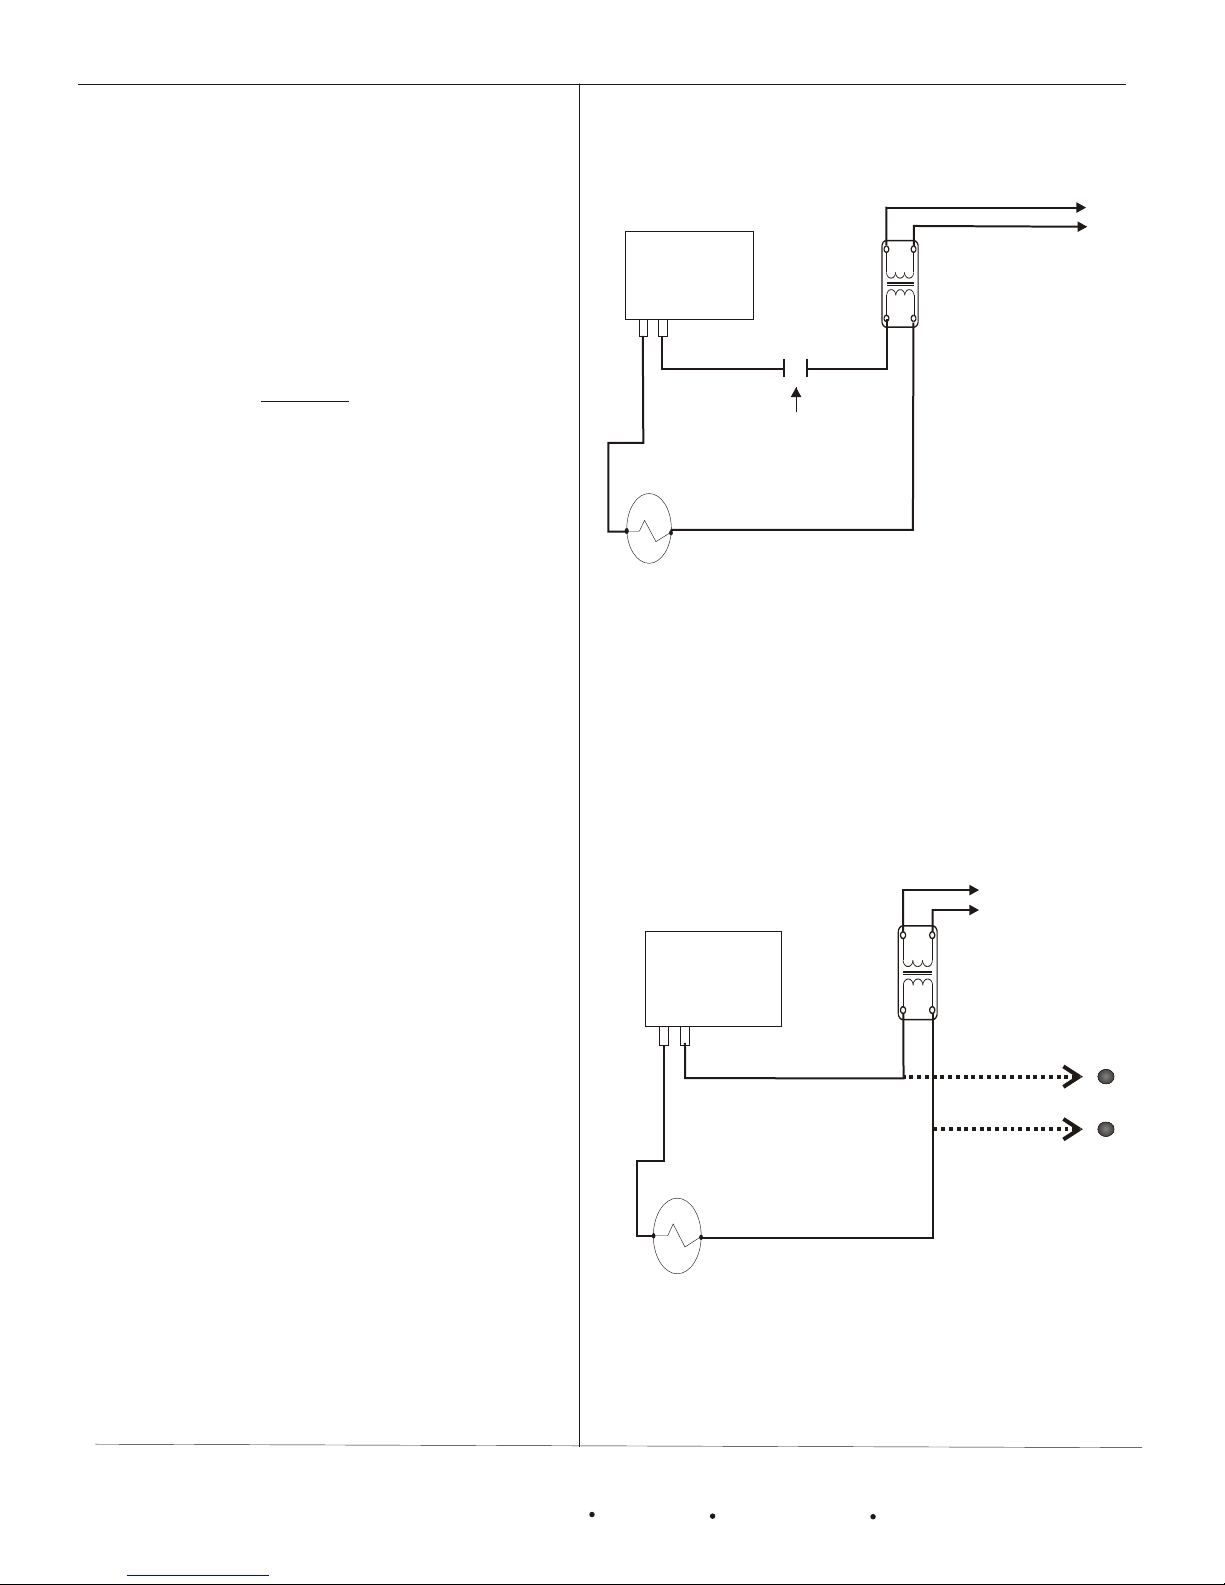
INSTALLHUMIDISTAT
The AutoFlo Humidistat should be installed as
described in the installation instructions
supplied with the humidistat.
MODEL SC-15 & MODEL 250 FLOW-THRU HUMIDIFIERS