65
Make sure that your home has proper earthing.
If the voltage between Neutral-Earth terminals
of any socket in your home is less than 25V, the
earthing qualifies to be healthy.
Installation pre-checks
Ensure that the electric source is close by.
The Ather Dot™ comes with 1 meter of input
cable. The open terminals of the input cable
must be connected to the circuit breaker that is
next to the utility energy meter of your home, as
explained in the “How to install?” section (pg. 11).
Note: Do assess beforehand, just in case you need
a longer wire, as we do not recommend using
extension cords.
You can also use a 6A socket, by connecting the
3 pin plug to the open terminals of the input
cable, incase you do not have access to the
energy meter of your home.
Note: Get your local electrician to check the voltage
or DIY using the multimeter in case you want to
check the health of the socket’s earth connection.
Drill machine with M6 wall drilling attachment and hammer
Multimeter
Screwdriver
Cables and conduit (For wire extension to the meter)
4 things you need
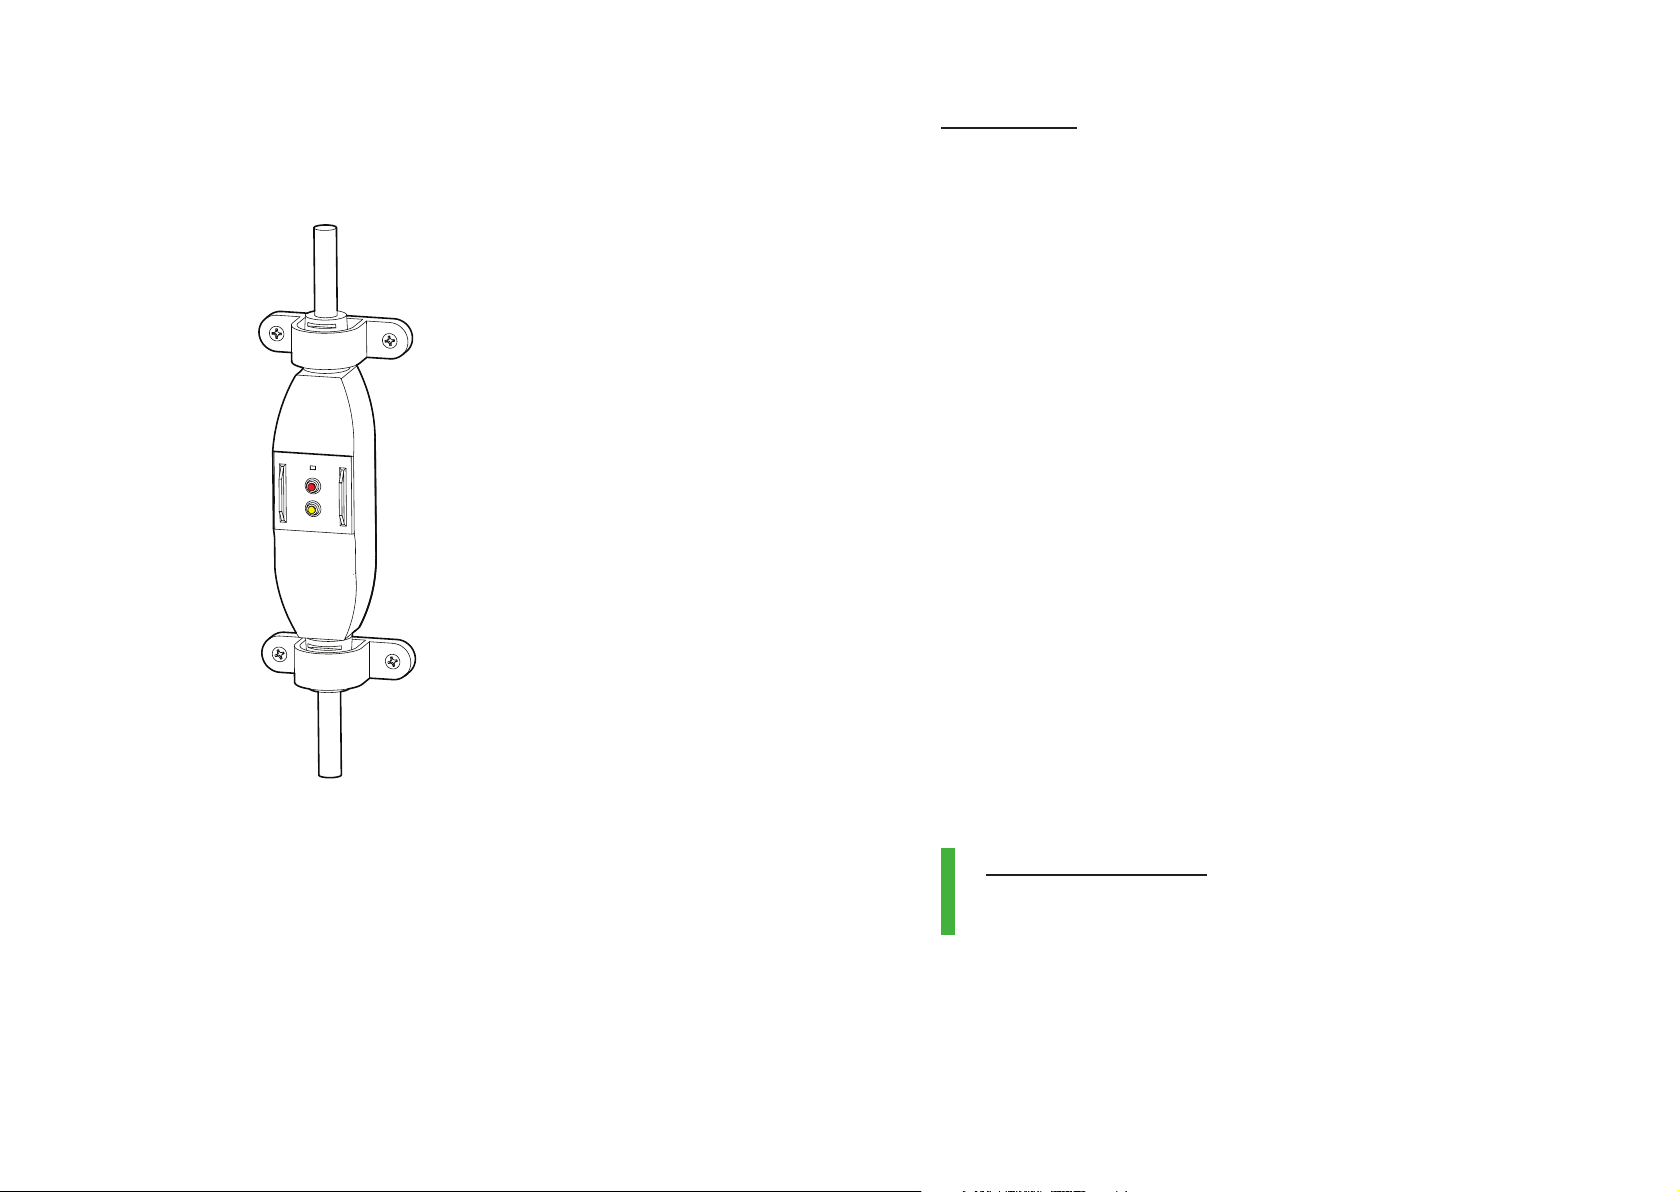
How to install?
Steps to set-up the Ather Dot™
Use the stencil to precisely mark all the 4
screws’ position on the wall. The arrow mark
on stencil should be pointing upwards for an
accurate marking.
Recommended height: 1.5 m from the ground.
Step 1
Note - In case of uneven surface or obstacles at the
recommended height, you can mount the
Ather Dot™ at your convenient height. Just that, it
should not be too low for it to get affected by water
clogging or splashing.
Earth
Neutral
Healthy Earthing
< 25V