Atec NEOVIEW AL181 Manuel utilisateur
Rev 2.0
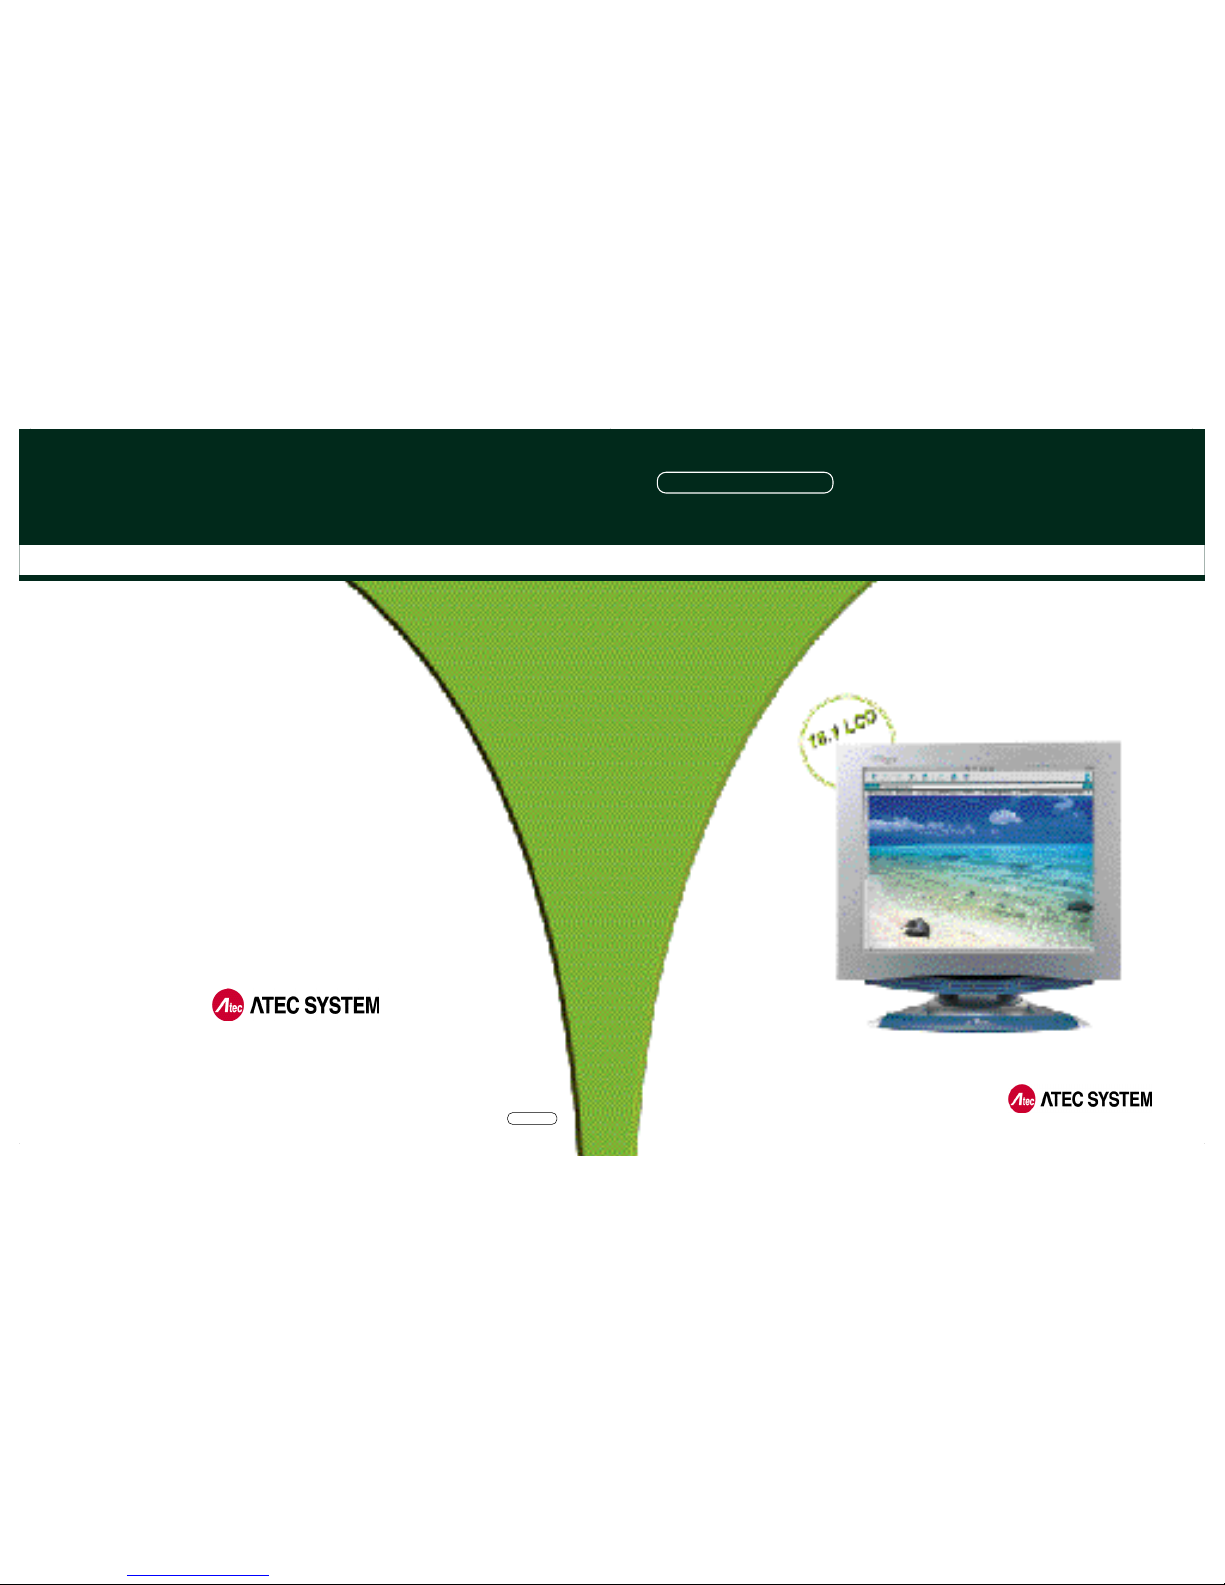
NEOVIEW AL181
18.1 TFT LCD MONITOR
LCD PC No.1 Company
#1451-78, Seocho-Dong, Seocho-Gu,Seoul,
137-867, Korea
TEL : 82-2-2190-5000 FAX : 82-2-2190-5009
http:// www.atech.co.kr
USER MANUAL
[FOR EXPORT ]
ANALOG/DIGITAL

User Manual
Power Cord
VGA Signal Cable
DC Power Supply Unit
If you select DVI for your choice, we do not provide
VGA Signal Cable but only DVI Cable.
▼
Monitor Driver
▼▼
Audio Cable
▼
▼
▼
▼ ▼
Foundation
Optio n
Audio Cable(RCA Type)
USB 4PORT
▼
DVI(Digital Video Interface)
▼
Cable VIDEO RCA
▼
Cable USB
▼
DVI to VGA ADAPTOR
DVI
REMOTE CONTROL
(Batteries Included)
VIDEO
TV
USB

FCC Compliance Statement
This device complies with Part 15 of the FCC Rules. Operation is subject to the
following two conditions : (1) this device may not cause harmful interference, and
(2) this device must accept any interference received including interference that
may cause undesired operation.
INFORMATION TO THE USER
This equipment has been tested and found to comply with the limits for a Class B
digital device pursuant to Part 15 of the FCC Rules. These limits are designed to
provide resonable protection against harmful interference in a residential
installation.
This equipment generates, uses and can radiate radio frequency energy and if not
installed and used in accordance with the instructions, may cause harmful
interference to radio communication. However, there is no guarantee that
interference will not occur in a particular installation. If turning the equipment off and
on, the user id encouraged to try to correct the interference by one more of the fol-
lowing measures :
- Reorient or relocate the receiving antenna.
- Increase the separation between the equipment an receiver.
- Connect the equipment into an outlet in a circuit different from that to which the
receiver is connected.
- Consult the dealer or an experienced radio / TV technician for help.
WARNING
Changes or modifications not expressly approved by the manufacturer could void
the user's authority to operate the equipment.

CE Conformity Notice
The Product herewith complies with the requirements of the Low Voltage
Directive 73/23/EEC and the EMC Directive 89/336/EEC and carries the "CE" mark
accordingly.
Confirms to the following harmonized European standards have been applied:
EMC : EN 55022 Class B: 1998
EN 55024: 1998 (EN 61000-4-2: 1995, A1: 1998, EN 61000-4-3:1996,
EN 61000-4-4: 1995, EN 61000-4-5: 1995, EN 61000-4-6: 1996,
EN 61000-4-8: 1993 and EN 61000-4-11: 1994)
EN 61000-3-2: 1995, A1: 98, A2: 98
EN 61000-3-3: 1995

2
6
10
12
14
18
17
25
28
1
Before Use
How do I use the Monitor ?
Information for Your Convenience
Features
Installing Monitor Driver
Instructions for Safety
How do I Connect the Computer Cables ?
How do I Connect with the IBM computer ?
Parts and Functions of ANALOG and MONITOR
Front view
Back view
The name and function of each individual part
ANALOG OSD (On Screen Display) Display
Selection and Control
DISPLAY ADJUST
MISC ADJUST
OSD ADJUST
EXIT
Parts and Functions of DIGITAL and MONITOR
DIGITAL OSD (On Screen Display) Display
Selection and Control
OSD Display
In case the connection is made by VGA Signal
In case the connection is made by S-VIDEO
In case the connection is made by COMPOSITE and S-VIDEO
In case the connection is made by TV (Tuner)
Troubleshooting
Product Specification
Please keep the user manual in a place where product users can refer to it.

18.1 TFT LCD Panel Adopted
•Adopted the 18.1 LCD (Liquid Crystal Display) Panel which allows you efficient
use in a small space due to the slim design.
DVI
•As for most of LCD Monitors released, we support only ANALOG input, but DVI in
accordance with the user's option as the video card for it has been widely used.
You can get clearer pictures in DIGITAL input than in ANALOG input.
AUDIO
•It gives user an amplified stereo sound through internally installed
speakers(2W).
DESIGN
•It is outstanding that Atec system has strategically planned and laid out
a beautiful design that meets the taste of the new generation, super-slim model.
•Swivelling at 120°to the right and the left, Tilting at 30°to the up and down.
Handle for Conveyance
•We do have made a handle for the easy transport carriage of monitor.
Power Consumption Economy Function
•The VESA DPMS (Display Power Management Signaling) function is
available to reduce power consumption by automatically switching the computer
into the power saving mode if the system doesn’t operate for a fixed period of time.
OPTION
•USB 4Port can be embedded to use the USB without an external Hub.
•RCA and S-VHS terminal is supplied, connecting this apparatus to DVD, VCR
or CAMCORDER.
•You may view TV programs after connecting with an antenna or a cable TV.
Features

Installing Monitor Driver
Manual installation method in Display Properties of Win 98 or Win 98SE
1. Insert a Diskette to A: Drive.
2. As clicking on My Computer in windows screen, follow the directions below.
①Click on‘Control Panel’②Click on‘Display’
③Click on‘Settings’
⑤Click on‘Monitor’,
then‘Change’⑥Click on‘Next’
④Click on‘Advanced’

⑦Click‘Display a list
of all the drivers in a specific
location, so you can select
the driver you want’
⑧Click on
‘Have Disk’
⑨Click on‘OK’
⑩Select‘ATEC NEOVIEW
AL181’, then click on‘Next’
⑪Click on‘Next’⑫Click on‘Finish’
3. If the model name of monitor has been changed, click
on‘Close’to restart Windows.
▶
Reference
If it doesn't show up the relevant model in device selection
screen, click on "List all Device", then select one of them.
Click on "OK"

Installing Monitor Driver
Windows 2000 Monitor Driver Installation
The followings are the way to install monitor driver in
Windows 2000 Manual Installation in Display Properties.
❶Press "Start", click "Settings" and "Control Panel".
❷Click "Display" in "Control Panel".
❸Click "Settings", then "Advanced".
❹Select "Monitor", then "Properties".
❺Choose "Driver", then "Update Driver...".
❻Click "Next".
❼Click "Display a list of all the drivers in a specific location, so you can select the
driver you want". Then Click on "Next".
❽Click on "Have Disk".
❾Pointing to where the diskette or drive is located, then click on "OK".
EX1] Insert a diskette to A drive bay, then press "Enter".
EX2] Pointing to where the driver is located: hard disk or network.
Then press "Enter".
EX3] If you can't correctly designate the driver route, then click "Search" to
find out the right one.
❿Select the customer's model in "Model Selection" screen. Then press " Next".
Click on "Next".
Press "Yes".
If "Driver installation has been successfully completed" is popped up,
press "Finish".
Click "Close", then press "OK" to close the display screen.

Installing Monitor Driver
Configuring Monitor in Linux
It is the direction for installing monitor in Linux.
❶You'd make xf86config file to run X-WINDOW. Your monitor is surely and
easily configured with this file. This file will be made as running xf86config.
❷Press Enter in the first and second screen after running xf86config file.
❸In third screen, we come up with the mouse setting screen.
❹Configure it as opt for user system.
❺Next will be the screen for selecting KeyBoard.
❻Configure it as opt for user system.
❼First, configure a horizontal frequency. Please refer to the horizontal frequency
in monitor manual. (User may directly input frequency.)
❽Next, configure a vertical frequency. Please refer to the vertical frequency in
monitor manual. (User may directly input frequency.)
❾Then, configure a monitor.
❿Type in the model name of monitor. The monitor's identification and description
(typed in here) aren't directly related with the execution of X-WINDOW.
After complete with other hardware settings, run X-WINDOW.
As the configuration has been successfully finished, save a configuration file.
Now run X-WINDOW. Theoretically, it is supposed to be executed.
But in some cases, it won't even start. In this case, edit a xf86config file.
Table des matières
Autres manuels Atec Moniteur


