Air TEc CYPRES Manuel utilisateur

The
C Y P R E SC Y P R E S
C Y P R E SC Y P R E S
C Y P R E S
Water Resistant Kit
Instruction Manual

Instruction Manual CYPRES Water Resistant Kit
Airtec GmbH page 2
The water resistant CYPRES
The terms air pressure measurement and water resistant are contradictory. It
is even more contradictory to make an air pressure measuring device water
resistant, which has to work with a reliability of nearly 100%.
To develop a procedure for making a large number of these high-tech air
pressure measurement devices subsequently water resistant (some of them
have been in use for 8 years) is normally impossible. Nevertheless, we had
this goal and pushed the development.
This now is possible with the CYPRES Water Resistant Kit you have
purchased.
But, to do this in the appropriate way requires careful, responsible and sensi-
tive assembly, following the instructions exactly.
Because of circumstances we have just described, we ask you to follow our
instructions by 100%, and to do the best possible job.
It is possible to provide sufficient protection to the CYPRES by using the Water
Resistant Kit, but a small mistake in the way the procedure is performed may
negate this protection.
Disclaimer:
Airtec is not responsible for any damage to a CYPRES, which was
submerged in water after installation in the water resistant housing.
Instruction Manual CYPRES Water Resistant Kit
Airtec GmbH page 3
Parts list
1 bottom housing *1 brush
1 top *1 non metallic tool
2 gaskets 1 5 cm³ syringe
2 blind stoppers 2 latex covers for control unit *
10 screws, V2A 2 latex covers for plug *
10 nuts, V2A 2 latex covers for cable splice *
2 strips of capton (for dismantling) 20 alcohol pads
2 filters 1 water resistant marker
20 cable ties 1 screwdriver
1 transparent tube with 2 stoppers and one adapter
1 bag with talcum powder
2 stickers (blank, for serial numbers ...
2 stickers "last battery change ..."
2 tubes containing 8 cm³ of silicone
1 spandex pouch for water resistant housing (OD color)
* not in the box because already installed at Airtec or SSK
CYPRES installation into the water resistant housing
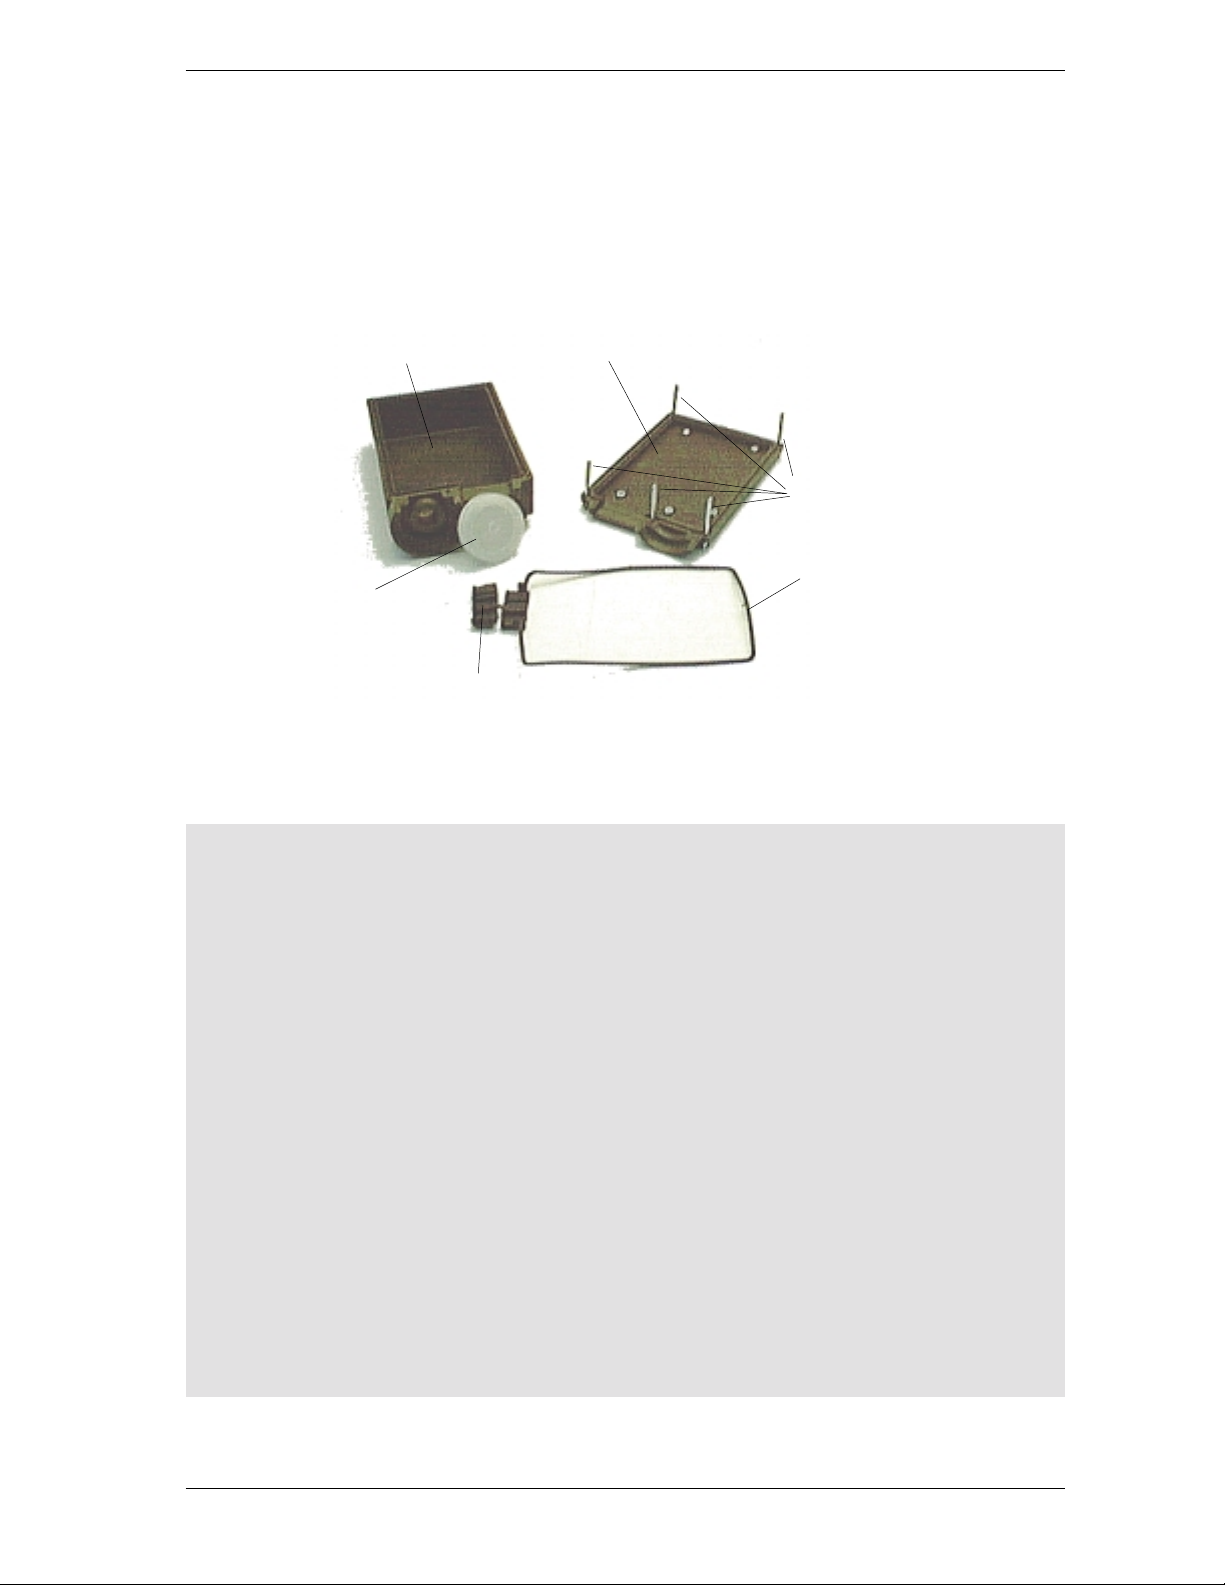
The Water Resistant Kit
(a) bottom (b) top
(d) filter
(c) screws
(e) gasket
(f) flap of gasket

Instruction Manual CYPRES Water Resistant Kit
Airtec GmbH page 4
Important Information
First:
Right now every CYPRES that should be made water resistant has to see
Airtec or SSK.
There a generell check for all important properties is done and
• the control unit and
• the plug in the cutter cable and
• the lower part of the cutter and
• if existing a splice in the control unit cable
are sealed.
Looking at these items you will realise something like a transparent plastic
coating.
Please check the sealings when you easily have access.
Second:
• Only a CYPRES with undamaged cables can be made water resistant. Holes
or slits in cables will allow water to find a route through the inside of the
cables into the processing unit.
• After the assembly and testing of the water resistant housing, the silicone
needs 12 hours time to cure completely. Do not install the housing in a rig
before this time.
• The main processing unit pouch in the reserve container has to be changed
to the larger pouch. Please install the new (OD green) pouch according to
the instructions in the CYPRES Riggers Guide, page 9.
• As mentioned before, the mounting of the water resistant housing requires
concentrated work, which has to be done without any errors.
• Once installed, the water resistant version needs more maintenance and
care. Additionally, the volume of the AAD increases.
Because of the above reasons we strongly recommend installing a water
resistant CYPRES only when it is really needed and not "because it may be
better".
Thank you for your understanding.
Instruction Manual CYPRES Water Resistant Kit
Airtec GmbH page 5
I Installation
How to prepare the housing
1.
Take the CYPRES and inspect all cables for damage. Even the smallest hole
will make it impossible to make this unit water resistant.
Assemble all necessary parts and the CYPRES in a well-lit working area.
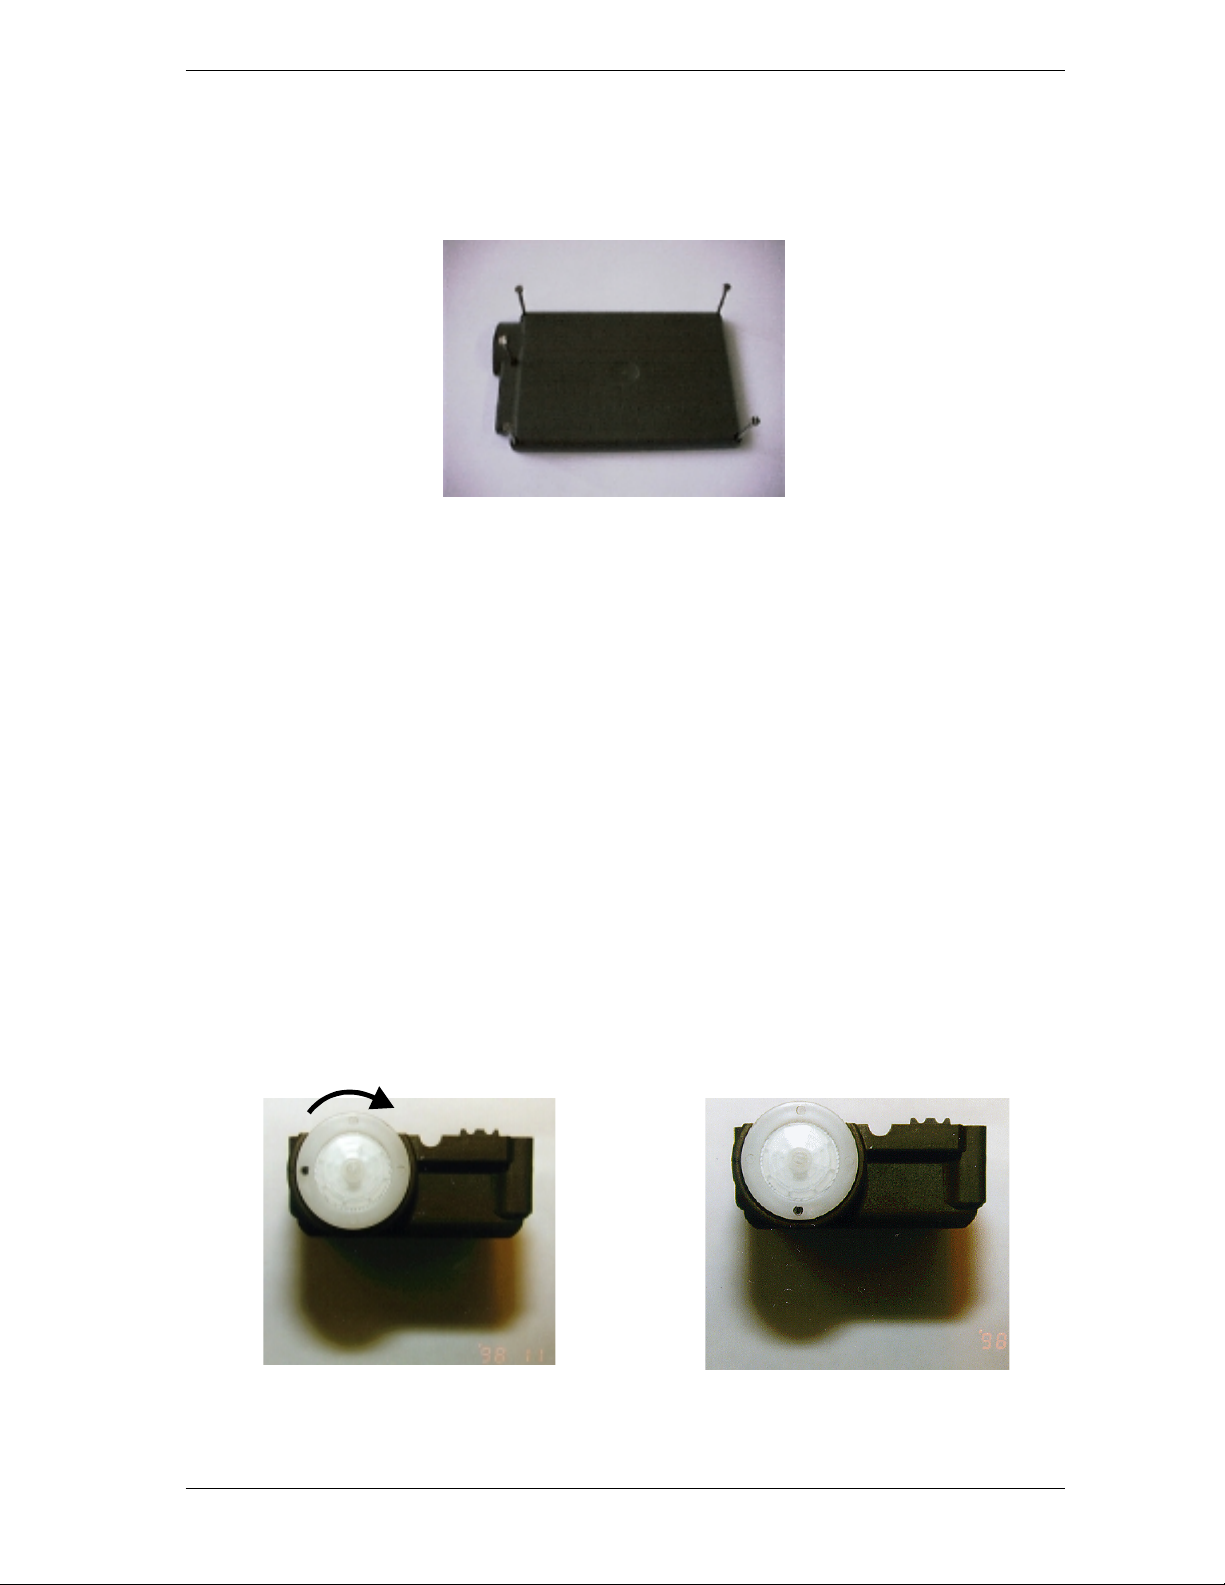
2.
Turn the 5 screws (c) into the top (b) of the housing. The screws move freely
when the threads have passed through the top.
3.
Put the filter (d) into the bottom (a) of the housing so that the marked points
are aligned. Mount the filter (d) with a 3/4 clockwise turn. Overturning may
damage the threads.
Instruction Manual CYPRES Water Resistant Kit
Airtec GmbH page 6
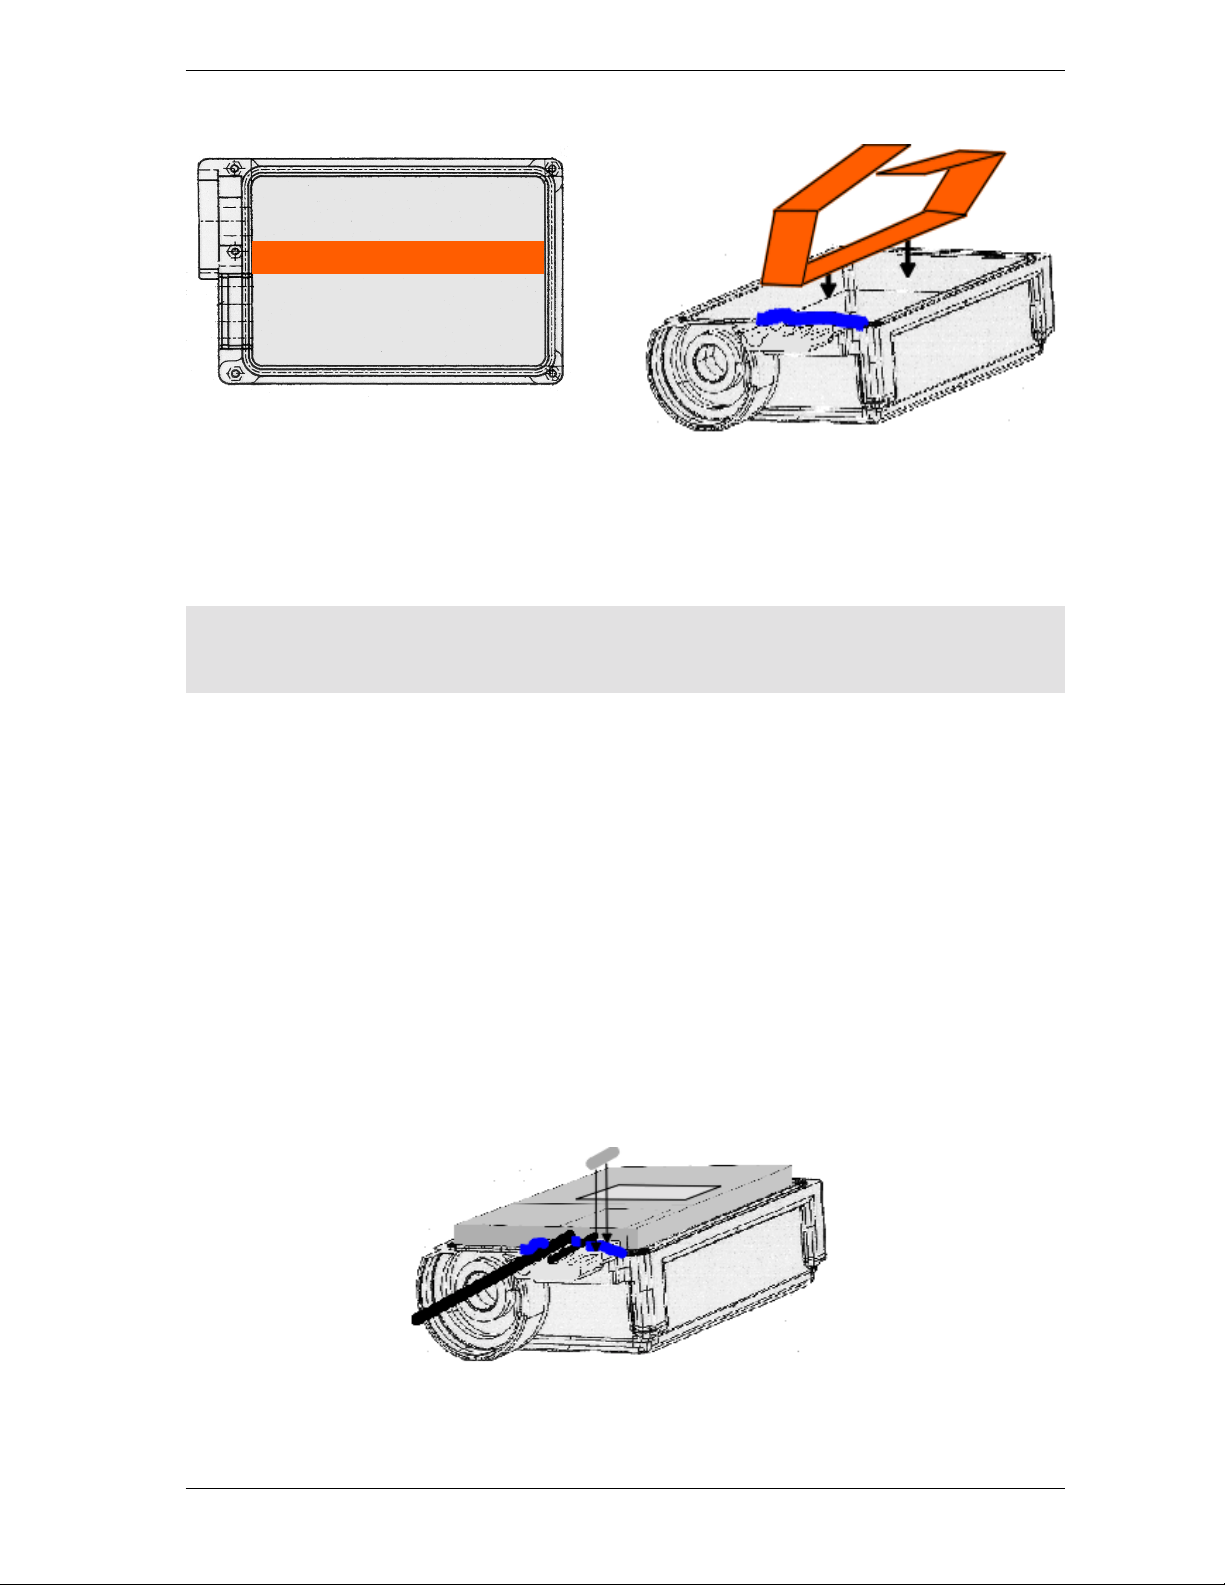
Guideline for sealing the gasket with silicone in step 4-13
The silicone is necessary to seal the cable entrance points. This work
requires very exact and accurate work, because the cable entrance
section is the most sensitive part of the system.
• General rule: More is better than less.
• Too much silicone has to be removed afterwards, but is harmless.
• Please use the silicone tubes only once. The silicone has the tendency
to dry out and may not work properly the next time. Enough tubes are
supplied.
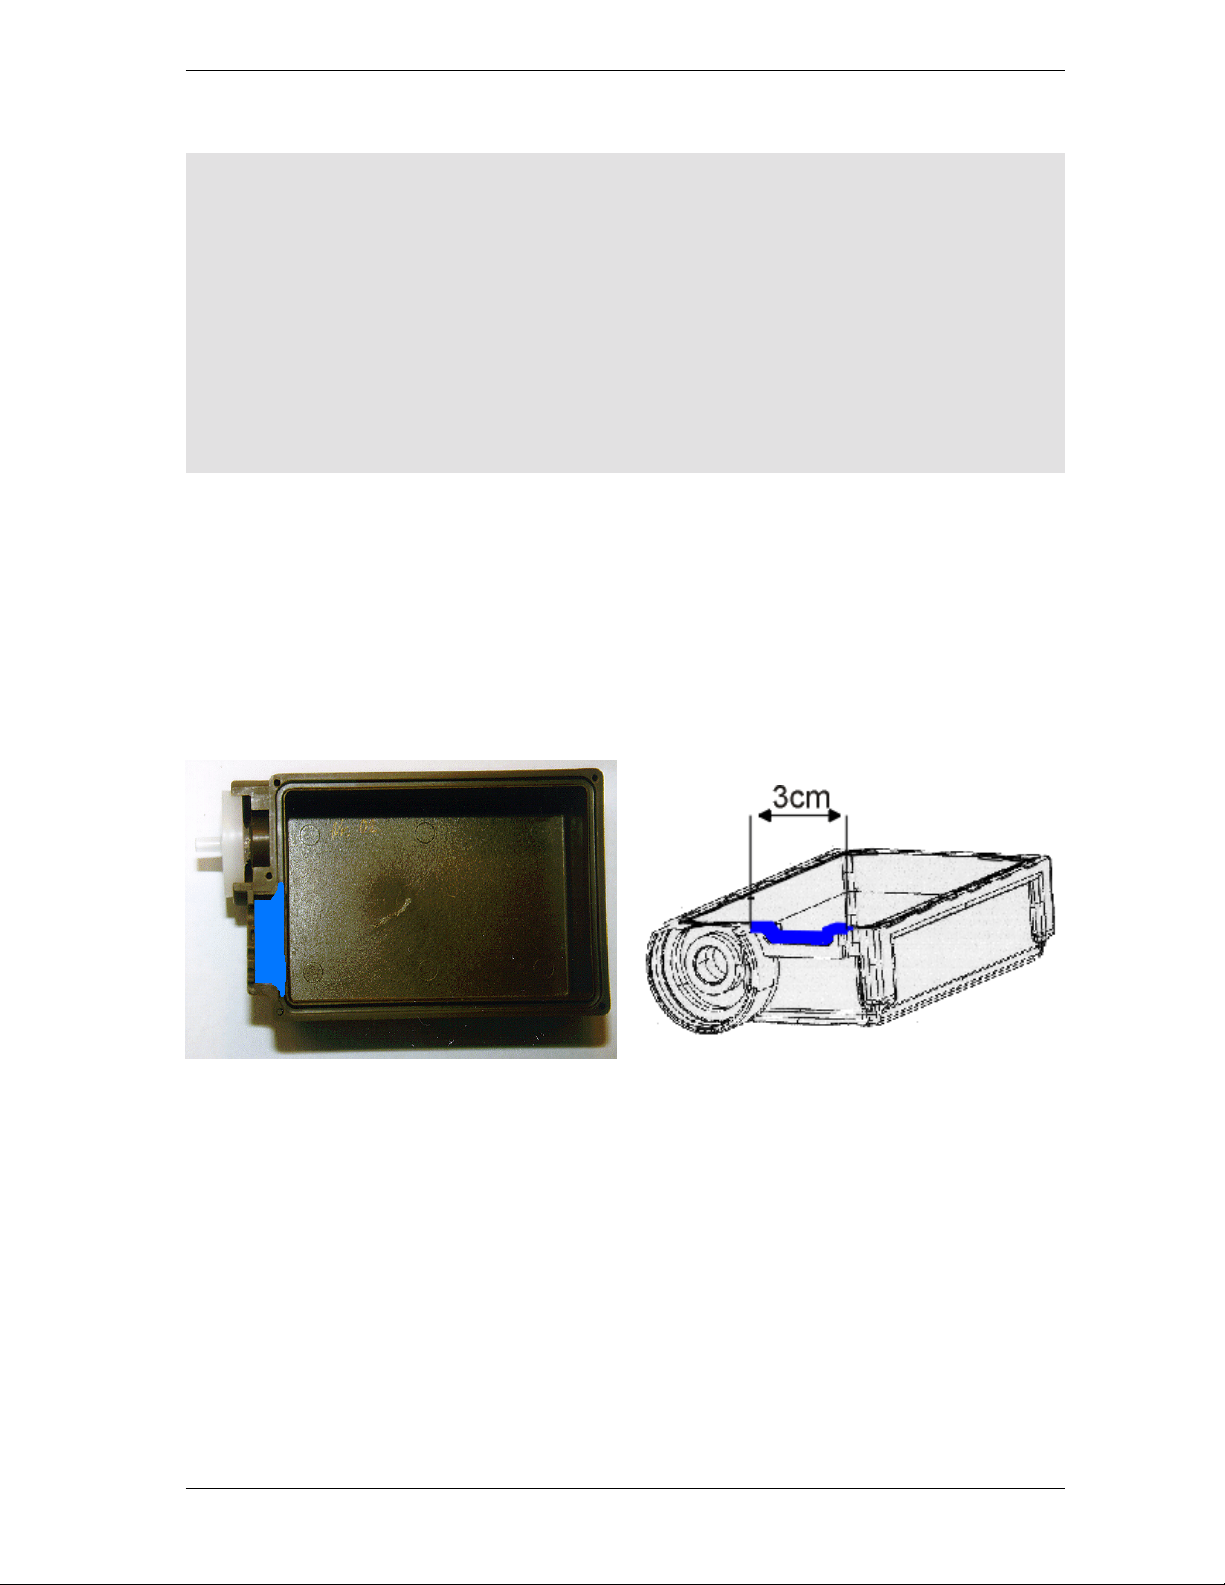
4.
Take the silicone tube, twist of the cap, open the tube with the cap and
mount the nozzle. Hold the tube upright and roll up the tube from the bottom
until silicon appears on top of the nozzle.
Apply the silicone (length apx. 3cm, minimum width approx. 8mm) to the
cable entrance section as shown (blue section) on the photo. The complete
bottom of the cable entrance section should now be covered with a flat layer
of silicone. The silicone has to reach the gasket groove at both sides and
must not have any gaps.
Put the cap of the tube on top of the nozzle to avoid the silicon to drying up
during the time of your work.
Instruction Manual CYPRES Water Resistant Kit
Airtec GmbH page 7
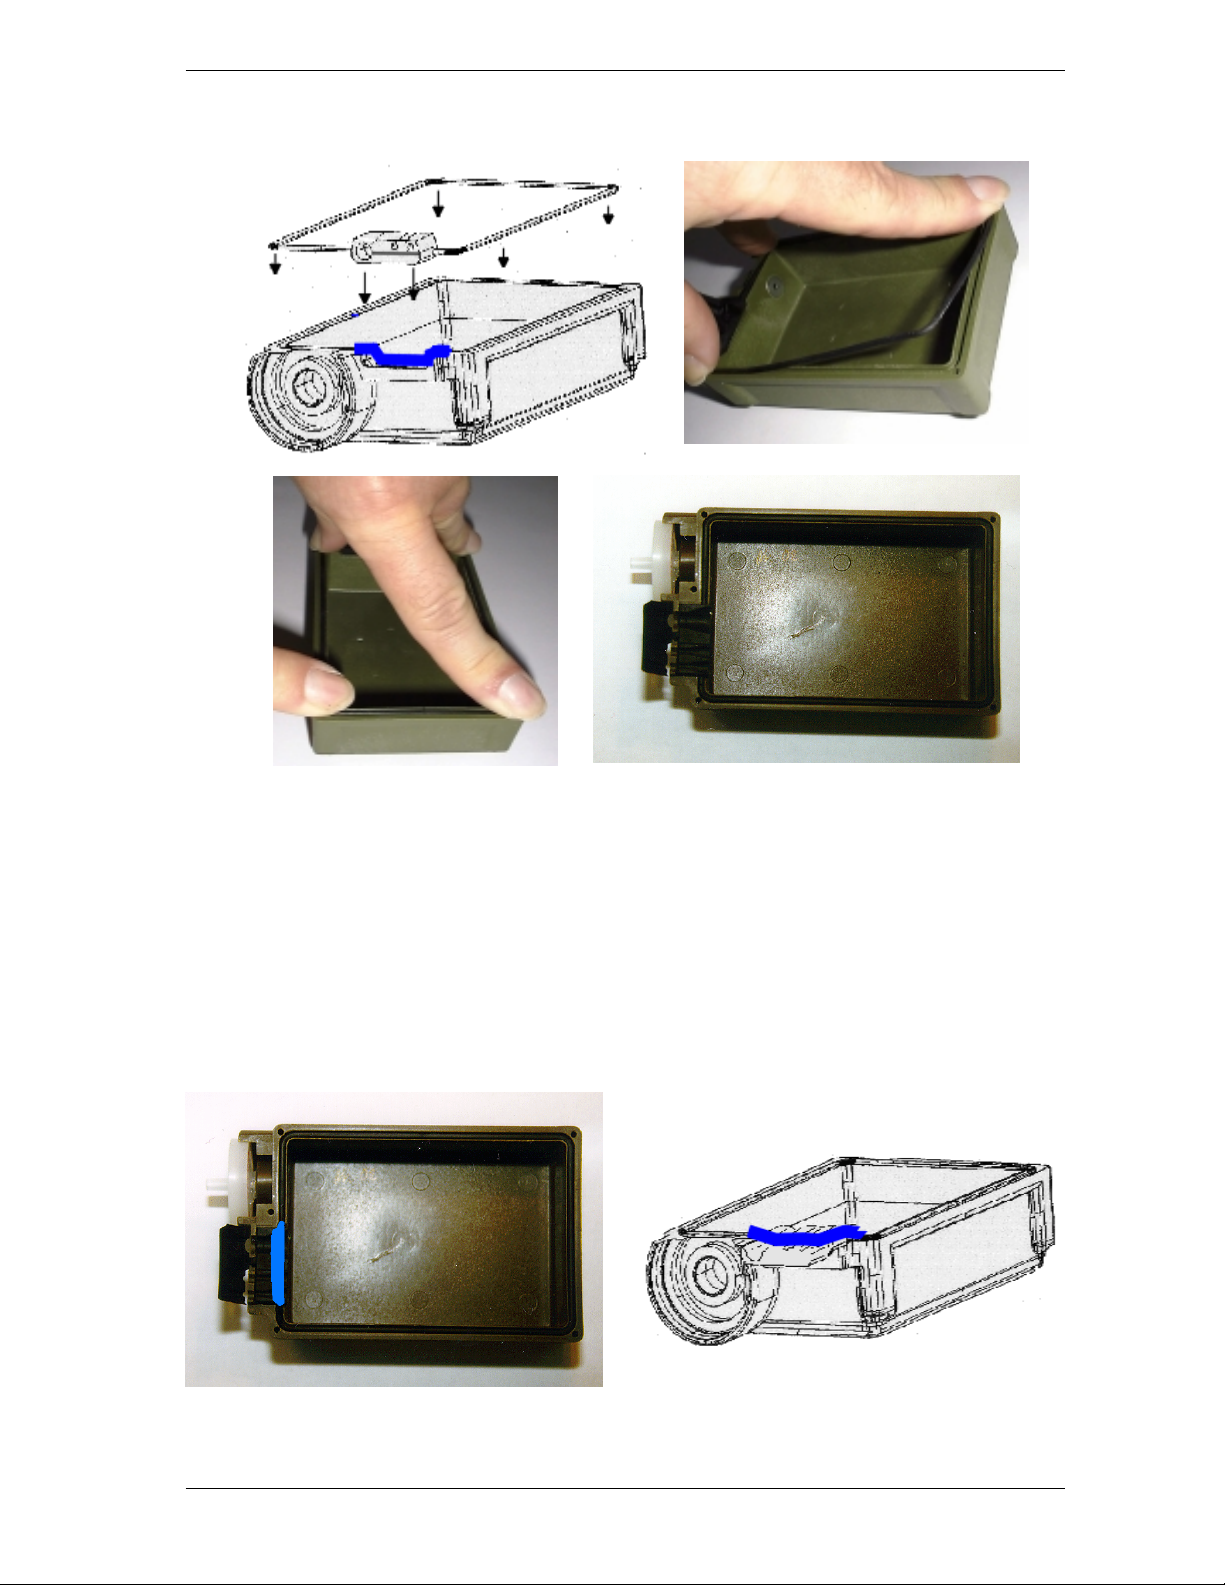
5.
Take the gasket (e) and put into the groove. First press the part of the gasket
which covers the cable entrance into place, ensuring that the layer of silicone
underneath is evenly spread. Place the rest of the gasket into the groove,
taking care not to twist it.
6.
Apply another strip of silicone onto the gasket as shown. Carefully remove
any surplus silicone on the inside of the housing.
Instruction Manual CYPRES Water Resistant Kit
Airtec GmbH page 8
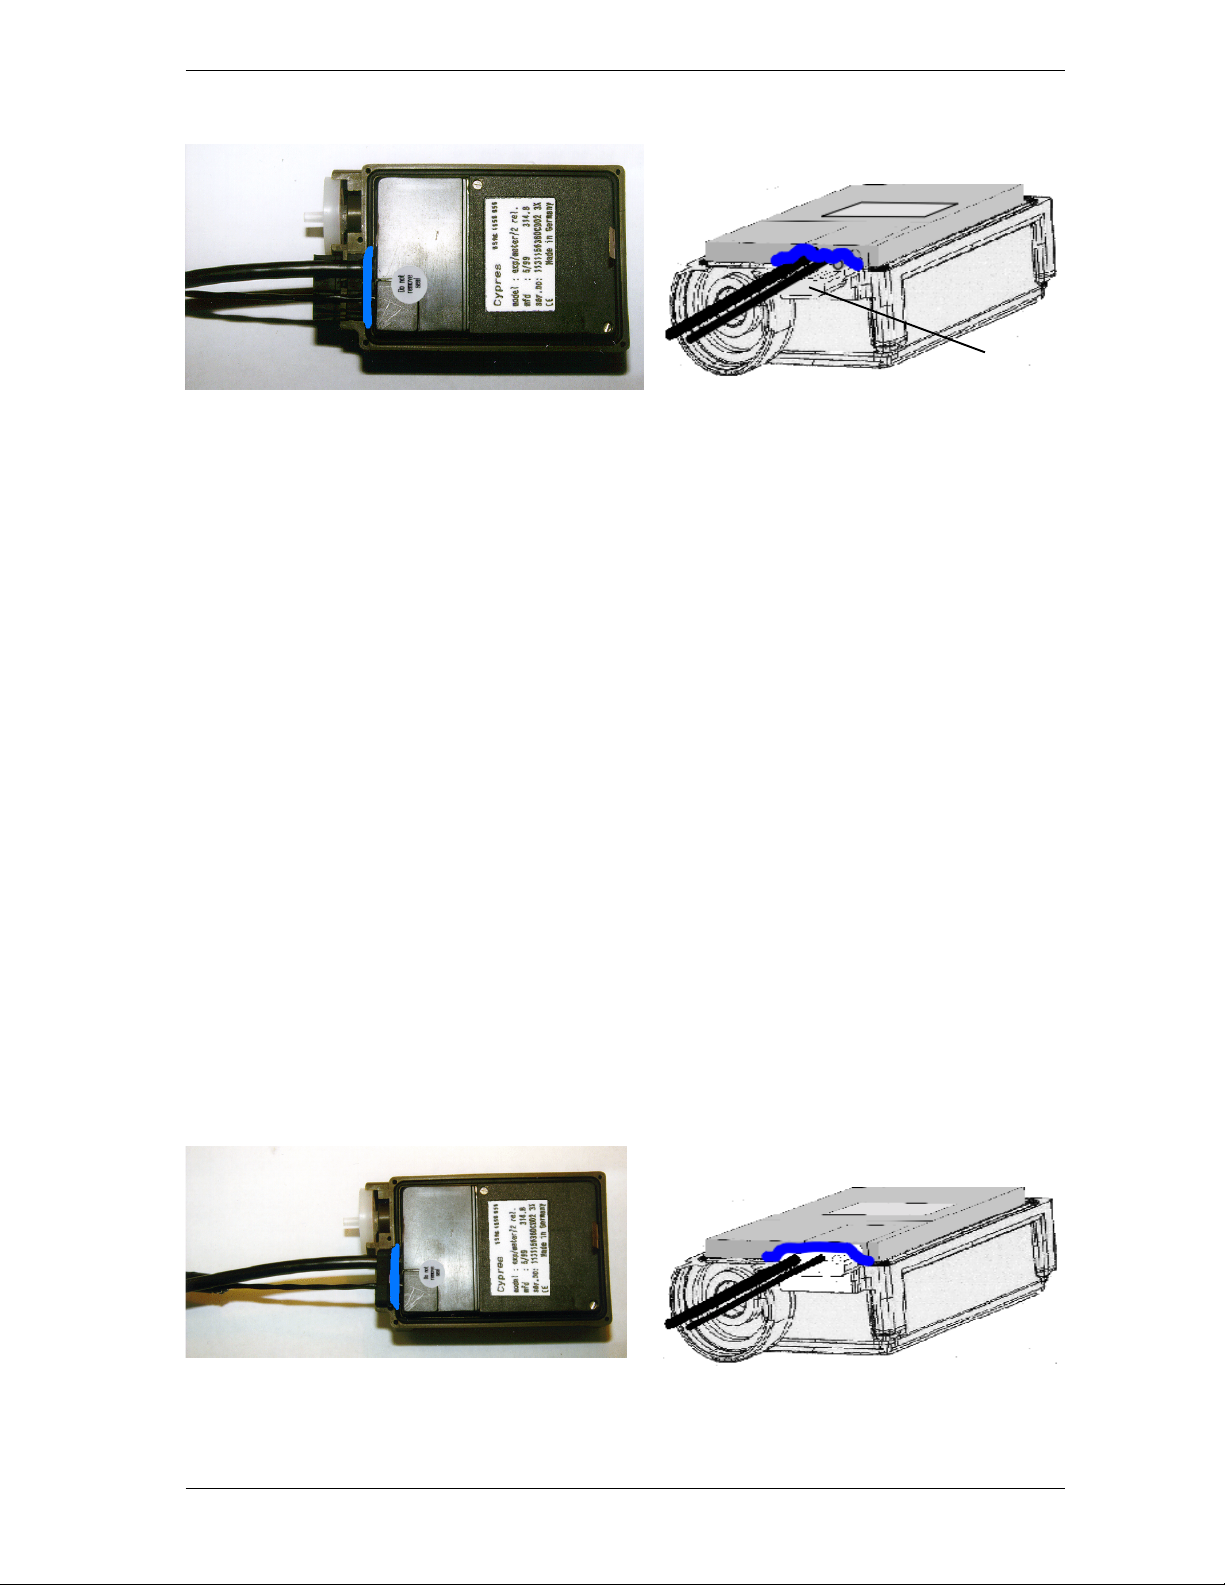
7.
Place the supplied brown strip of capton (appx. 1cm x 18cm) into the bottom
case as shown. The strip has to be placed at the edge of the control unit cable.
The capton strip must not obstruct the filter pressure entrance point (round
metal area).
Place the capton strip not in front of the filter entrance.
Place it like in the sketch above.
The capton strip makes it easier to remove the CYPRES from the housing
later.
8.
Place the CYPRES carefully into the housing.
9.
If the CYPRES is a 1-pin model, seal the remaining empty cutter cable routing
with the supplied rubber ("blind") stopper.
Instruction Manual CYPRES Water Resistant Kit
Airtec GmbH page 9
10.
Apply another strip of silicone onto the cables and the gasket as shown.
11.
Take the flap of the gasket (f), turn it by 90° and move it upwards through the
control unit and the cutter cable. Then place it onto the cable and the silicone
strip.
12.
Apply another strip of silicone onto the upper side of the closed gasket.
(f)

Instruction Manual CYPRES Water Resistant Kit
Airtec GmbH page 10
13.
Starting at the cable entrance, place the top of the housing gently on the bottom,
making sure that the rest of the gasket remains firmly in place.
14.
Turn the screws through the bottom housing and mount the nuts. Tighten all
screws very gently and evenly. Then begin the final mounting by tightening
screws 1-2, then 3-4, then # 5. All screws have to be tight.
Autres manuels pour CYPRES
2
Table des matières


