3
AGD 343
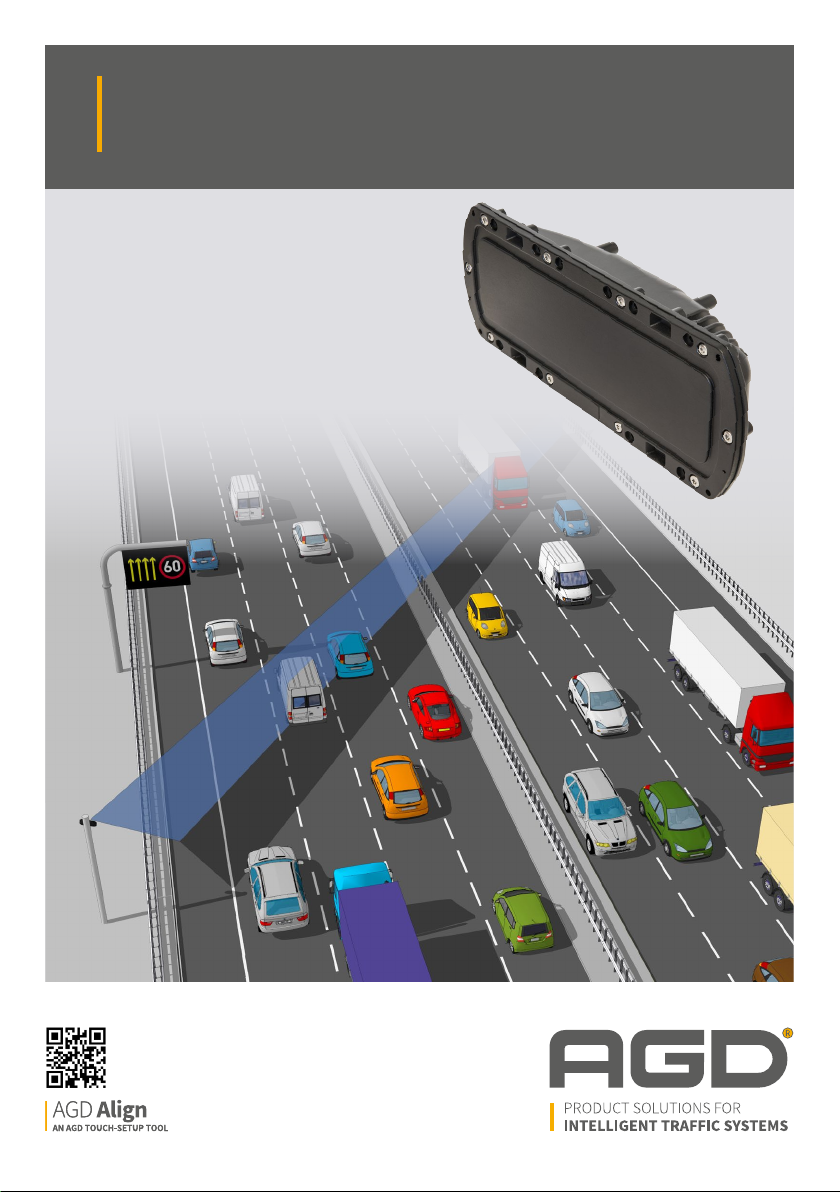
HIGHWAYS MONITORING RADAR
AGD 343
HIGHWAYS MONITORING RADAR
AGD 343
HIGHWAYS MONITORING RADAR
AGD 343
HIGHWAYS MONITORING RADAR
Introduction
PRODUCT & TECHNOLOGY
KEY FEATURES
• Flow monitoring solution for multi-lane real-time data
• Traffic Profiling and Incident Detection
• Ten lane highway capability
• Enforcement grade radar & techniques
• Identifies, tracks & measures speed, length, lane/direction of individual targets
• Multi-level incident detection mode
• Non-intrusive loop replacement
• Mounts on existing infrastructure
• Simple to install, setup and configure using AGD Align
The AGD 343 Highways Monitoring Radar is an easy-to-
integrate traic ow monitoring solution that provides
real-time data on multi-lane highways. Designed for traic
proling and incident detection, the 343 dramatically
enhances highways safety, capability and eiciency.
AGD’s 343 employs proven enforcement-grade radar &
measurement techniques to quantify speed, range and
length of passing vehicles. Detailed traic information
- such as, ‘is traic free-moving, slowing or starting-to-
queue?’ - is available in all weather conditions to inform
control rooms and allow instant decision making.
AGD radar can replace intrusive high-maintenance loops,
mounting on existing roadside poles or gantries where
it ‘looks’ across the road at 30 degrees. The additional
capability to operate at a ≥ 2-metre oset, while
maintaining a 6-metre plus mounting height, ensures
reliable operation in managed motorway scenarios and
ALR (All Lanes Running) schemes. The 343 has been
designed to cope with the many diiculties
facing international road network installations.