Adam Tensor SW393 Manuel utilisateur
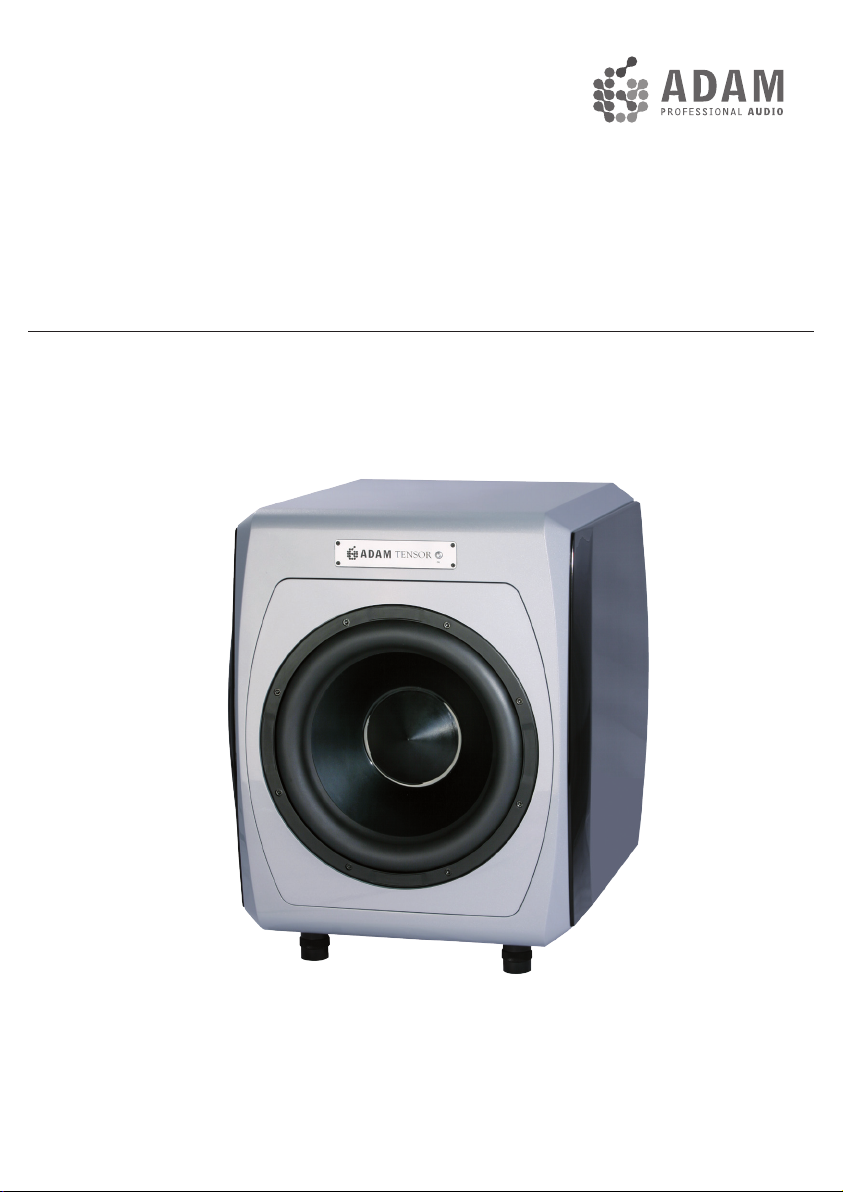
Tensor
SW393 Operation Manual / Bedienungsanleitung
English / deutsch
2
Please read the following safety instructions before setting up your system.
Keep the instructions for subsequent reference. Please heed the warnings and
follow the instructions.
Caution: To reduce the risk of electric shock, do not open the subwoofer.
There are no user-serviceable parts inside. Refer servicing to qualified
service personnel.
This product, as well as all attached extension cords, must be terminated with
an earth ground three-conductor AC mains power cord like the one supplied
with the product. To prevent shock hazard, all three components must always
be used.
Never replace any fuse with a value or type other than those specified. Never
bypass any fuse.
Always switch off your entire system before connecting or disconnecting any
cables, or when cleaning any components.
Do not place this unit on an unstable cart, stand or tripod, bracket or table. The
unit may fall, causing serious injury and/or serious damage. When cart is used,
use caution when moving the cart/apparatus combination.
Do not expose this product to rain or moisture, never wet the inside with any
liquid and never pour or spill liquids directly onto this unit. Please do not put
any objects filled with liquids (e.g. vases, etc.) onto the speaker.
Check if the specified voltage matches the voltage of the power supply you
use. If this is not the case do not connect the loudspeakers to a power source!
Please contact your local dealer or national distributor.
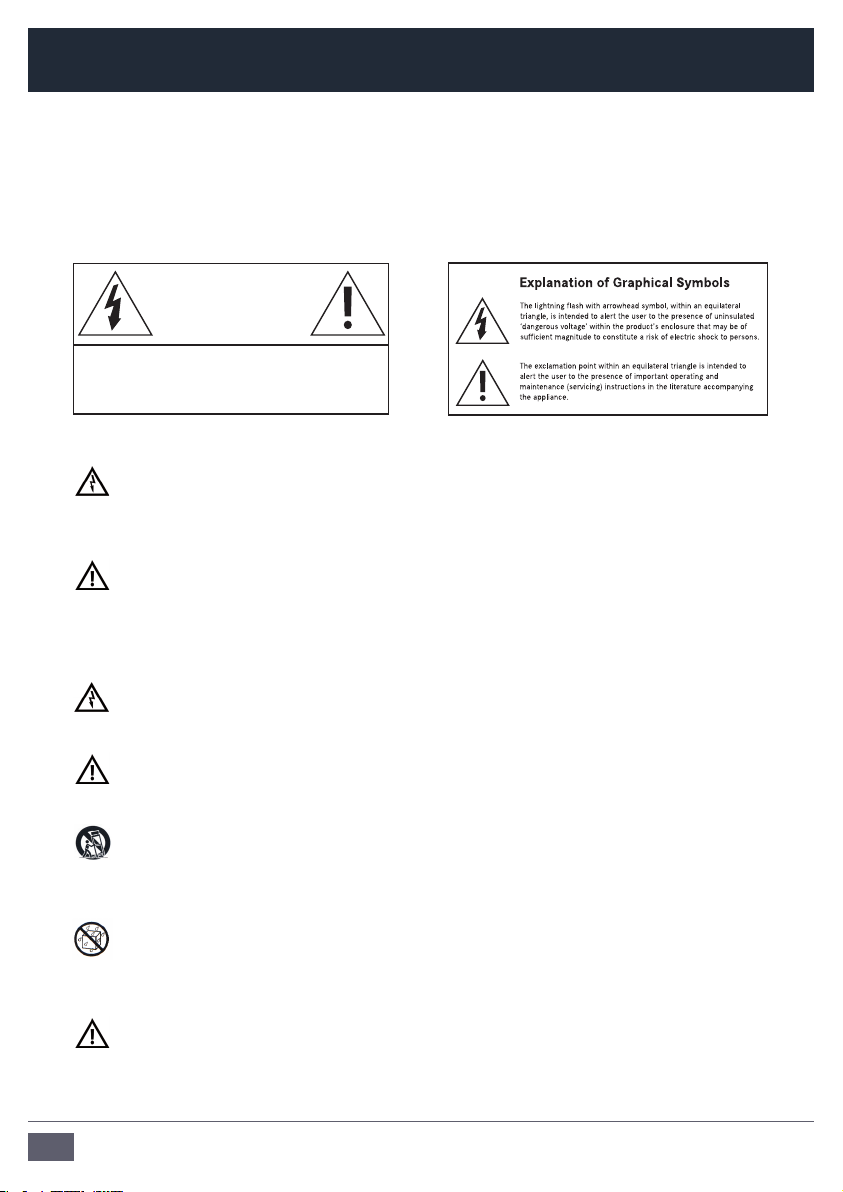
Caution
Risk of electrical shock
Do not open
Risque de shock electrique
Ne pas ouvrier
CAUTION: TO REDUCE THE RISK OF FIRE OR ELECTRIC SHOCK,
DO NOT REMOVE BACK COVER OR ANY OTHER PART.
NO USER-SERVICABLE PARTS INSIDE.
DO NOT EXPOSE THIS EQUIPMENT TO RAIN OR MOISTURE.
REFER SERVICING TO QUALIFIED PERSONNEL.
Safety Instructions

3
Tensor SW393 Manual / english
Protect the cord from being walked on or pinched.
Always use fully checked cables. Defective cables can harm your speakers. They
are a common source for any kind of noise, hum, crackling etc.
Always keep electrical equipment out of the reach of children.
Always unplug sensitive electronic equipment during lightning storms.
The Subwoofer should be installed near the socket outlet and disconnection of
the device should be easily accessible.
To completely disconnect from AC mains, disconnect the power supply from
the AC receptacle. Never use flammable or combustible chemicals for cleaning
audio components.
Avoid touching the speaker membranes and do not block the woofer’s
ventilation ports.
Never expose this product to extremely high or low temperatures. Never
operate this product in an explosive atmosphere.
High SPL’s may damage your hearing! Please do not get close to the
loudspeakers when using them at high volumes.
Please note that the diaphragms build up a magnetic field. Do not ply with
magnetic items at close range to the diaphragms.
Assure free airflow behind the speakers to maintain sufficient cooling.
Safety Instructions

4
Table of contents
Safety Instructions .............................................2-3
1. Introduction .......................................................5
2. Quick Start ........................................................6
2.1 Important Information .......................................6
2.2 Quick Start ........................................................6
3. Connecting the Subwoofer ................................7
3.1 Connections ......................................................7
3.2 Input ..................................................................7
3.3 Satellite Out .......................................................7
3.4 Sub Out .............................................................7
4. Subwoofer Placement ........................................8
4.1 Distance to satellites .........................................8
4.2 Walls/Distance to walls .....................................8
4.3 Finding the optimum position ............................8
5. Controls .............................................................9-10
5.1 Standby button / LED on front panel.................9
5.2 Controls on rear panel .......................................9
5.2 Controls on rear panel (continued) ....................10
6. Trouble Shooting ................................................11
6.1 No or distorted signal ........................................11
6.2 Parasitic noises .................................................11
7. Maintenance ......................................................12
8. Shipping / Packaging ........................................12
9. Environmental Information ................................12
10. EU Declaration of Conformity ............................13
11 . Limited Warranty ...............................................14
11 . 1 Terms and Conditions ........................................14
11 . 2 How to claim ......................................................14
12. Technical Data ...................................................15

5
Tensor SW393 Manual / english
1. Introduction
Dear customer,
Thank you for choosing an ADAM Audio Tensor SW393 subwoofer.
ADAM subwoofers are built for maximum quality reproduction and audio perfection.
With the Tensor SW393 you have selected a powerful and precise tool that allows you
to both evaluate and enjoy audio recordings. It meets highest expectations in sound
quality and workmanship.
The Tensor SW393 is a powerful subwoofer designed to expand both power and precision
of the bass area of a stereo system as well as being part of a bigger multichannel
system. It is the perfect match for the other members of the Tensor family.
This manual is intended to provide you with information about your new ADAM subwoofer.
It contains important information regarding safety, setting up, handling, and
warranty. We request that you read these sections carefully to ensure easy set up and
prevent potential problems.
If you have any questions about this or any of our products, please don’t hesitate to
contact us – we will be happy to assist you.
For detailed information concerning ADAM’s technologies and products, complete
reviews, and a list of worldwide ADAM users and studios, please visit our website:
www.adam-audio.com
You are invited to share your experience with our products by joining us on Facebook
and also, if you don’t want to miss out on the latest info on ADAM Professional Audio,
come and follow us on Twitter!
We hope that you enjoy your new subwoofer and wish you many delightful hours with it.
The ADAM Audio Team

6
2.1 Important Information for set up
After having unpacked your subwoofer, please allow the system to acclimate to
the temperature of the room for approximately an hour.
The subwoofer should be positioned on a firm ground.
We recommend that you retain the original packaging, as it is the best way to
guarantee safe transportation should the need to do so arise.
Please note that the subwoofer will take some break-in time to achieve optimum
sonic performance.
2.2 Quick Start
a) Before connecting the subwoofer to your audio components and the power
source make sure that the subwoofer, the loudspeakers and your audio source
are switched off and set the level controls fully counterclockwise.
b) Choose your preferred connection as described under 3.
c) Check if the specified voltage matches the voltage of the power supply you use.
If this is not the case do not connect the loudspeakers to a power source! Please
contact your local dealer or national distributor.
If the voltages match, use the included power cables to connect the loudspeaker
to the AC sockets.
d) Switch on the main on/off switches on the rear panel of the subwoofer.
e) Make sure that the line out level (volume) of your stereo is either at a low level or
all the way off. Then, switch on your audio system.
f) Turn on your source of music and adjust the volume carefully.
2. Quick Start

7
Tensor SW393 Manual / english
3.1 Connections
On the rear side of the speaker you can find balanced (XLR) and unbalanced (RCA)
connectors. For professional use the XLR connectors will be the best choice while
RCA is more common in most HiFi applications.
3.2 Input
Connect the left and right line-level signal
from your signal source (preamplifier etc.) to
the LEFT and RIGHT INPUT jacks. Use either
XLR (balanced) or RCA (unbalanced) cables.
3.3 Satellite Out
Connect the LEFT and RIGHT SATELLITE OUT
jacks to the inputs of the left and right main
powered speakers or the inputs of the amps
powering the main speakers.
3.4 Sub Out
This balanced output mirrors the input signal enabling you to
daisy-chain as many SW393s in a row as you like. The Sub
Level affects the output, so that all Subs in the chain can be
levelled at a time. Instead of having one huge subwoofer it
often is advisable to incorporate a few smaller ones in the
setup to avoid standing waves at very low frequencies. This
always needs a little bit of testing, since it is not possible to
predict the behaviour of a subwoofer in unknown acoustical
conditions.
3. Connecting the Subwoofer

8
It is common knowledge that low frequencies (below about 100Hz) are non-directional,
meaning they can hardly be located by the listener. It is, however, a common misunder-
standing that therefore the placement of a subwoofer does not matter. It does matter.
Due to the fact that every room (geometry, furniture, etc.) is unique, the following de-
scriptions intend to be a first introduction to the subject. The aim is to assist you tack-
ling the most common problems with subwoofers and room acoustics, notably interfer-
ence and standing waves.
4.1 Distance to satellites
In most set ups it is advisable to place the subwoofer not too far from the satellites
to minimize the chance of Interferences. Interference means the superposition of
two or more waves resulting in an attenuation/cancellation or enhancement of the
specific frequency/frequencies.
Furthermore, big refelexion faces in close range of the subwoofer should be avoid-
ed if possible.
4.2 Walls/Distance to walls
Generally, every wall in relative close distance to the subwoofer enhances its
sound pressure by about 6 dB. For instance, placing the subwoofer in a corner of
a room will make it about 18 dB louder. It is likely that this will result in an impair-
ment of the precision of the musical reproduction.
Another problem related to the geometrics of the room concerns the so called
‘standing waves’. These are sound waves being reciprocated between reflecting
objects, so they ‘stand’ (don’t seem to move) in between these objects. The speak-
er continues to produce new waves that combines its force with the first wave(s): a
vicious circle that results in local imbalances of the particular frequencies.
4.3 Finding the optimum position
Give it a try! The most important tool for finding the best position for your sub-
woofer are your ears. There are two rather easy ways:
You can determine your listening spot first and then compare the sound of the
subwoofer at different positions.
Another option is to place the subwoofer at the listening position and then move
around. Whereever the sound is the best the subwoofer should be positioned.
4. Subwoofer Placement

9
Tensor SW393 Manual / english
On the front side you will find an standby button with an integrated Indicator
LED for the operating and standby modes. Controls for the satellite filter, phase
switch and Sub Level/Filter are located on the rear panel of the subwoofer.
The following tips are intended to assist you at using the controls in the best
manner.
5.1 Standby button / LED
The Tensor SW393 features a standby button on the
front panel. Please note that due to the system, the OL
(overload) display blinks a few times when the loudspeaker
is being switched on. This does not indicate an overload.
If the OL display blinks during normal operation, this indicates an overload
danger. To avert an overload and protect the loudspeaker, the built-in
security circuit will limit the maximum level of the amplifier.
5.2 Controls on the rear panel
a) Subwoofer Phase
With the Phase Switch you can alter the phase of the
subwoofer relative to the satellites. That means to
change the polarity of the bass unit. Depending on the
distance between woofer and satellites, either 0° or
180° may be the better position. We recommend to try
out what position sounds better within your system.
b) Satellite Filter
The satellites in a system can be driven full range or with a 85 Hz high
pass as recommended by Dolby® laboratories for use in surround set-
ups. Recommendation: If possible the main signal should go into the
Subwoofer. Connect your satellites to the Subwoofer output, either via
XLR symmetrical or RCA asymmetrical. In many cases, clarity and dynamic
range of the speakers can be improved if they do not reproduce very low
frequencies since they do not have to deliver big amplitudes.
Please note: If you alter the frequency it is advisable to check if an alteration
of the phase improves the sound quality.
5. Controls

10
5.2 Controls on the rear panel (continued)
c) Sub Level
This controls the Input Sensitivity from -60dB to +6dB
relative to 775mV when used via the balanced XLR input
or relative to 250mV when used via the unbalanced Cinch
(RCA) input.
d) Sub Filter
The upper frequency limit of the unit is variable and can be set to
any value between 50 and 150Hz. The 85Hz marker indicates the
recommendation of Dolby® labs for surround sound settings. In practice
a slightly lower crossover frequency delivers tighter bass response, for
typical near-midfield monitors we recommend a 12 or 11 clock position,
meaning 70 to 75Hz as upper limit or, to be more exact, -3dB point in the
frequency response.
Please note: These settings do not have a precise character, as different
satellites and different room acoustics lead to results that cannot be
predicted.
5. Controls
Table des matières
Langues :
Autres manuels Adam Subwoofer

Adam
Adam Sub10 MK2 Manuel utilisateur

Adam
Adam Sub20 Manuel utilisateur

Adam
Adam SubP Manuel utilisateur

Adam
Adam Sub8 Manuel utilisateur

Adam
Adam Sub7 Manuel utilisateur

Adam
Adam Sub8 Manuel utilisateur

Adam
Adam T5V Manuel utilisateur

Adam
Adam Sub2100 Manuel utilisateur

Adam
Adam Sub20 Manuel utilisateur

Adam
Adam Sub15 Manuel utilisateur


