9
Fig. 9
ments, polarity is not important. The
test leads just have to be connected
across the component.
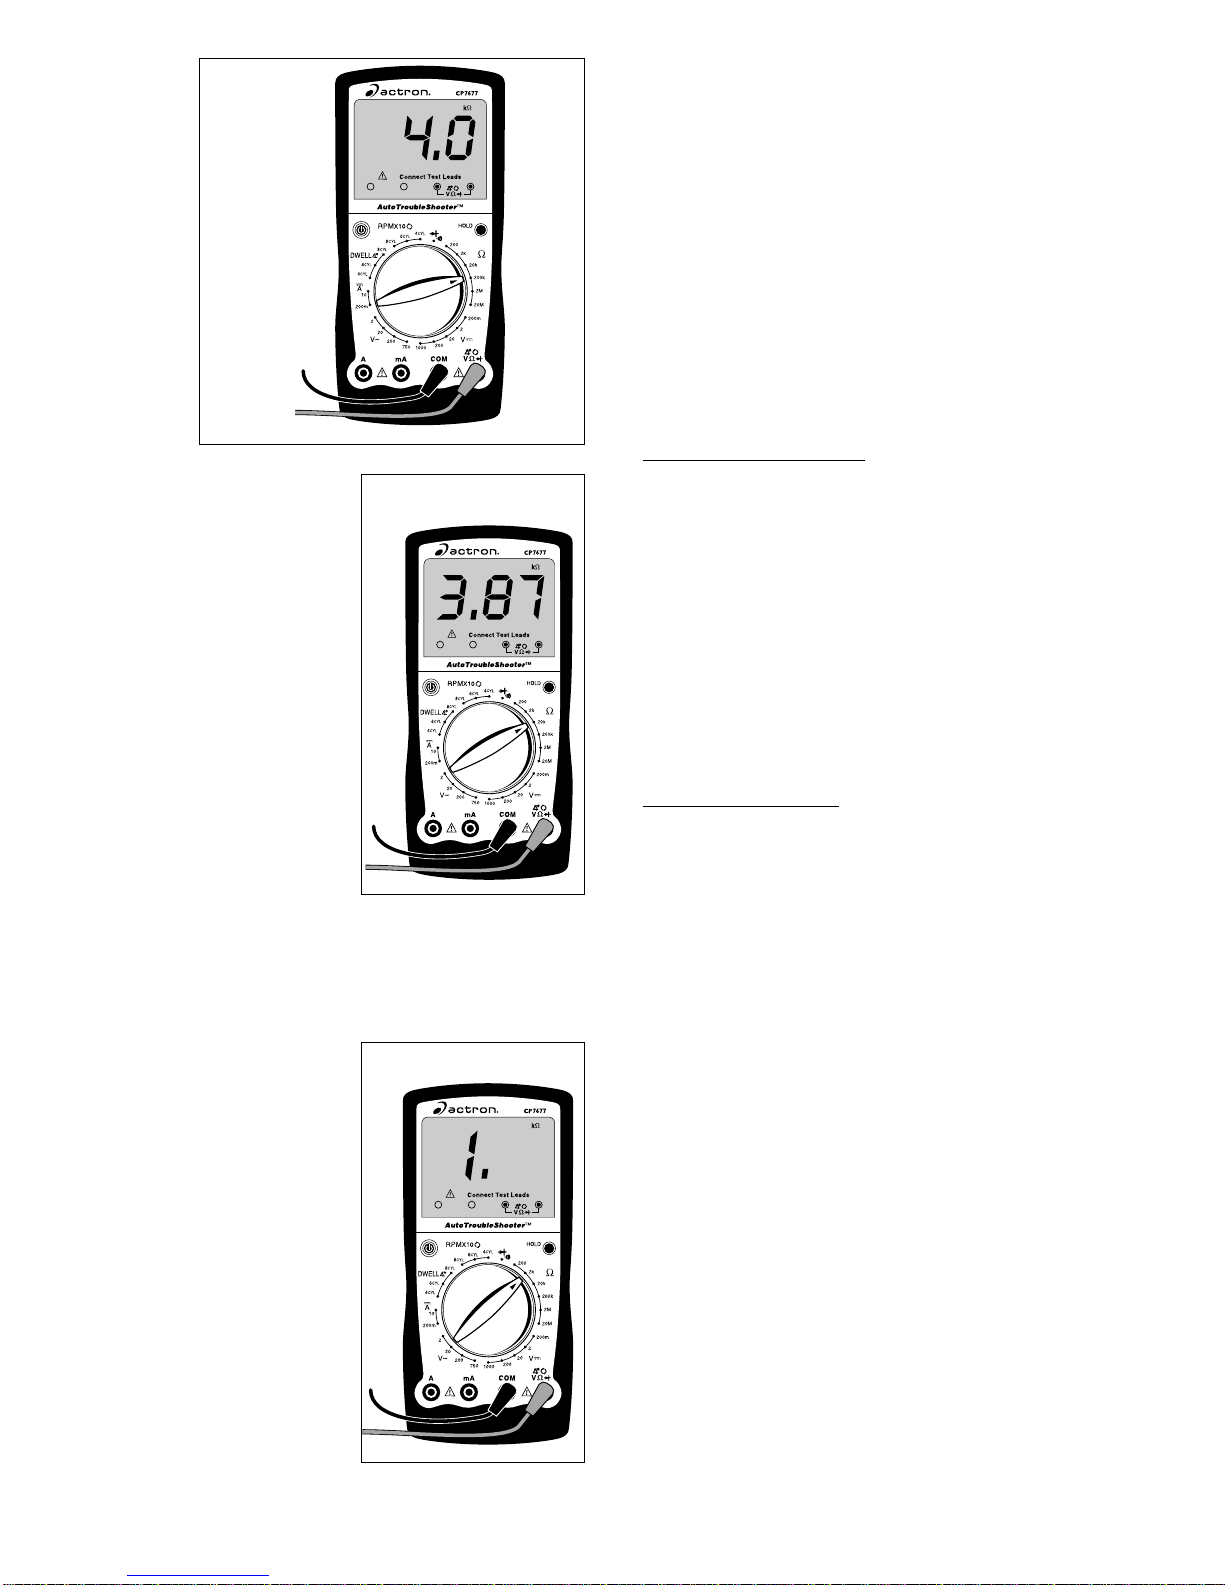
6. Turn multimeter rotary switch to
desired OHM range.
If the approximate resistance is un-
known, start at the largest OHM
range and decrease to the appropri-
ate range as required. (See Setting
the Range on page 6)
7. View reading on display - Note
range setting for correct units.
NOTE: 2KΩ= 2,000Ω; 2MΩ=
2,000,000Ω
If you want to make precise resis-
tance measurements, then subtract
thetestleadresistancefoundinStep
4 above from the display reading in
Step 7. It is a good idea to do this for
resistance measurements less than
10Ω.
Measuring DC Current
This multimeter can be used to measure
DC current in the range from 0 to 10A. If
the current you are measuring exceeds
10A,theinternalfusewillblow(see Fuse
Replacement on page 7). Unlike voltage
andresistancemeasurementswherethe
multimeter is connected across the com-
ponentyouare testing, currentmeasure-
ments must be made with the multimeter
in series with the component. Isolating
currentdrainsandshortcircuitsaresome
DC Current applications.
To measure DC Current (see Figs. 10 &
11):
1. Insert BLACK test lead into COM
test lead jack.
2. Insert RED test lead into "10A"
test lead jack or "mA" test lead
jack.
3. Disconnectorelectricallyopencir-
cuit where you want to measure
current.
This is done by:
•Disconnecting wiring harness.
•Disconnecting wire from screw-on
type terminal.
•Unsolder lead from component if
Red Black
Unknown
Resistance
Measuring Resistance
Resistance is measured in electrical
units called ohms (Ω). The digital multi-
metercanmeasureresistancefrom0.1Ω
to 20MΩor (20,000,000 ohms). Infinite
resistanceisshownwith a “1”on theleft
side of display (See Setting the Range
on page 6). You can use this multimeter
todoanyresistancemeasurementcalled
out in the vehicle service manual. Test-
ing ignition coils, spark plug wires, and
someengine sensorsarecommonuses
for the OHMS (Ω) function.
To measure Resistance (see Fig. 9):
1. Turn circuit power OFF.
To get an accurate resistance mea-
surementandavoidpossibledamage
tothe digitalmultimeterandelectrical
circuitundertest,turn off all electrical
power in the circuit where the resis-
tance measurement is being taken.
2. Insert BLACK test lead into COM
test lead jack.
3. Insert RED test lead into
test lead jack.
4. Turn multimeter rotary switch to
200Ωrange.
Touch RED and BLACK multimeter
leads together and view reading on
display.
Displayshouldreadtypically0.2Ωto
1.5Ω.
If display reading was greater than
1.5Ω, check both ends of test leads
for bad connections. If bad connec-
tions are found, replace test leads.
5. Connect RED and BLACK test
leads across component where
you want to measure resistance.
When making resistance measure-