A3 Smart Home Virtual Pro Install Kit Manuel utilisateur

Security Devices at a Glance
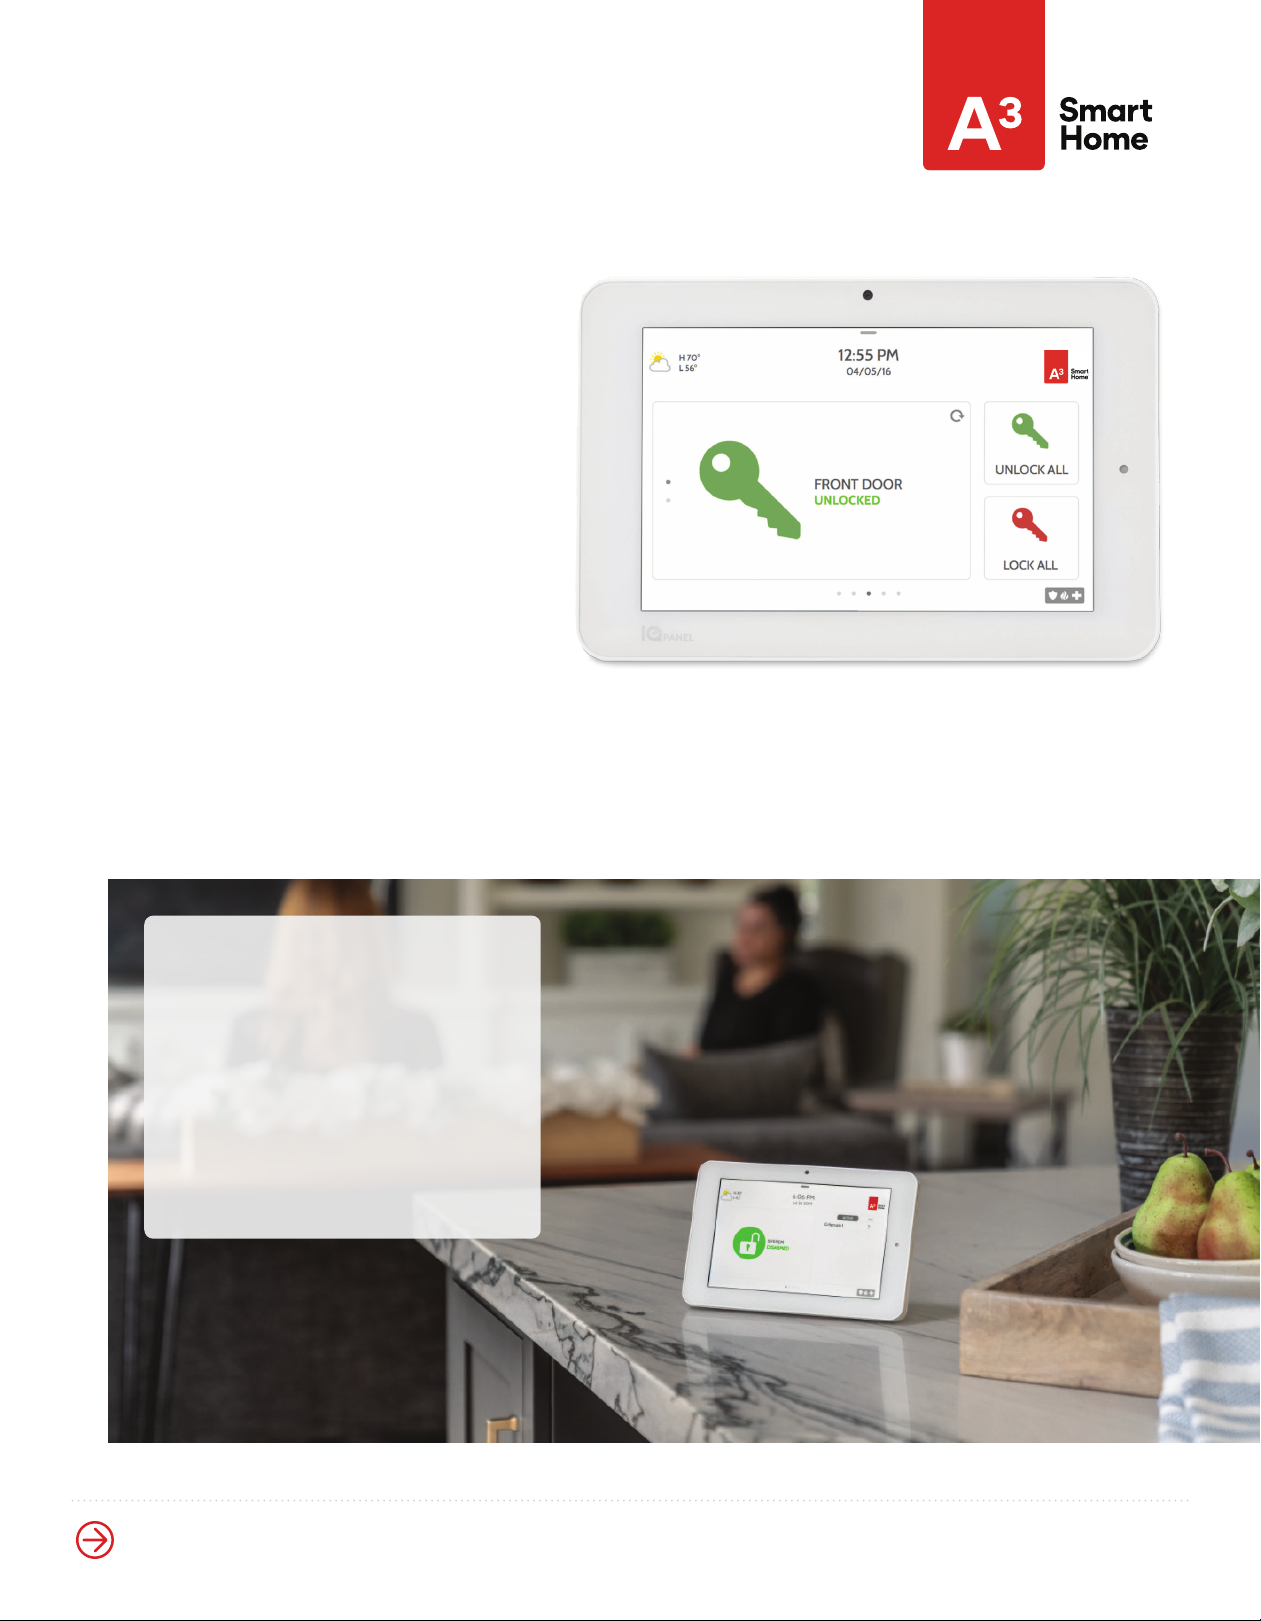
Get your home protection
up and running.
Virtual Pro Install Kit
Quick Start Guide
Installation Support: (877) 998-1457
We’re available 7 days a week, 8 am - 8 pm PST
a3smarthome.com/install


Welcome to A3 Smart Home!
We're here to help!
Call (877) 998-1457 for installation help over phone or video with one of our Smart Home Pros.
You can also visit a3smarthome.com/install, which has installation video tutorials for your security
devices, as well as for the smart devices not covered in this guide.
This guide covers the basics of getting your security system’s
control panel and 7 main security devices up and running.
The instructions provided here are customized and abridged for
this install process, and are not meant to be a full device guide.
For complete information on your security devices, including safety
guidelines and troubleshooting, please consult the official user manuals
of each device.
What we’ve already done for you:
✓ Assembled & programmed your control panel
✓ Configured all security devices to talk to your control panel
What you’ll do:
• Install your control panel & security devices
• Power up your panel
• Call us to test your system & activate monitoring
• Set up your web account and mobile app
What you’ll need:
• Tape measure
• Phillips and flathead screwdrivers
• Smartphone (iOS or Android) or computer
• Ladder or step stool (optional)
Estimated install time:
1-3 hours, depending on the number of security devices you’ve ordered.


Table of Contents
1
2
4
7
9
11
13
14
15
16
17
18
19
1. Security Device Overview
2. Setting up Your Control Panel
3. Installing Your Security Devices
A. Door & Window Sensors
B. Motion Detector
C. Smoke and Heat Detector
D. Carbon Monoxide (CO) Detector
E. Glass Break Sensor
F. Temperature Sensor
G. Medical Panic Button
4. Configuring Your Panel Settings
5. Testing Your System & Activating Monitoring
6. Setting Up Your Online Account & Mobile App
7. Ordering & Installing Smart Devices

Need Help?
a3smarthome.com/install
(877) 998-1457
Next
Let's set up your touch-screen control panel.
1
Security Device Overview
Below are all the security devices available in our Virtual Pro Install Kit,
and covered by our basic monitoring package. Their installation is covered
in this guide.
You may have some or all of the devices shown below in your order.
Device Name What it Does Where it Goes
Touch-Screen
Control Panel
Controls all security and
smart devices, and contacts
our 24/7 monitoring center
Plugged in and
placed on table,
counter-top, or shelf
Door and
Window Sensors
Protects entry points, by
alerting your system when a
door or window is opened
Place with adhesives
on doors and windows
inside your home
Motion Detector
Guards against intrusion
by monitoring movement
around your home
Mounted in busy indoor
areas, like living rooms
and hallways
Smoke and
Heat Detector
Detects smoke and high
temperatures in your home.
Always on, even when your
panel is disarmed
Mounted to a wall
or ceiling
Carbon Monoxide
(CO) Detector
Detects traces of carbon
monoxide in your home.
Always on, even when
your panel is disarmed
Mounted to a wall
or ceiling
Glass Break Sensor
Guards against intrusion
through a window,
by monitoring for sounds
of broken glass
Mounted to a wall
or ceiling, within 25
feet of a window
Temperature Sensor
Alerts when indoor
temperatures drop below
40°F or rise above 100°F
Placed with adhesive,
usually along baseboards
of bathrooms, laundry
rooms, or basements
Medical Panic Button
Pressed to dispatch
medical, fire, or police in
case of an emergency
Worn on a necklace or
keychain, clipped to belt, or
placed on a surface through
mounted holder
Next 2
Let's plug in and power up your panel.
Setting Up Your Control Panel
Installation parts:
• Your touch-screen panel
• A power supply plug, already
wired into the back of the panel
• Long outlet screw, to help secure
your power supply plug
• Detachable table stand for
placing your panel
Choose your location.
The easiest way to mount your panel
is using the table stand to rest it on a table,
counter-top, or shelf.
Choose a location that’s close to an outlet and
easily accessible for controlling or disarming.
However, avoid putting your panel in high-
traffic areas of the home, near a sink or electric
appliances, or any place where it can be
knocked over or damaged.
The panel can also be installed
by mounting to a wall.
However, we highly recommend using
the table stand, since a wall install
requires additional work and equipment,
including drilling and running wiring,
that is best done by a technician.
If you prefer a wall mount for your panel,
please call our Smart Home Pros for
support before attempting this install.

Need Help?
a3smarthome.com/install
(877) 998-1457
Next
Now that your panel is powered up, it's time to install your door and window sensors.
3
Setting Up Your Control Panel
Follow these steps to plug in and power up your panel.
Using a screwdriver, carefully
remove the existing screw from
your chosen outlet.
Take your power supply, which is
already wired into your panel, and
remove the green adhesive cover
from its outlet plug.
Plug your power supply into your
chosen outlet.
Secure your power supply plug
in the outlet by taking the longer
screw from your package, and
carefully twisting it through the
hole in the power clip.
Take your panel, and push and hold
the standby button on the side for
3 seconds to power it up.
Attach your table stand into the
back when you’re ready to place
your panel.
1
4
2
5
3
6

Next 4
See where to place sensors on a window.
Installing Your Door
& Window Sensors
Installation parts:
• A sensor, consisting of a magnet (smaller piece)
and contact (bigger piece)
• Adhesives on the back of the magnet
and contact, for placing
• Alcohol wipes to wipe down surfaces
See where to place sensors
on a door:
The best way:
Place on a door inside your home, with the
contact going on the door frame and the
magnet going on the door itself.
Optional:
If your door frame is very thin or has
custom molding, you can reverse the
setup by placing the magnet on the
frame and the contact on the door.
Note: Be sure to choose an area of your
door where the contact and magnet are
no more than a 1/2-inch apart.
Best
Option
Magnet
Contact

Need Help?
a3smarthome.com/install
(877) 998-1457
Next 5
Once you've chosen your locations, see how to place your sensors
Installing Your Door
& Window Sensors
If you have a non-sliding or otherwise specialized window,
call us to get assistance from a Smart Home Pro.
Window that slides sidewaysWindow that slides up and down
Where to place sensors on a window:
The sensor location on windows will be similar to that of doors.
Place on a window inside your home, with the contact going on
the window frame and the magnet going on the window itself.
See the diagrams below for placement on a window that slides
up and down, and one that slides sideways.
Note: Be sure to choose an area of your door where the contact
and magnet are no more than a 1/2-inch apart.
Table des matières
Manuels Système de sécurité populaires d'autres marques


EDM
EDM Solution 6+6 Wireless-AE Manuel utilisateur

Highway Safety Group
Highway Safety Group EA401 Manuel utilisateur

Siren
Siren LED GSM Manuel utilisateur

Detection Systems
Detection Systems 7090i Instructions de montage

Se-Kure Controls
Se-Kure Controls MicroMini SK-4841 Manuel utilisateur

Siemens
Siemens FDM273 Manuel utilisateur