7
amount of glass cleaner directly to a lintless cloth and gently
wipe.Do not spray cleaners directly onto the mic.
Proximity Effect is the low frequency boost that occurs with
close miking.The closer the mic,the greater the low
frequency boost.Adjusting the pattern control actually
changes proximity effect The greatest proximity effect occurs
in the figure 8position.No proximity effect occurs in the
omni position.Adjusting the pattern control changes
proximity effect and frequency response as illustrated in the
plots.To achieve your desired results,experiment with various
combinations of miking distance,polar pattern,and low
frequency contour switch positions.
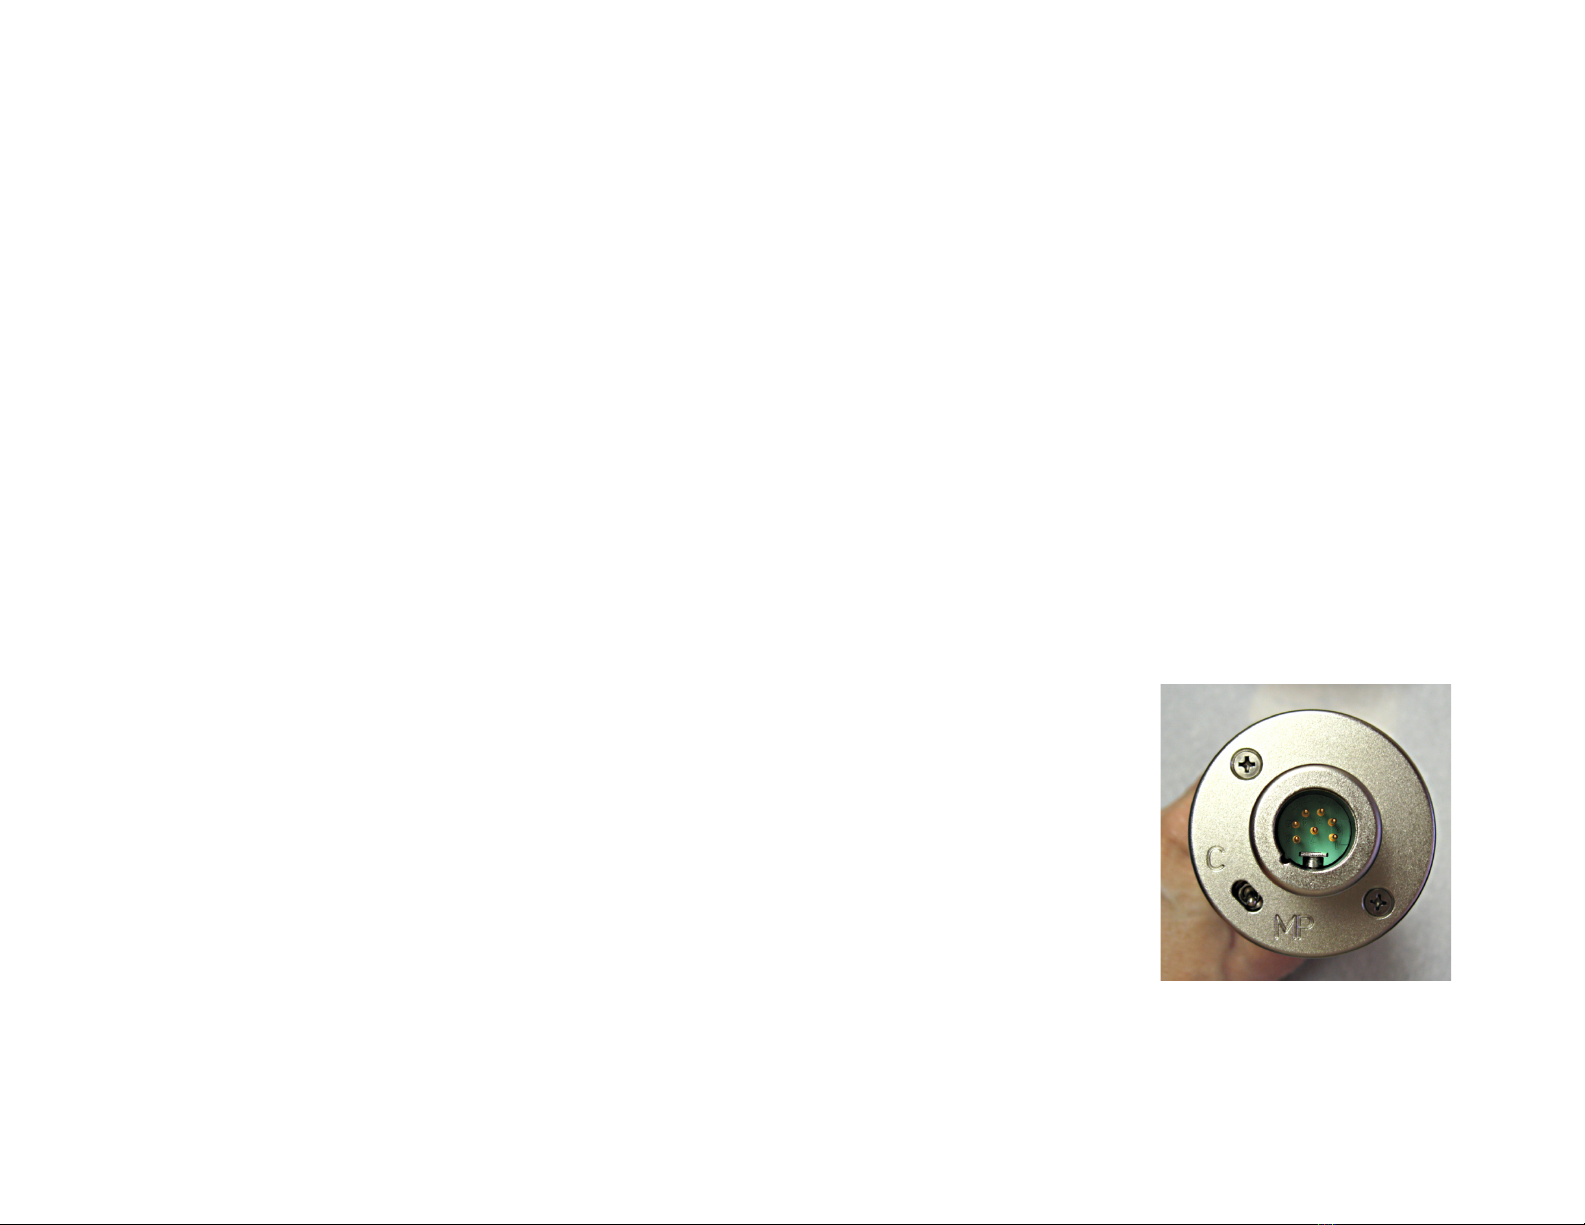
Multi-Pattern/Cardioid Only Position Your tube mic features
a Multi-pattern/Cardioid-only switch located on the base of
the tube microphone.A blue LED behind the mic windscreen
glows when the multi-pattern mode is selected.When the
cardioid-only position is selected,the multi-pattern control on
the power supply is disabled and the blue LED inside the head
is off.The cardioid-only position increases the output of the
microphone by about 3dB at the same time lowering the noise
floor by the same amount.Note! Turn the microphone
channel down at the console before changing the position
of this switch as an ear and speaker destroying A-bomb
wump will ensue.
Note! Turn down the microphone channel
at the console before changing the position
of the 10dB pad and the Cardioid-Only
switches to prevent transient thumps.
Polar Pattern Selection The pattern selector control knob is
located on the front center of the tube microphone power
supply unit.This control is continuously variable and allows
small incremental settings anywhere between major
directional patterns.In other words,you are not limited to a
few preset clickstops.You may find it valuable and
6
The Lawson tube microphone is heavy.To protect your
investment and the toes of your clients,avoid the use of light-
weight stands or extremely long or unbalanced booms.When
attaching the tube mic to boom stands,wrap the cable around
the boom a few turns.By using the cable in this manner,it
may prevent a damaging fall,especially when using quick
disconnect mic holders.The L251 and L47 capsules are
internally shock mounted.No external shock mounting is
required.
Connect the provided 7-pin cable from the tube microphone to
the power supply.This cable should be connected BEFORE the
power supply is plugged into the AC wall outlet (AC mains)
and BEFORE being switched to the
ON
position.This
procedure will avoid unnecessary power surges to the vacuum
tube and insure maximum tube life.Allow at least five
minutes warm-up time for maximum signal-to-noise ratio.
Use a standard 3-pin XLR mic cable between the tube mic
power supply and your mic pre.Forty-eight volt (48V)
phantom power is not necessary.If applied,it will have no
effect on the performance of the tube mic.The tube mic only
requires 20 to 30dB of mic preamp gain at the console with
close-up vocals.To insure lowest distortion,monitor the
console meters with the channel fader at its unity gain setting
(0 dB)and then set the gain of the mic preamp.Make this
adjustment BEFORE inserting outboard limiters,equalizers,
etc.
The Lawson logo engraving indicates the front of the
microphone.This side of the microphone normally points
toward the sound source.Use of a fabric windscreen is
recommended to prevent pops when doing up-close vocals.
The mic head and base are plated with nickel and/or 24 karat
gold to provide a lasting finish.To clean the mic,apply a small
Setting Up Your Tube Microphone